


Flying Bat Craft for Kids – Interactive Halloween Straw Activity

All art projects & crafts require adult supervision. Artsy Kids Zone is a participant in the Amazon Associates Program, and I may earn a small commission from qualifying purchases at no additional cost to you.. Read our full disclosure policy.
Get ready to make a Halloween bat that can actually fly! This Flying Bat Craft for Kids – Interactive Halloween Straw Activity combines coloring, crafting, and play into one seriously fun Halloween project. Kids can create their own paper bat and then use a clever trick with straws to make it move through the air. It’s the kind of craft that immediately gets kids asking, “How does that work?”—and then trying it over and over again!
The real magic happens once the straw mechanism is added. Instead of simply making a paper bat to hang on the wall, kids get to interact with their finished creation and watch their bat move. It’s a simple idea that turns an ordinary printable bat craft into an exciting hands-on Halloween activity.
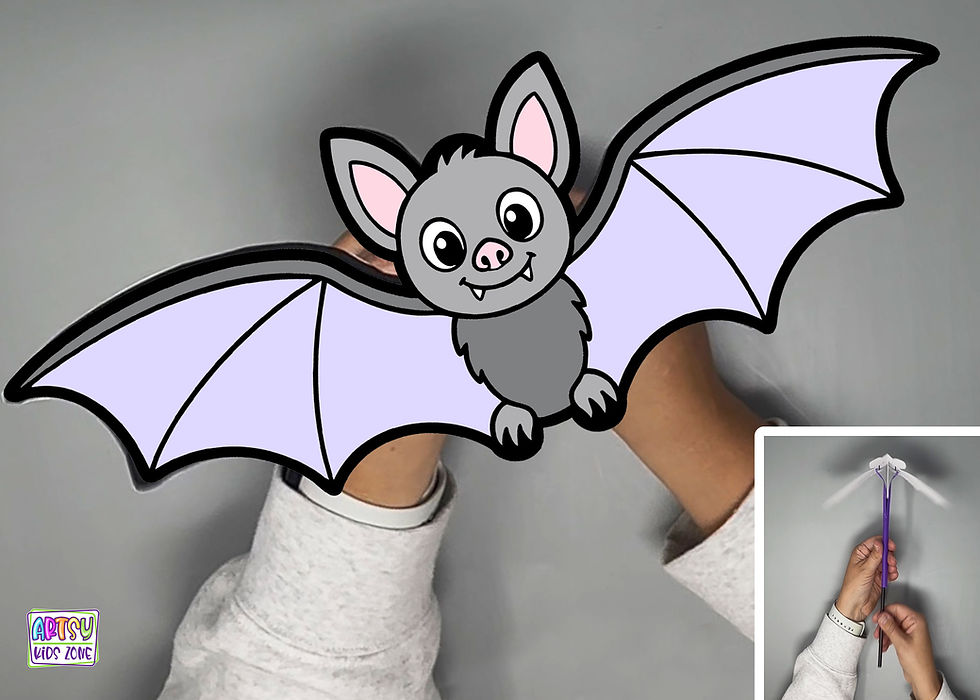
Start by letting kids make their bats completely their own. Grab crayons, markers, or colored pencils and decorate the printable bat with classic Halloween colors like black, purple, orange, and gray—or create something totally unexpected. Rainbow bats, polka-dot bats, striped bats, and brightly colored bats are all welcome! Encourage kids to experiment and compliment specific details in their artwork to help them feel proud of what they’ve created.
Once the bat is colored, kids can cut out the pieces and assemble the simple straw mechanism that makes the craft work. Cutting, gluing, and putting the pieces together are great ways to practice fine motor skills, hand-eye coordination, concentration, and following directions. Then comes the part everyone has been waiting for, testing the bat to see it fly!
This interactive Halloween craft is especially fun because the activity doesn’t end when the crafting is finished. Kids can experiment with their flying bats, practice making them move, and turn the finished project into a game. Make several bats and have a bat race, create a spooky flying-bat challenge, or see who can keep their bat moving the longest. Kids may even start experimenting with how they use the straws to see how it changes the bat’s movement.
That playful experimentation also makes this a fun addition to a Halloween STEM or STEAM activity. Kids get to create something with their own hands and then explore how a simple mechanism can create movement. It’s perfect for classrooms, homeschool activities, Halloween parties, library programs, or a screen-free October afternoon at home.
If your kids are batty about bats, Artsy Kids Zone has plenty more bat crafts for kids to explore! Make Coffee Filter Bats, Bat Finger Puppets, a Handprint Bat, Rocking Bat Craft, 3D Bat Card, 3D Bat Bookmarks, or fold an Origami Bat. You can also check out the collection of 15 Bat Crafts for Kids for even more Halloween inspiration.

Handprint Bats 
Cute Witch Puppets 
Paper Bag Puppets 
Straw Rocket 
Origami Templates 
Zombie Finger Puppets 
Coffee Filter Bats 
3D Witch Paper Dolls 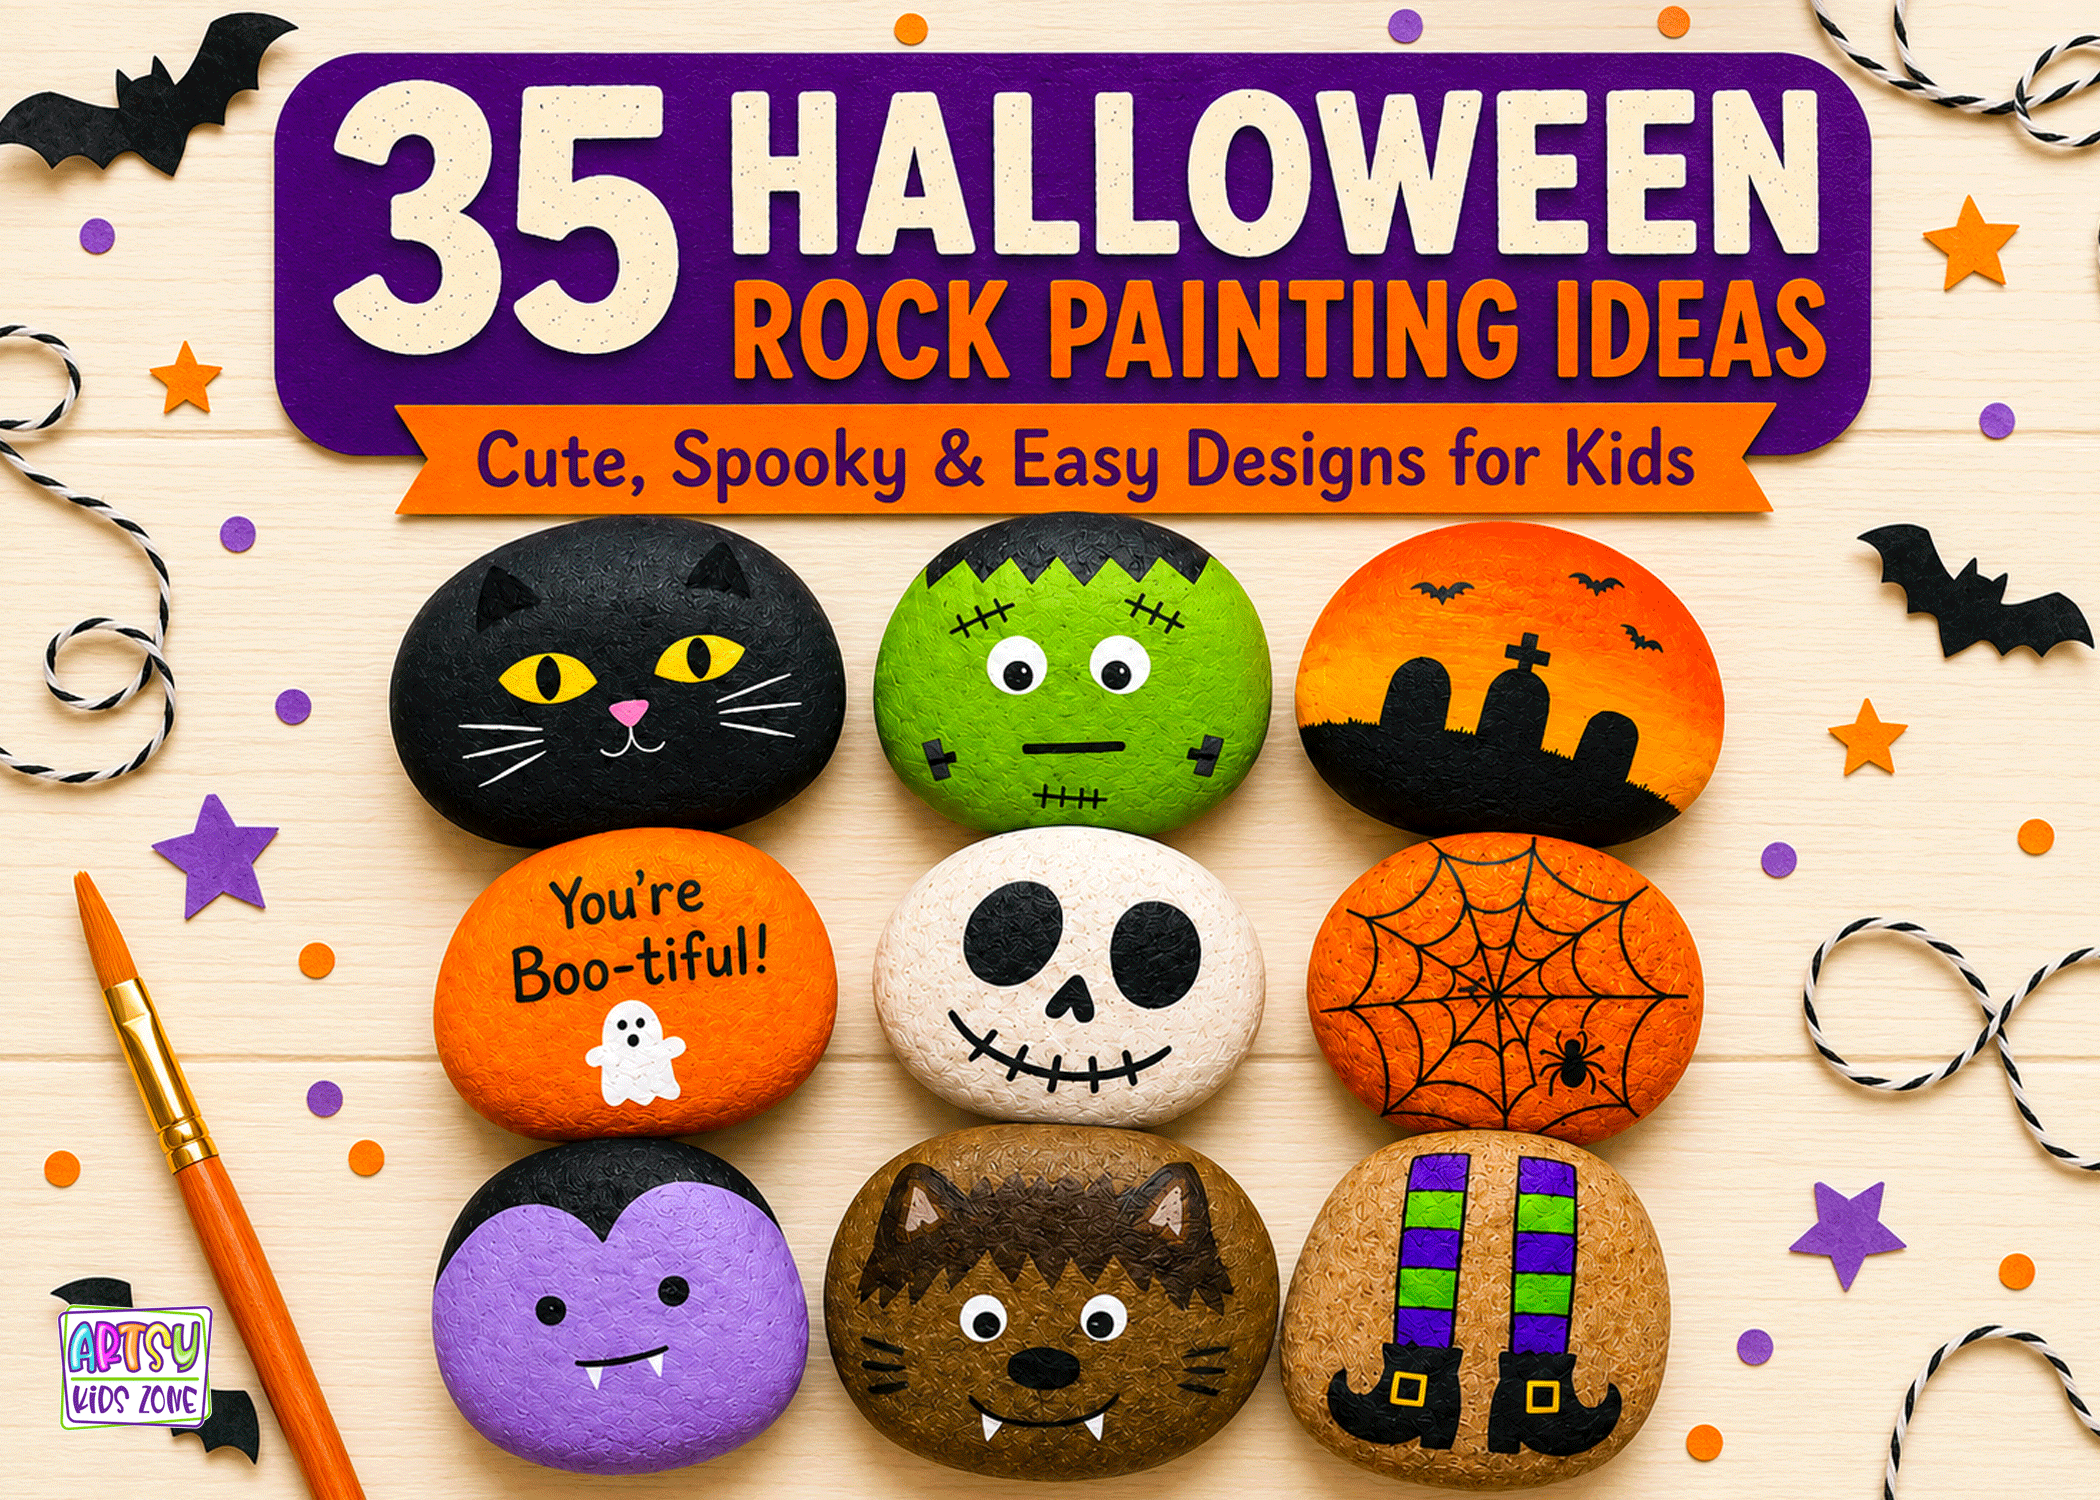
Painted Rocks 
Agamograph 
Bat Crown 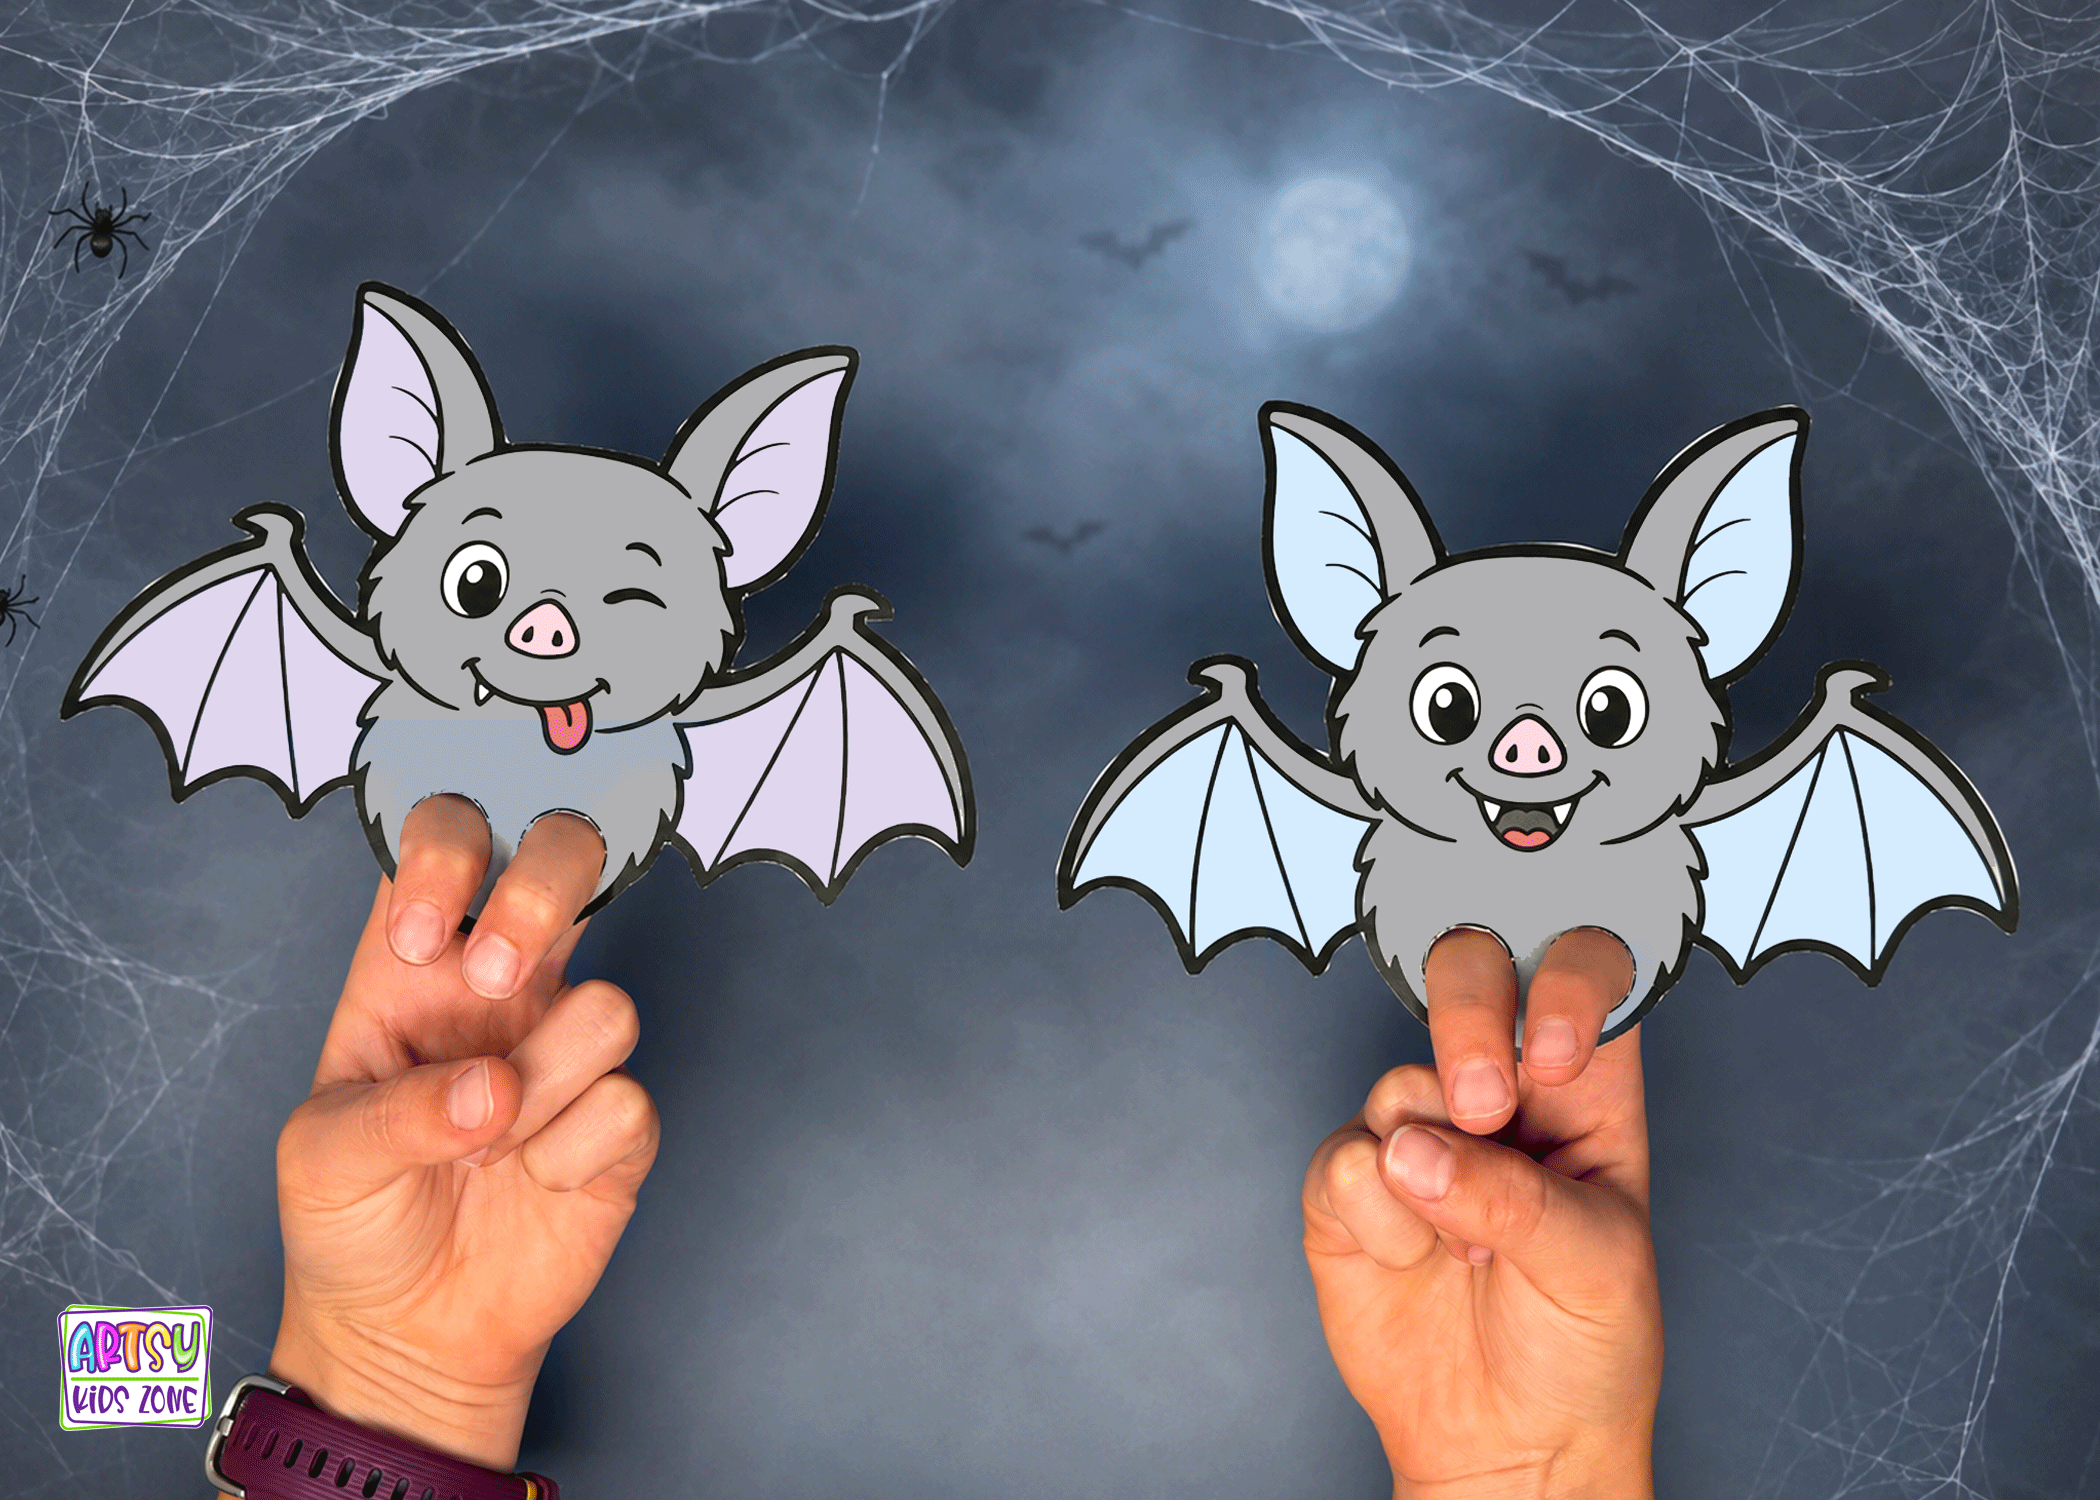
Bat Finger Puppets 
Witch Paper Bag Puppet 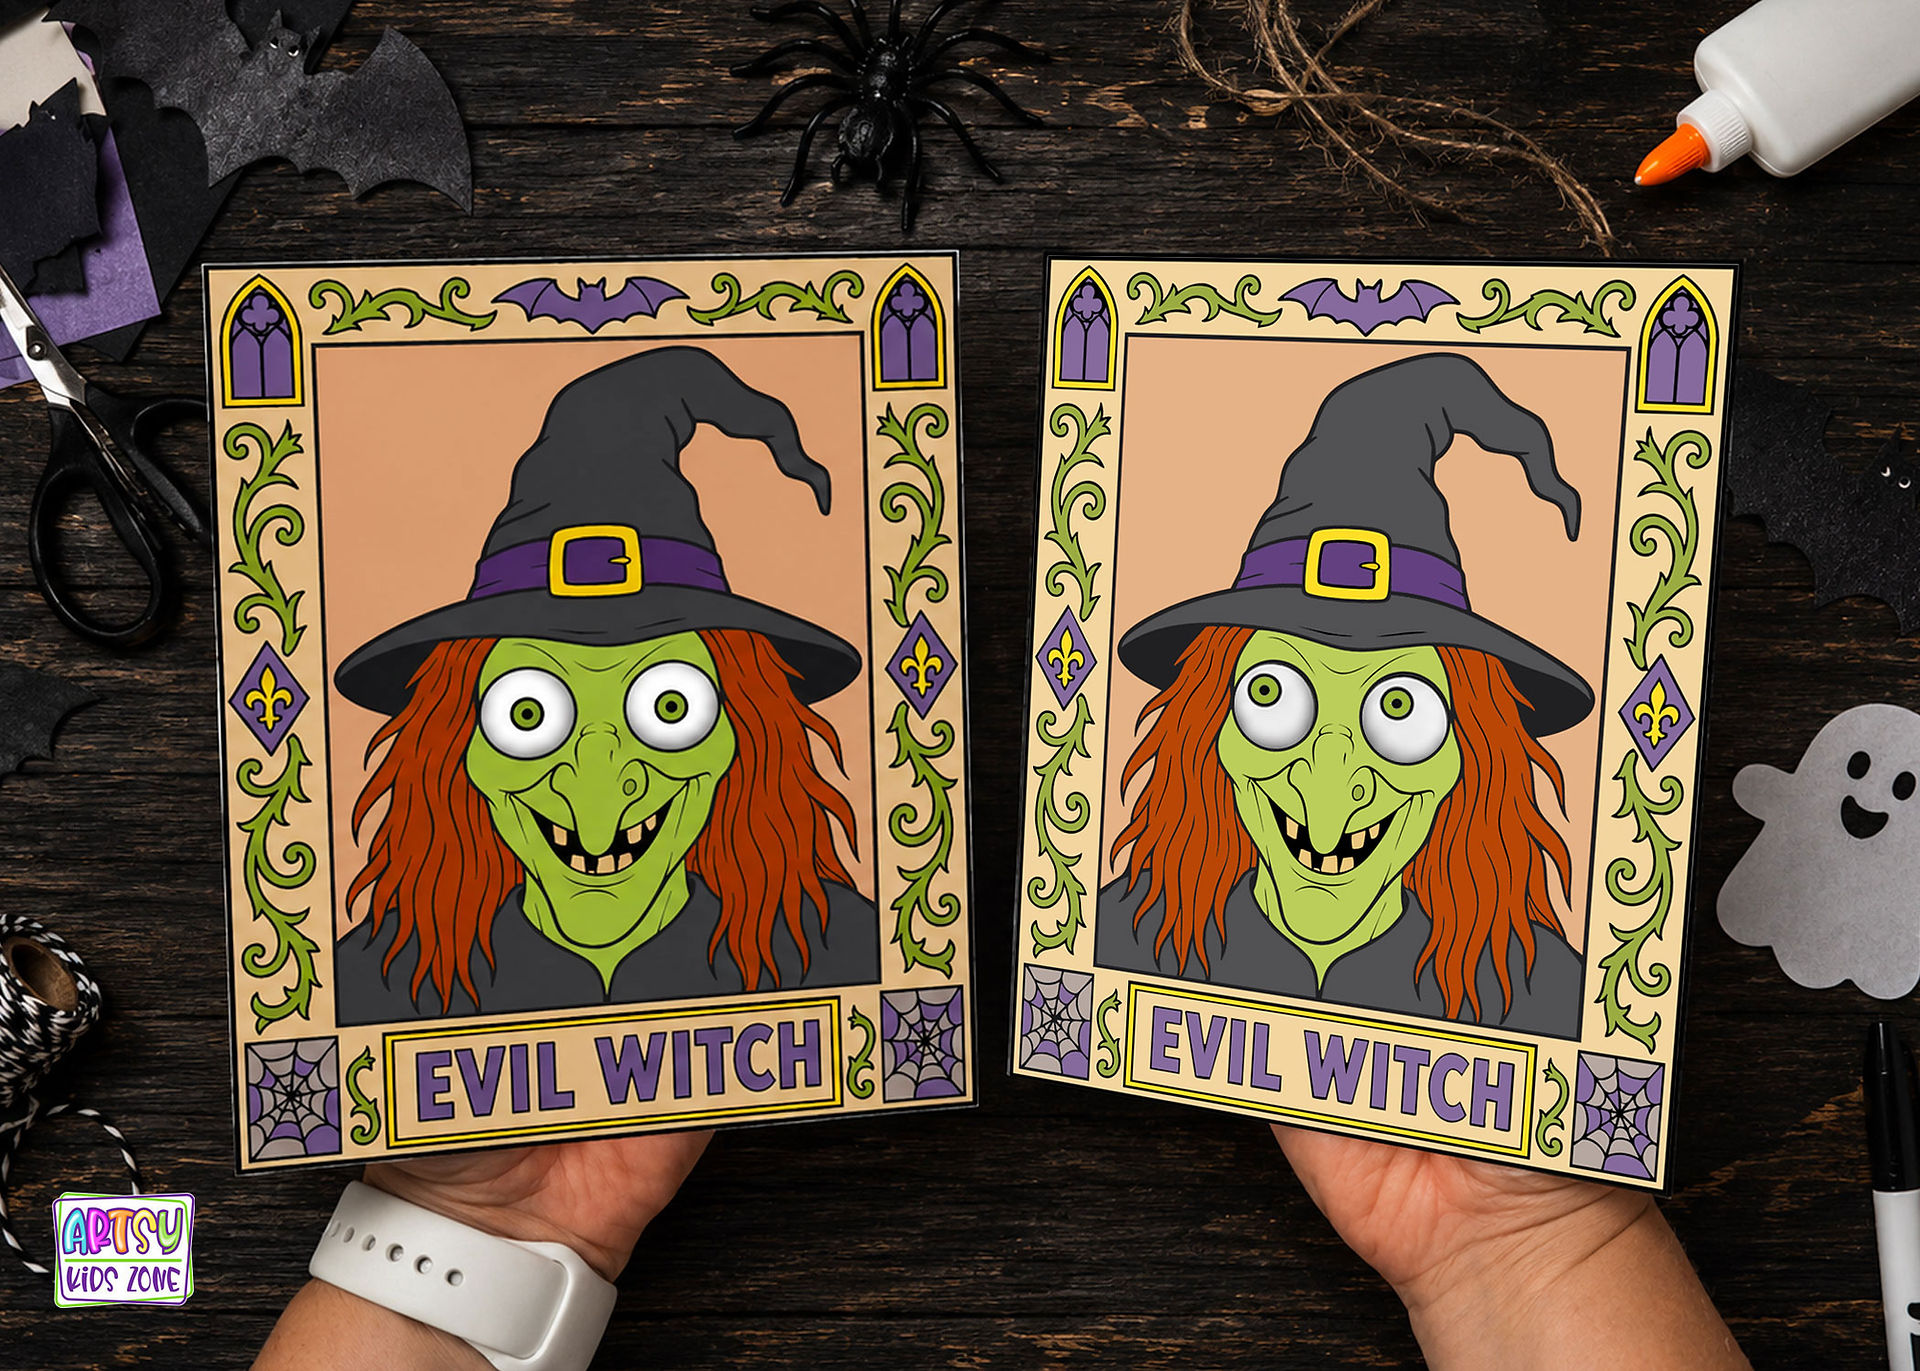
Moving Eyes Witch Craft 
Rocking Bat Craft 
Witch Finger Puppets
And bats are just the beginning! Explore more Halloween crafts for kids featuring witches, ghosts, vampires, pumpkins, mummies, Frankenstein’s Monster, black cats, and other spooky favorites. From Origami Vampires, Origami Ghosts, Witch Paper Bag Puppet, Paper Masks, Paper Bag Puppets, Clothespin Puppets, Ghost Water Gun Painting, and dozens of other spooky crafts for kids. There are plenty of creative projects to keep kids crafting throughout October.
So grab your printable template, coloring supplies, scissors, glue, and straws and get ready for takeoff! The Flying Bat Craft for Kids transforms a simple paper bat into an interactive Halloween activity kids can play with long after they finish crafting. Create your bat, put the straw trick to work, and watch as your little Halloween creature takes flight!
Materials You'll Need:
Flying Bat Craft for Kids

Step 1: Download and Print the Agamograph Template
To begin your flying bat art project you need to download and print our template on 8.5x11 cardstock paper. Directions to download the template are found at the bottom of the post.
Can I Use Printer Paper Instead of Cardstock?
You can use regular printer paper, but the bat will be lighter and the wings may feel floppy or have difficulty holding their shape. Cardstock gives the craft the extra weight and sturdiness it needs for the wings to open, close, and move properly. For the best results, I recommend printing the template on white cardstock.

Step 2: Color the Flying Bat Template
Use crayons, markers, or colored pencils to color the flying bat and the rectangle on the printable template. Kids can choose traditional Halloween colors like black, gray, purple, and orange or create a bright rainbow bat covered in spots, stripes, stars, or other patterns. Encourage your child to make their own artistic choices and remind them that there is no wrong way to color their bat.
As your child works, build their creative confidence by giving specific, positive feedback. Instead of simply saying, “Good job,” try comments like, “I love the colors you chose for the wings,” or “The pattern you created makes your bat look so unique!” Ask questions about their ideas and let them explain their choices. Showing genuine interest in their artwork helps children feel proud of what they create and encourages them to keep experimenting.

Step 3: Cut Out the Template Pieces
Carefully cut around the outside edges of the bat and the rectangle on the printable template. Remind children to keep their thumb pointing upward, hold the paper with their helping hand, and make slow, small cuts. It is often easier to turn the paper as they cut instead of twisting the scissors around every curve.
Parents can trim away some of the extra paper surrounding each piece first, making it easier for smaller hands to hold. Younger children can cut the larger, straighter sections while an adult helps with the smaller curves and detailed areas. Always use child-safe scissors and supervise young children while they are cutting.

Step 4: Fold the Rectangle
Pick up the rectangular template piece and fold it in half, carefully lining up the outside edges before pressing firmly along the crease. Next, fold the two top sections outward, as shown in the picture above. Make sure the folds are even on both sides and crease them firmly. These folded sections will help create the mechanism that allows the finished bat to move.

Step 5: Fold the Bat
Fold the bat in half, carefully matching the two wings and outside edges. Press firmly along the fold to create a sharp crease, then gently open the bat again. This center fold will help the wings bend and move more naturally when the flying mechanism is assembled.

Step 6: Glue the Bat to the Rectangle
Apply glue to the two tabs that were folded outward on the rectangle. Place the rectangle against the back of the bat, carefully lining up the bat’s center fold with the space where the two tabs meet. Press each tab firmly against the back of its corresponding wing and hold it in place for a few seconds. Make sure the center folds remain aligned so the wings can move evenly, then allow the glue to dry completely before using the bat.

Step 7: Trim the Straws
Choose two straws in different widths. The thinner straw needs to slide easily through the wider straw without getting stuck. I used one wider straw measuring approximately 0.40 inches wide and one thinner straw measuring approximately 0.24 inches wide.

Trim the wider straw so it measures 6 inches long. Starting at one end, carefully cut a 2½-inch slit lengthwise up the side of the straw. This opening will eventually slide over the folded rectangle attached to the back of the bat.

Next, take the thinner straw and cut a 2-inch slit lengthwise from one end. Cutting straws can be tricky, so an adult should assist younger children with this step. Make slow, careful cuts and try to keep each slit as straight as possible.

Step 8: Attach the Skinnier Straw to the Rectangle
Carefully slide the folded rectangle attached to the back of the bat into the slit in the skinnier straw. Position it so one side of the split straw rests on one side of the rectangle and the other side rests on the opposite side. Make sure the rectangle is centered and the straw is straight.
Use clear tape to securely attach both sides of the split straw to the rectangle. Press the tape down firmly so the straw does not slide or twist. Be careful not to tape over any moving folds because the rectangle needs to bend properly for the bat’s wings to move.

Step 9: Attach the Wider Straw to the Bat
Carefully slide the wider straw over the thinner straw, positioning the slit so it faces the back of the bat. The thinner straw should slide freely inside the wider straw.
Take a piece of clear tape and attach one flap of the wider straw to the bat’s wing. Position the tape so approximately ½ inches sticks to the wing and ½ inches extends along the straw flap. Repeat on the other wing using the second flap of the wider straw.
Optional Step:
Next, use another piece of tape to wrap tightly around the first piece of tape where it meets each straw flap. Wrap this tape around the straw and tape only—not around the bat or its wings. Make sure everything is secure while leaving the wing folds free to move.

Your Flying Bat Craft Is Complete!
Your Flying Bat Craft is finished and ready to flap through the night! To make the wings move, hold the skinnier straw steady with one hand and grasp the wider straw with your other hand. Gently slide the wider straw up and down over the skinnier straw and watch as the bat’s wings flap back and forth!
Make your bat soar through an imaginary moonlit sky, swoop around a haunted house, or flutter between Halloween decorations. Kids can create several bats in different colors, give each one a fun name and personality, or put on a flying bat show for family and friends. The crafting may be complete, but the high-flying Halloween fun is just beginning!
Want to Watch the Video Instructions?
Would you rather watch the Flying Bat Craft come together step by step? Follow along with the video tutorial below to see exactly how to fold the template, trim and attach the straws, assemble the moving mechanism, and make the bat’s wings flap! Pause or replay each section as needed and craft along at your own pace. Once your bat is complete, hold onto both straws, slide the wider one up and down, and watch your bat take flight!

How To Download Template:
Before you can begin your craft you need to download the Flying Bat template. This download is available to all members for FREE! You heard me correctly, memberships are free to join for everyone who is 18 years an older! Click on the link to signup and to find the Template. You choose which one you want to download and print.
***These printables are intended for personal and school use exclusively. Unauthorized copying, uploading, republishing, distributing or alteration of these files in any manner is strictly prohibited. If you plan to showcase these printables, please ensure to include a link back to artsykidszone.com.
Discover More Crafts



Rock Paintings 
Origami Butterfles 
Dino Clothespin Puppets 
Pirate Masks 
Water Gun Painting 
Fire-Breathing Dragon 
Fall Witch 
Scarecrow Finger Puppets 
Coffee Filter Trees 
Fall Agamograph
Discover a treasure trove of creativity on our blog, where a plethora of art projects awaits young artists! From whimsical paper bag puppets to mesmerizing agamographs, our collection offers endless opportunities for imaginative expression and hands-on fun. Whether your child is captivated by animals, sports, or seasonal themes, there's something for everyone to enjoy. Let their creativity soar as they dive into our diverse range of art projects, each designed to spark joy and inspire endless creativity. Join us on an artistic adventure filled with laughter, learning, and boundless imagination!


Comments