


3D Bat Card Craft for Kids – Interactive Halloween Paper Craft

All art projects & crafts require adult supervision. Artsy Kids Zone is a participant in the Amazon Associates Program, and I may earn a small commission from qualifying purchases at no additional cost to you. Read our full disclosure policy.

Get ready to send a Halloween surprise with a pair of bat wings! This 3D Bat Card Craft for Kids – Interactive Halloween Paper Craft takes a simple flat card and adds an adorable interactive bat whose wings open and close. Kids can color, cut, fold, and assemble their bat, then move the wings back and forth to hide and reveal what’s underneath. It’s an easy Halloween paper craft with a playful twist that kids will want to open again and again!
What makes this interactive bat card so much fun is the moving wings. When the wings are closed, they wrap around the bat and hide its belly. Open them up and—surprise!—the bat is revealed underneath. That simple movement transforms an ordinary Halloween card into something much more exciting.
For an extra surprise, kids can write a secret Halloween message on the bat’s belly before closing the wings. Keep it simple with “BOO!”, write “Happy Halloween!”, add a silly bat pun, or create a special message for the person receiving the card. This step is completely optional, but it makes opening those bat wings even more fun because you never know what might be hiding underneath!

Before assembling the card, let kids get creative with their coloring supplies. Make a classic black bat, choose spooky shades of purple and gray, or create a bright rainbow bat covered in patterns. Kids can add funny eyes, tiny fangs, rosy cheeks, stripes, spots, or anything else they can imagine. Every printable Halloween bat card can look completely different.
As kids color, cut, fold, and glue their card, they’re also practicing important skills. Cutting around the pieces strengthens fine motor and scissor skills, while carefully folding the wings helps with hand-eye coordination, concentration, and following directions. Then they get the satisfaction of seeing all those individual pieces come together to create an interactive finished project.
This Halloween card craft for kids is perfect for classrooms, homeschool art lessons, Halloween parties, library programs, or a creative October afternoon at home. Kids can make one to display or create several to give to friends, grandparents, teachers, neighbors, or classmates. A handmade Halloween card is always fun to receive—especially when there’s a secret message hiding inside!

Handprint Bats 
Cute Witch Puppets 
Paper Bag Puppets 
Straw Rocket 
Origami Templates 
Zombie Finger Puppets 
Coffee Filter Bats 
3D Witch Paper Dolls 
Painted Rocks 
Agamograph 
Bat Crown 
Bat Finger Puppets 
Witch Paper Bag Puppet 
Moving Eyes Witch Craft 
Rocking Bat Craft 
Witch Finger Puppets
And don’t stop with bats! Halloween is one of my favorite holidays to craft for, so Artsy Kids Zone is packed with easy Halloween crafts for kids featuring Origami Bats, 3D Bat Bookmarks, Origami Ghosts, Witch Paper Bag Puppet, Paper Masks, Paper Bag Puppets, Clothespin Puppets, Ghost Water Gun Painting, coloring pages, and dozens of other kid-friendly Halloween crafts perfect for celebrating the season.
And don’t stop with bats! Halloween is one of my favorite holidays to craft for, so Artsy Kids Zone is packed with easy Halloween crafts for kids featuring witches, ghosts, vampires, pumpkins, mummies, Frankenstein’s Monster, black cats, paper puppets, masks, origami, optical illusions, painted rocks, handprint crafts, and so much more. Whether your kids like Halloween cute, silly, spooky, or a little creepy, there’s always something new to create.
So grab your printable template, crayons, scissors, and glue and get crafting! This 3D Bat Card Craft for Kids is a fun combination of coloring, paper crafting, and interactive play. Close the bat’s wings to hide what’s underneath, then spread them open to reveal its face—and maybe even a secret “BOO!” waiting on its belly. It’s a simple Halloween surprise that’s sure to make kids smile!
Supplies Needed for 3D Bat Card Craft
Printable 3D Bat Card Template (printable)
3D Bat Card Craft for Kids

Step 1: Print the 3D Bat Card Template
Download and print the 3D Bat Card template on an 8.5×11 inch sheet of white cardstock. Cardstock works best because it is sturdier than regular printer paper, helping the card hold its shape while allowing the bat’s wings to open and close without tearing. It also makes the finished Halloween card more durable for displaying or giving to someone special.

Step 2: Color and Decorate the Bat Card
Use crayons, markers, colored pencils, or acrylic paint pens to color the bat, tree branch, and Halloween background. Kids can choose classic colors like black, purple, orange, and dark blue or create a bright and colorful Halloween scene. Encourage your child’s creativity by complimenting specific details in their artwork. Try saying, “I love the colors you chose for the bat’s wings,” or “The pattern you added looks so creative!” Pointing out specific things you enjoy can help children feel proud of their work and more confident in their artistic choices.

As an optional finishing touch, write a short Halloween message on the bat’s belly. Try something fun like “Boo!” “Happy Halloween!” “You’re Fang-tastic!” or “Have a Batty Halloween!” When the wings are closed, the message will be hidden. Open them to reveal the spooky surprise!

Step 3: Cut Out the Bat and Card
Carefully cut around the outside edges of the bat and the card. Remind younger children to keep their thumb pointing upward, make slow and steady cuts, and point the scissors away from their bodies. It is often easier to turn the paper while cutting instead of twisting the scissors around every curve.
Parents can trim away the extra paper around each piece first, making it easier for little hands to hold. Let children cut the larger, straighter sections while an adult helps with any tight curves or smaller details. Always supervise young children while they use scissors.

Step 4: Fold the Bat’s Wings
Find the dotted fold lines on the bat and carefully fold both wings inward along them. Press firmly along each fold to create a clean crease. The wings should fold over the bat’s body and open again to reveal the face, belly, and secret Halloween message underneath.

Step 5: Color the Back of the Wings
Flip the bat over so the back is facing upward. Use crayons, markers, or colored pencils to color the back of both wings, stopping when you reach the dotted fold lines. Coloring both sides gives the wings a more polished, finished appearance when they open and close. Be careful not to color past the fold lines onto the section that will be glued to the card.

Step 6: Glue the Bat to the Card
Turn the bat over and apply glue to the back of its feet, being careful not to place glue on the wings or body. Position the bat upside down beneath the tree branch so it looks like it is hanging by its feet. Press the glued section firmly onto the card for a few seconds, then let it dry completely. Once the glue is dry, open and close the wings to reveal the bat and its hidden Halloween message!
Your 3D Bat Card Craft Is Complete!
Your 3D Bat Card Craft is finished and ready to deliver a spooky Halloween surprise! Open and close the bat’s wings to reveal its face, colorful body, and hidden message underneath. Write something fun like “Boo!” “Happy Halloween!” or “You’re Fang-tastic!” on its belly, then give the finished card to a friend, teacher, parent, or grandparent. You can also display it at home or in the classroom as an interactive Halloween decoration. The crafting may be complete, but the batty fun is just getting started!
If you enjoy this project, I'd love for you to subscribe to my YouTube channel for more fun, kid-friendly craft tutorials and follow Artsy Kids Zone on Pinterest for even more creative ideas, free printables, and easy crafts the whole family will enjoy!

How To Download Template:
Before you can begin your craft you need to download the template. This download is available to all members for FREE! You heard me correctly, memberships are free to join for everyone who is 18 years an older! Click on the link below to signup and to find the Template.
***These printables are intended for personal and school use exclusively. Unauthorized copying, uploading, republishing, distributing or alteration of these files in any manner is strictly prohibited. If you plan to showcase these printables, please ensure to include a link back to artsykidszone.com.

Fall Agamograph 
Rainbow Fish Craft 
Hatching Dragon Egg 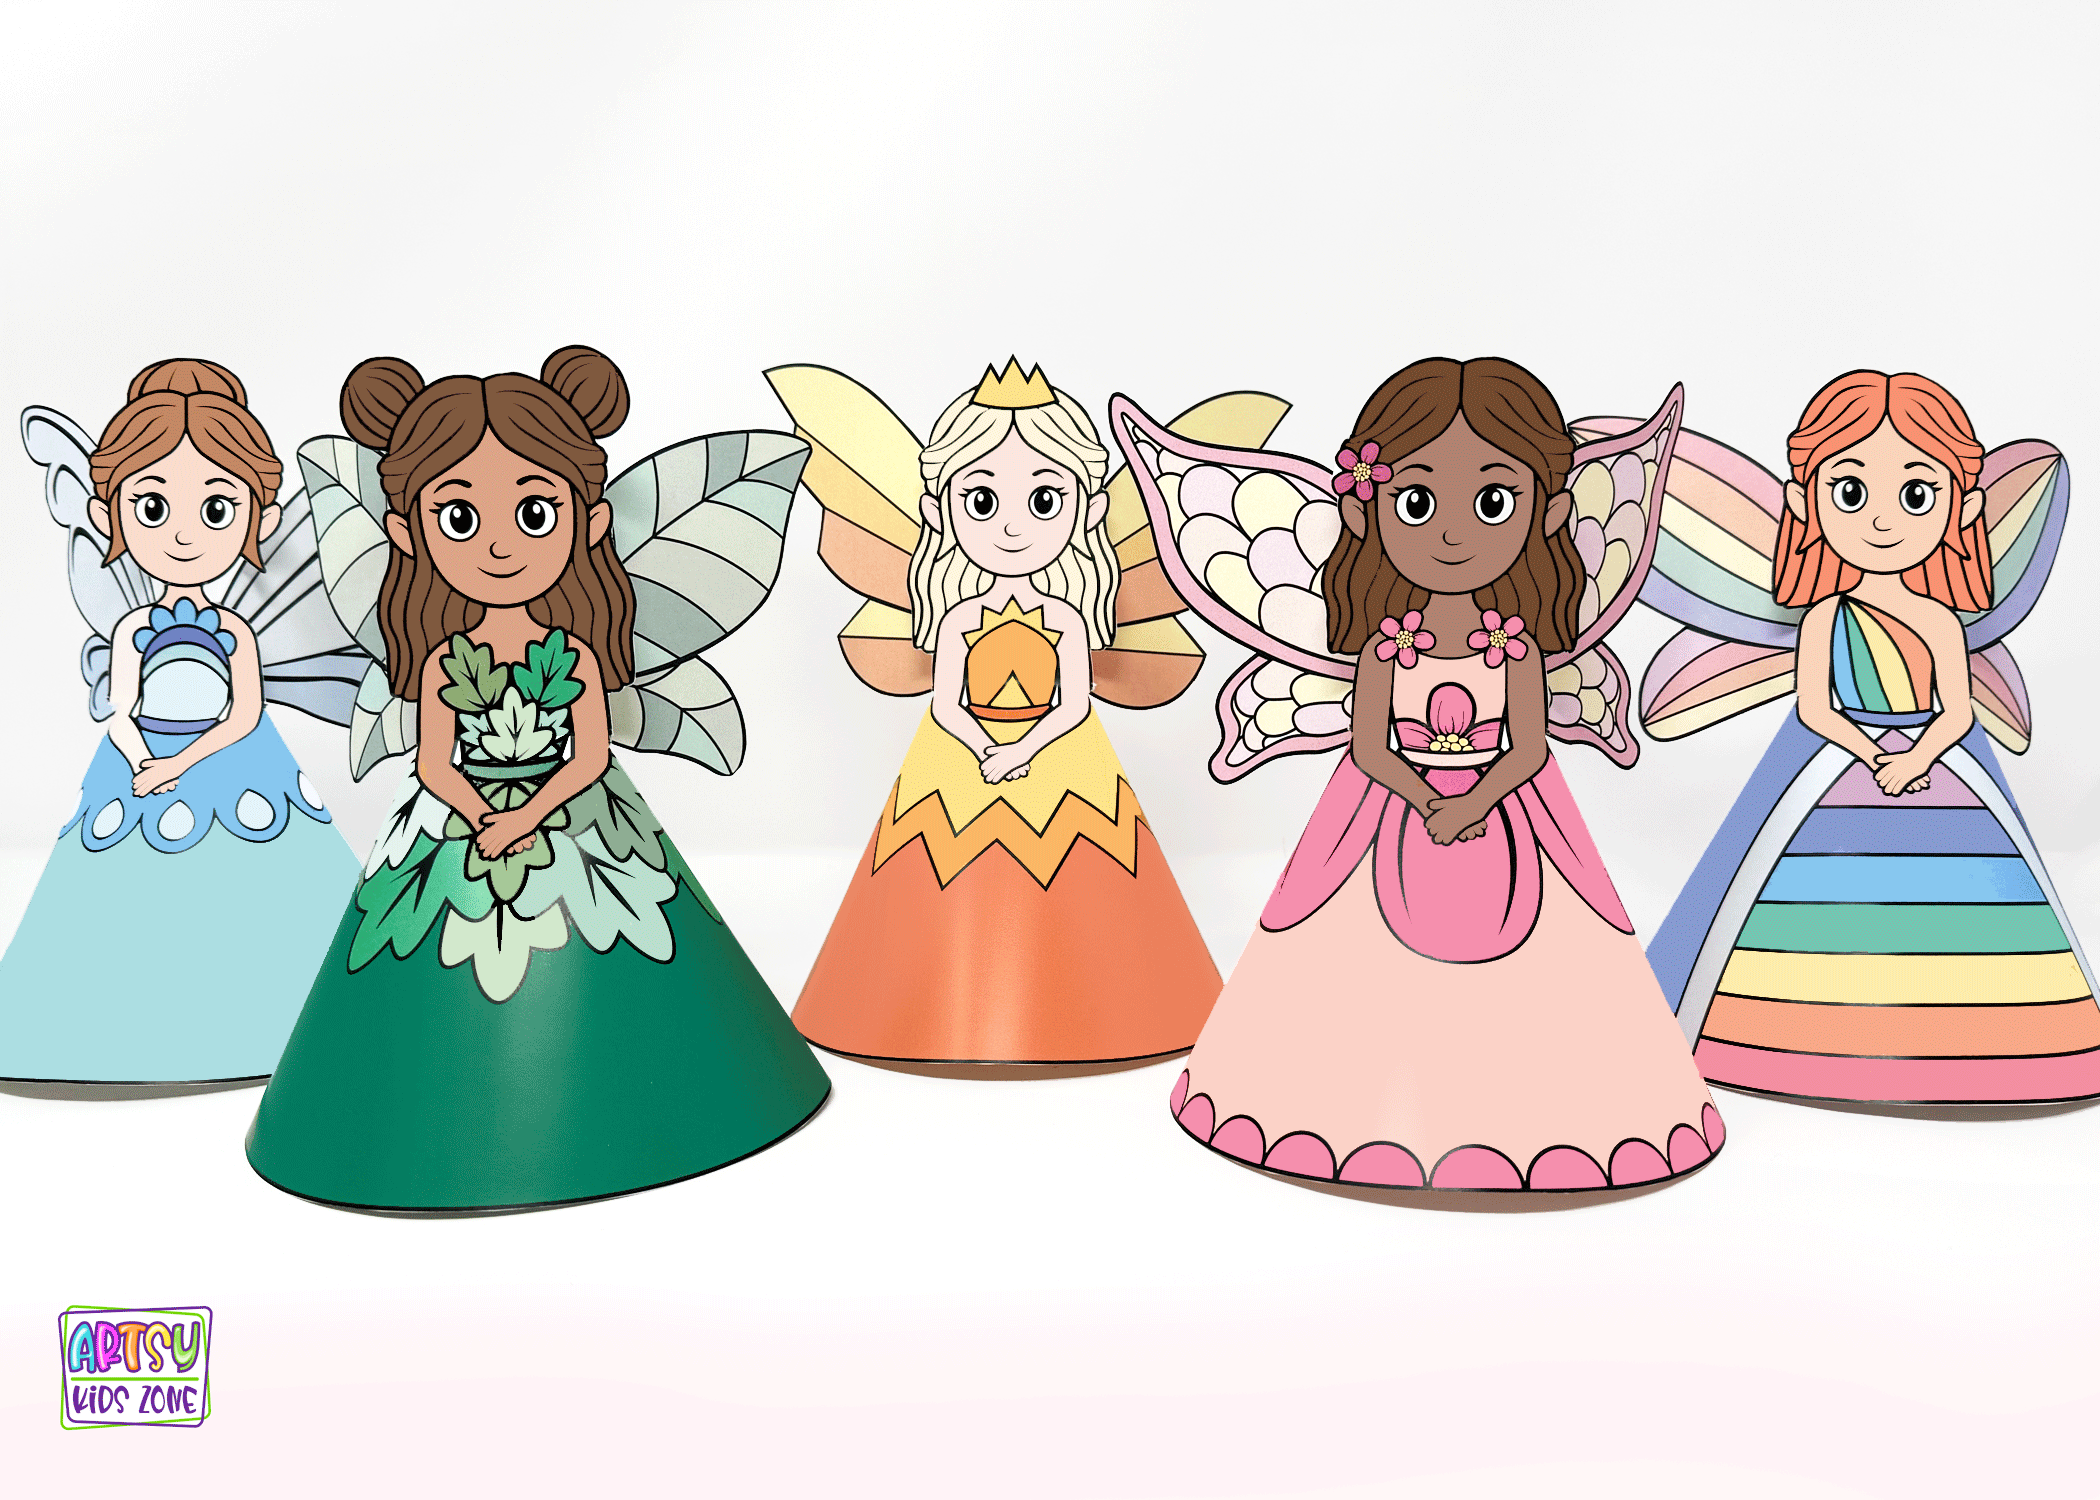
Fairy 3d Paper Dolls 
Coffee Filter Trees 
TP Roll Fish 
Pirate Paper Masks 
Zombie Puppets 
Mermaid Crowns 
Dragon Craft 
Travel Mini Journal 
Fall Lion
At Artsy Kids Zone, the creativity doesn’t stop with Halloween! You’ll find tons of fun art projects for kids that spark imagination all year long. Set sail with Pirate Paper Masks for adventurous play, or try folding a Dog Origami for a paws-itively adorable craft. Kids who love animals will enjoy making Dinosaur Clothespin Puppets that chomp and roar, TP Roll Crabs that scuttle across the table, and a lovable Elephant Paper Bag Puppet that’s perfect for pretend play. Each craft is designed to be simple, creative, and full of personality—perfect for classrooms, family craft days, or anytime you want to add a little more fun to learning and play!


Comments