


Handprint Witch Craft for Kids – Printable Halloween Art Project

Updated: Sep 11
All art projects & crafts require adult supervision. Artsy Kids Zone is a participant in the Amazon Associates Program, and I may earn a small commission from qualifying purchases at no additional cost to you. Read our full disclosure policy.

Looking for a Halloween craft that's equal parts adorable and memorable? This Handprint Witch Craft for Kids – Printable Halloween Art Project is the perfect way to celebrate the spooky season while creating a keepsake you'll treasure for years. Instead of using handprints for wings or leaves, your child's colorful handprints become the witch's wild, magical hair, making every finished craft completely one of a kind.
One of my favorite things about handprint crafts is that they capture a special moment in time. Those little hands seem to grow overnight, so creating artwork with handprints is a wonderful way to preserve those memories. Years from now, you'll love pulling out this Halloween craft and remembering just how tiny those hands once were.
This Halloween handprint craft is simple enough for toddlers, preschoolers, and elementary-aged children while still being fun for older kids. It's a fantastic activity for classrooms, homeschool lessons, Halloween parties, daycare centers, or a cozy afternoon of crafting at home. Kids will love seeing their own handprints transformed into a funny, friendly witch.
One of the best parts of this project is that every witch turns out differently. Kids can experiment with colorful handprints, decorate the witch's outfit, add fun patterns, and create their own unique Halloween character. There are no wrong colors or designs, so it's a wonderful opportunity to encourage creativity and let imaginations run wild.

Handprint Witch 
Handprint Bat
If your kids enjoy this project, be sure to check out our Handprint Bat Craft for Kids too! Instead of making the witch's hair, your child's handprints become the bat's wings, creating another adorable Halloween keepsake that's perfect for decorating your home or classroom during spooky season.
As children color, cut, trace, and assemble their witch, they're also strengthening fine motor skills, hand-eye coordination, creativity, and scissor skills. It's a fun screen-free activity that helps build confidence while giving kids a Halloween decoration they'll be proud to display.

Paper Bag Puppet 
Coffee Filter Bats 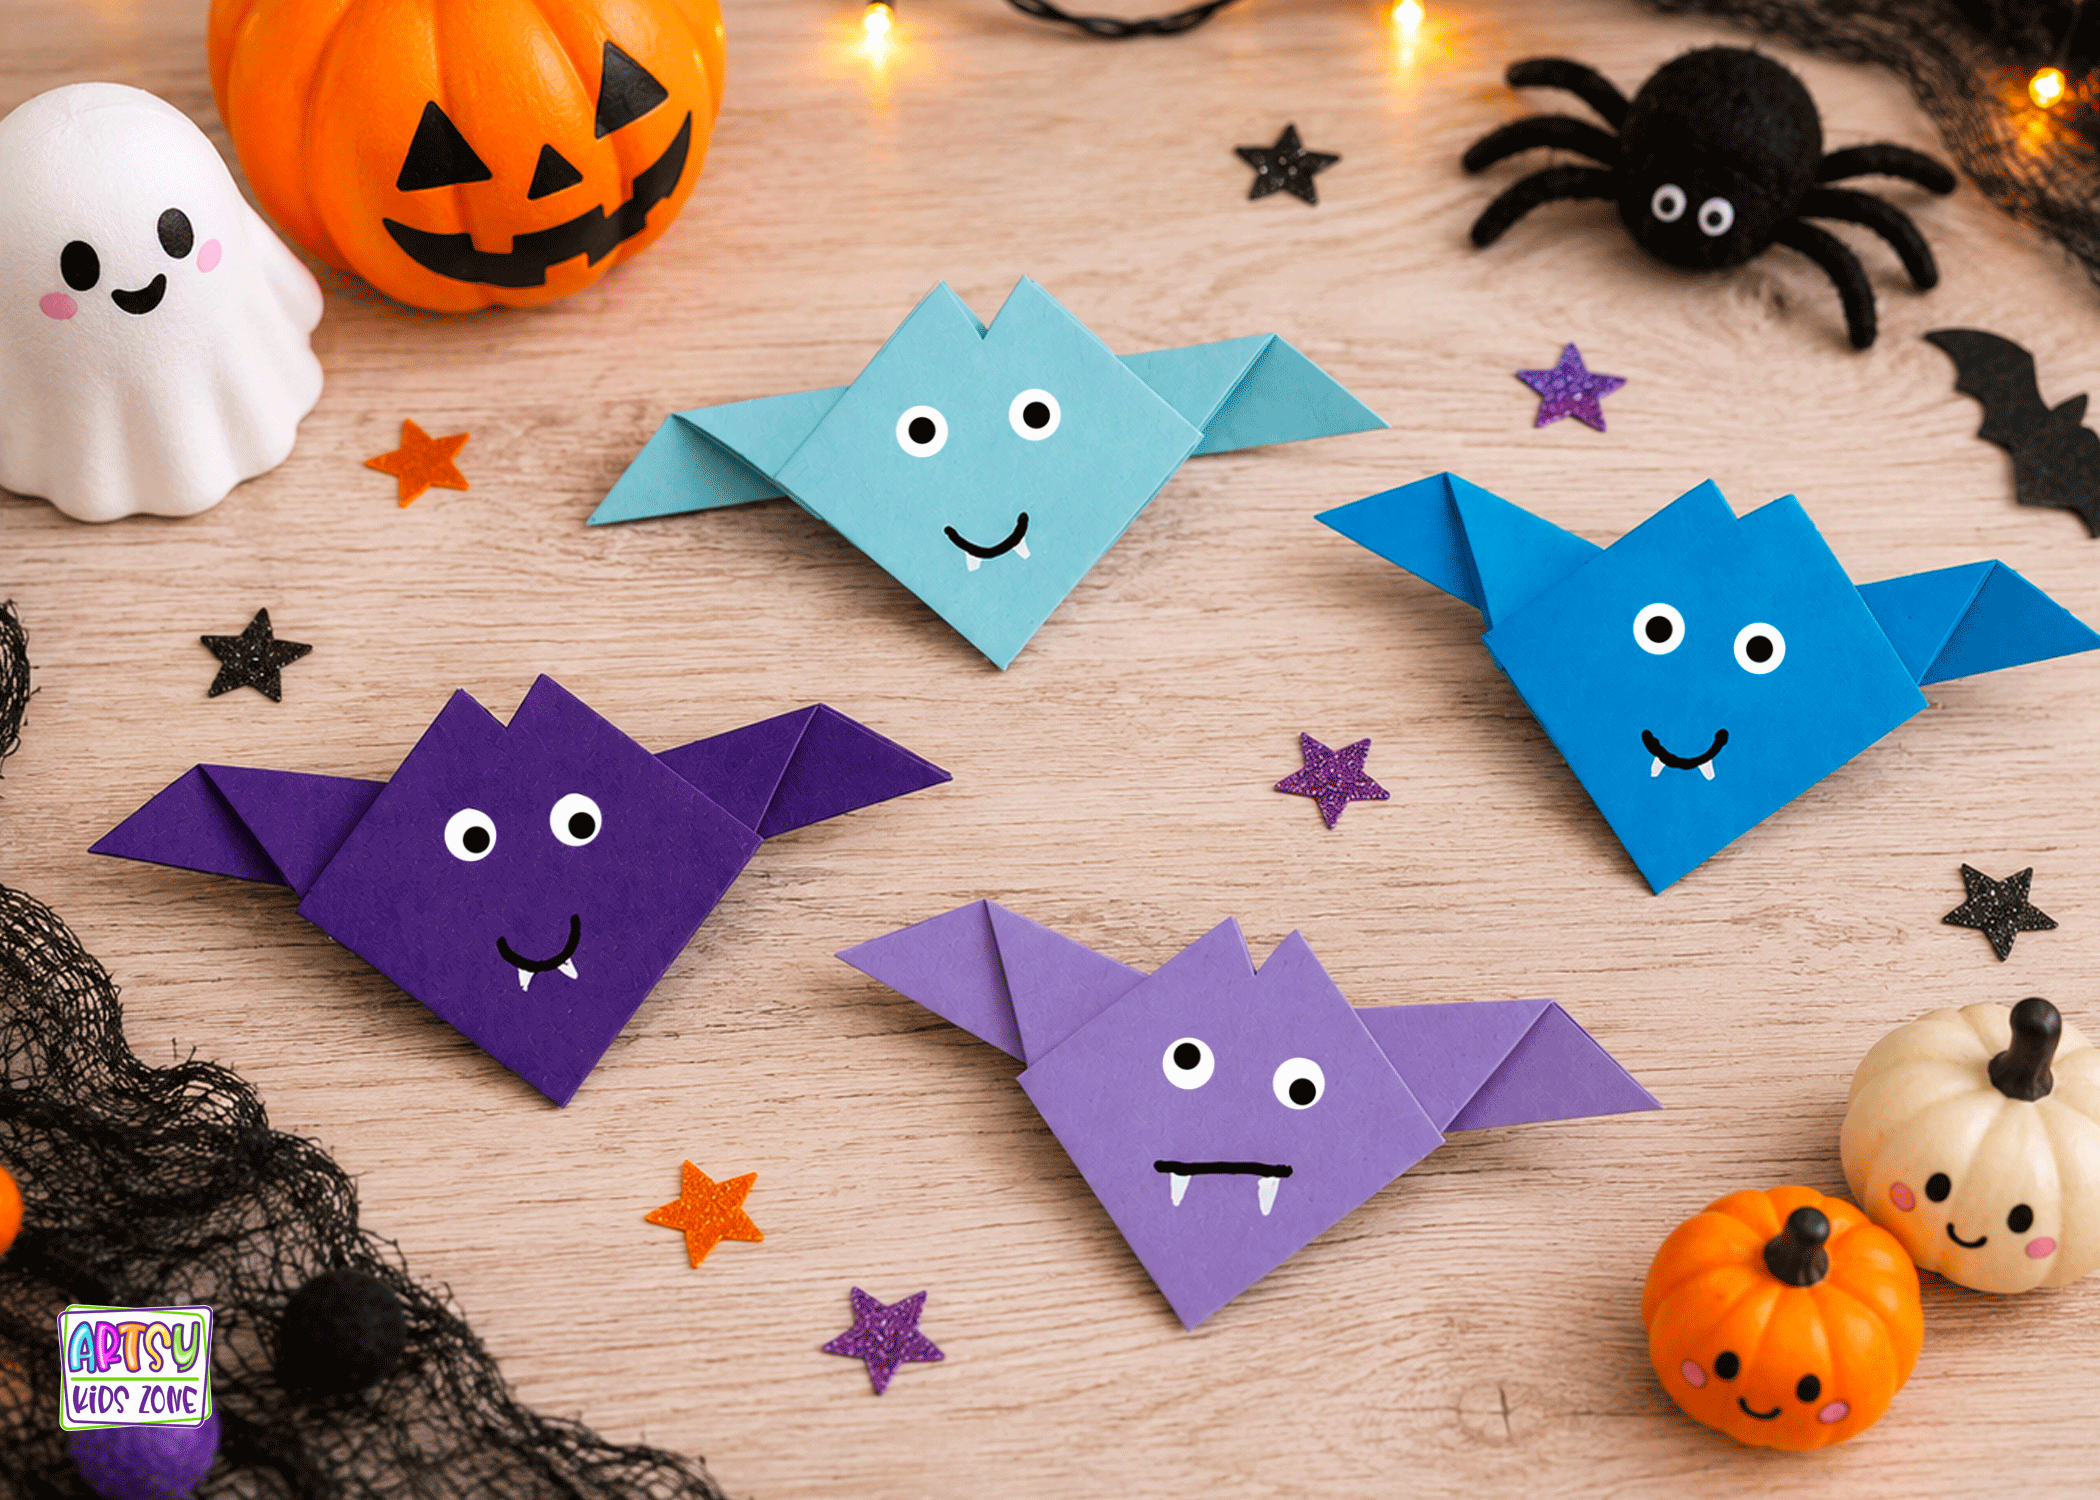
Bat Origami 
Zombie Finger Puppets 
Paper Bag Puppets 
Popsicle Stick Witch 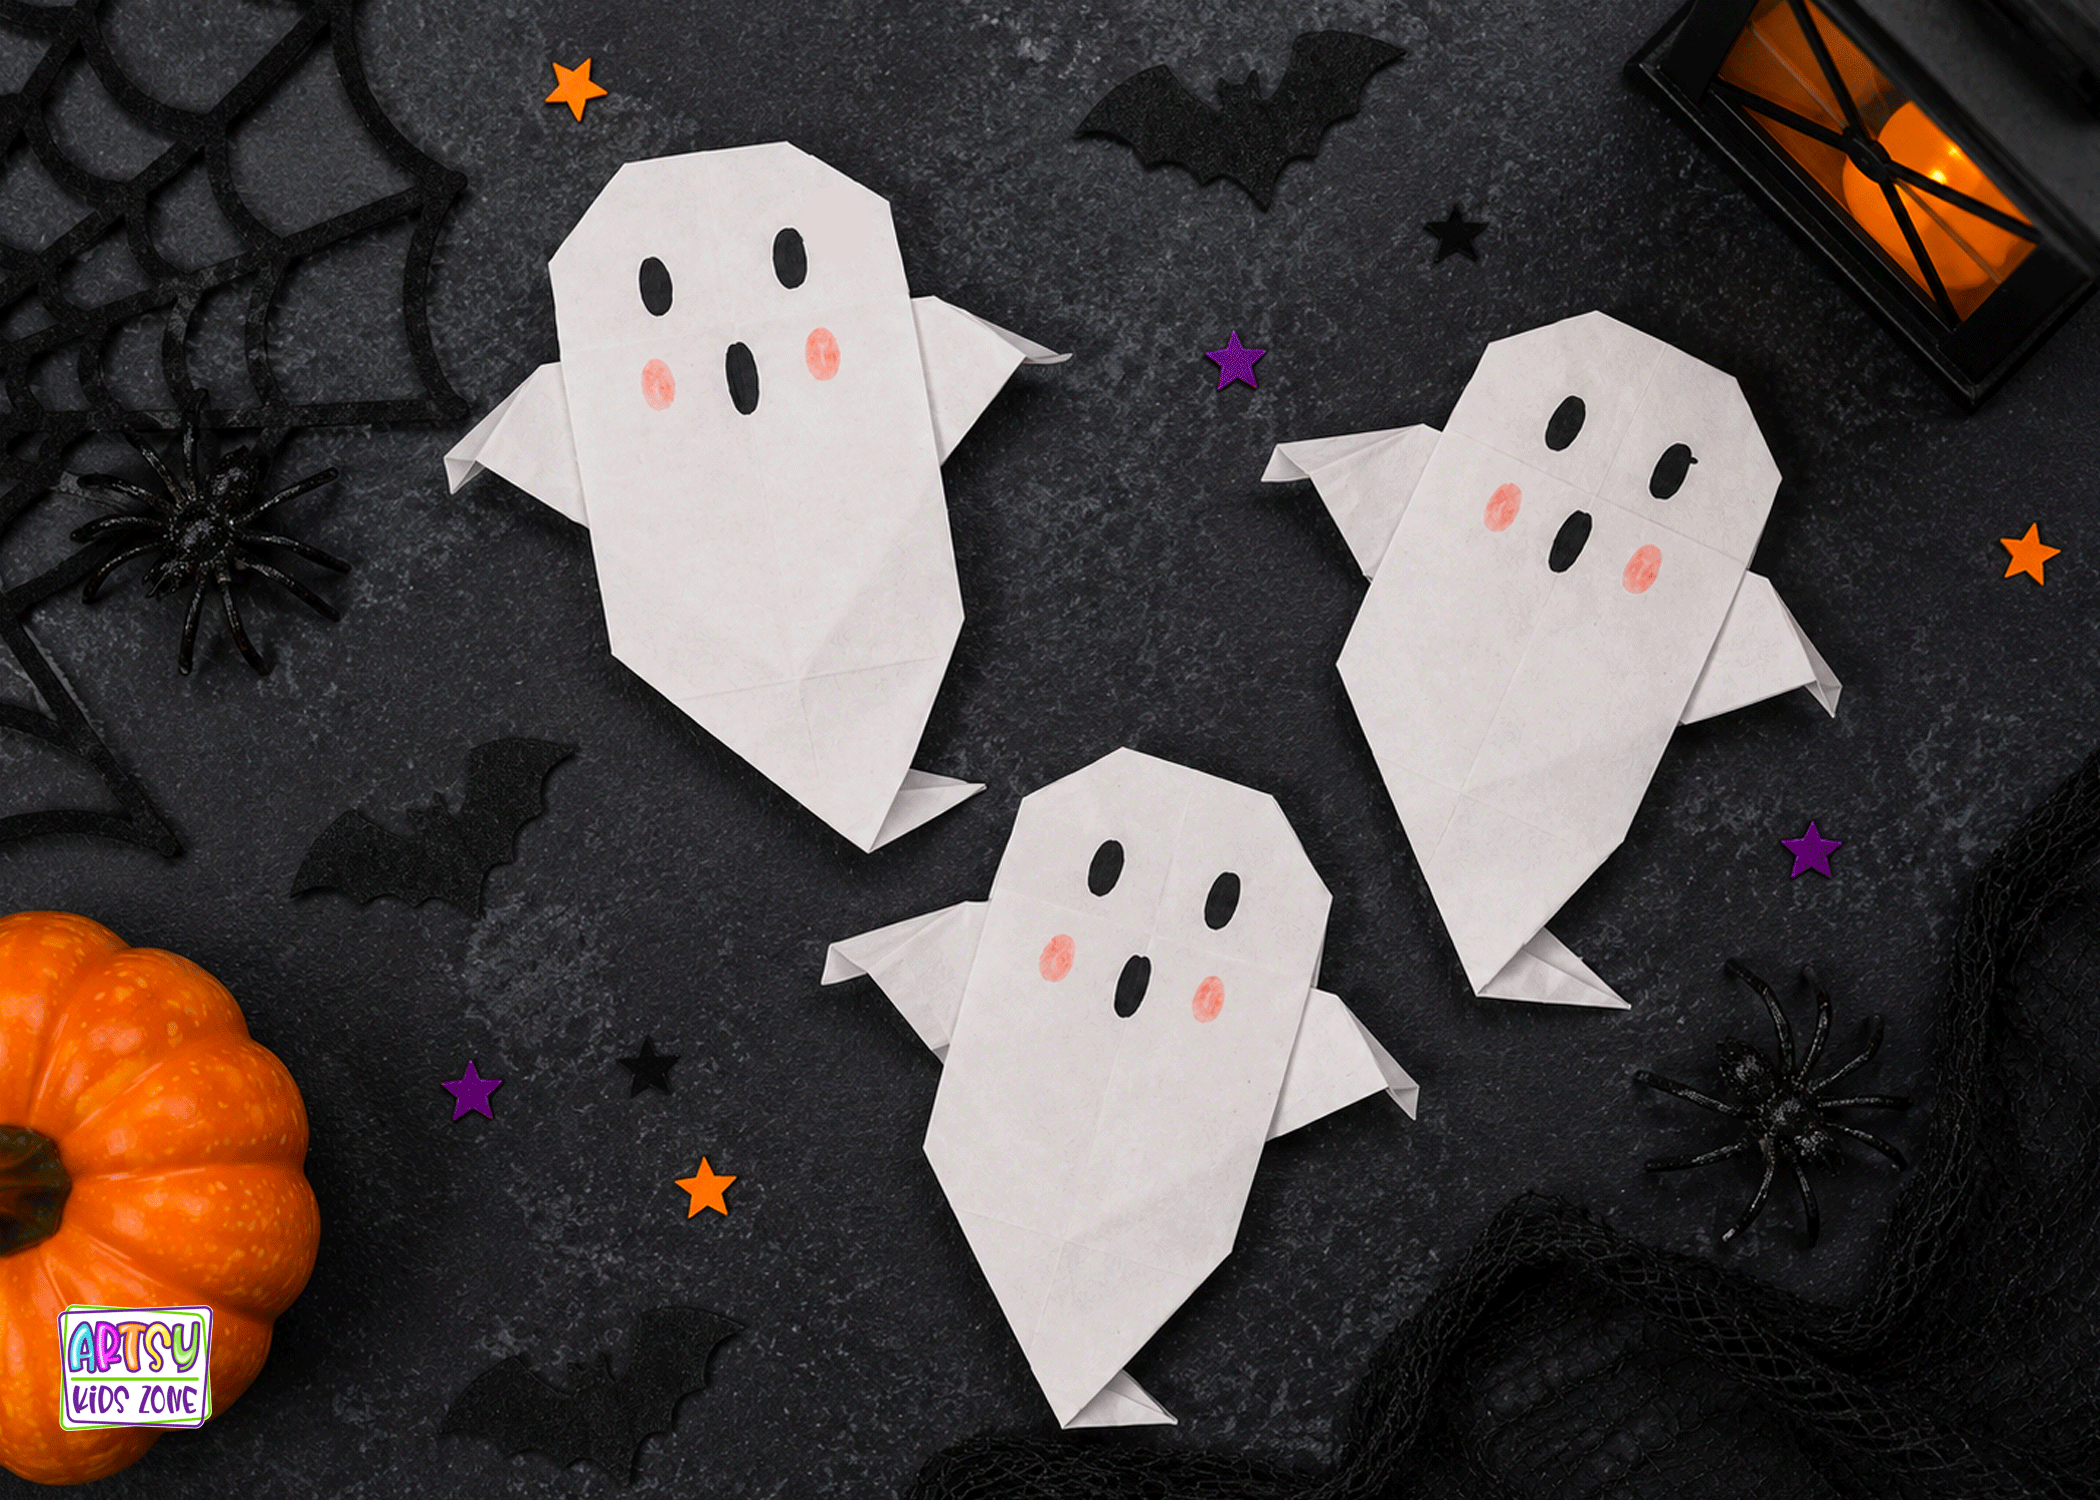
Ghost Origami 
Origami Templates 
3D Witch Paper Dolls 
Agamograph 
Paper Bag Puppet 
Fall Leaf Witch
If your family loves Halloween crafts, you're in the right place! Be sure to explore the huge
Halloween collection here on Artsy Kids Zone, including Origami Bats, 3D Bat Bookmarks, Bat Finger Puppets, Paper Bag Puppets, Paper Masks, Ghost Water Gun Painting, Halloween Rock Painting Ideas, Clothespin Puppets, and dozens of other creative Halloween activities that are perfect for celebrating the season.
So gather your printable template, crayons, scissors, glue, and those little hands because it's time to create a Halloween keepsake you'll cherish forever. This Handprint Witch Craft for Kids is more than just a fun art project—it's a special memory captured in paint that will bring smiles every Halloween for years to come.

Materials Needed:
Handprint Witch Template
Handprint Witch Craft

Step 1: Download and Print the Witch Template
Begin by downloading the printable bat template and printing it on an 8.5 × 11-inch sheet of white cardstock paper. Cardstock is sturdier than regular printer paper, which makes the bat easier for kids to color, cut, and assemble without the paper bending or tearing. It will also help the finished witch hold its shape when the handprint hair is added.
Before moving on, make sure the entire witch printed correctly and that none of the outside edges were cut off. Place the printed template on a flat work surface and gather your coloring supplies, scissors, glue stick, ink pads, and orange cardstock.

Step 2: Color the Witch
Invite your child to color the witch using crayons, markers, colored pencils, or acrylic paint pens. They can choose classic Halloween colors like black, purple, orange, and green, or get creative with bright pink, blue, teal, or even rainbow colors. The witch’s skin can be traditional green or any color your child imagines!
Encourage your child to take their time and color all the way to the edges. They can also add their own details to the witch’s hat and outfit, such as stars, moons, stripes, polka dots, spiderwebs, or other fun Halloween patterns. There is no wrong way to decorate the witch, so let your child’s personality and imagination shine through!

Step 3: Cut Out the Witch’s Head and Hat
Once the coloring is complete, carefully cut around the outside edge of the witch’s head and hat. For younger children who are still learning to use scissors, remind them to keep their thumb pointing upward and make slow, small cuts. It is often easier for kids to turn the paper as they cut instead of twisting the scissors around every curve.
Parents can help by trimming away the extra paper around the witch first, creating a smaller piece that is easier for little hands to hold. Let your child cut the larger, straighter sections while an adult helps around the smaller curves and details of the witch’s face and hat. Adult supervision is always recommended when children are using scissors.

Step 4: Make the Handprint Hair
Now it is time to create the witch’s wild and colorful hair! I used fun, child-size handprint ink pads that are made to fit kids’ hands. They make this part of the project quick and easy while capturing all the tiny lines and details in each palm and finger.
Gently press your child’s hand onto the ink pad, making sure the palm and every finger are evenly covered. Next, carefully press the hand onto a sheet of orange cardstock paper. Encourage your child to spread their fingers apart so the finished handprint creates long, wavy sections of witch’s hair. Gently press across the back of the hand and each finger, then lift the hand straight up to help prevent smudging.
Repeat the process with the other hand to create two handprints. These will be attached to both sides of the witch’s head to give her a full head of bright orange hair. I love using ink because it preserves the little details in your child’s handprints and turns the finished witch into a special Halloween keepsake. Wash your child’s hands after printing and allow the ink to dry completely before cutting.
If you do not have handprint ink pads, simply place your child’s hands on orange cardstock and trace around them with a pencil. You can also experiment with purple, green, black, or another fun Halloween color to create a witch with completely unique hair!

Step 5: Cut Out the Handprints
Once the handprints are completely dry, carefully cut around the outside of each one. Follow the general shape of the fingers and palm, but do not worry about making every tiny curve perfect. The handprints will still look adorable and recognizable even if the cuts are simple.
Younger children may find the spaces between the fingers challenging to cut. Parents can help with these smaller areas or leave a narrow border around each handprint to make the cutting easier. Just like before, remind kids to make small cuts and rotate the cardstock as they work their way around each hand.

Step 6: Attach the Handprint Hair
Turn the witch’s head over so the back is facing up. Arrange the two orange handprints behind the head, with the fingers pointing outward and slightly downward to create the witch’s wild hair. Before gluing, adjust the handprints until the hair looks even on both sides and you are happy with the placement.
Use a glue stick to apply a small amount of glue to the palm section of each handprint. Press the glued sections onto the back of the witch’s head, making sure the fingers remain visible around both sides. Hold each handprint in place for a few seconds, then allow the glue to dry completely before displaying your finished witch.

Your Handprint Witch Craft Is Complete!
Your child’s adorable Handprint Witch Craft is ready to cast a little Halloween magic! Display it on the refrigerator, hang it in a window, add it to a classroom bulletin board, or create several witches for a playful Halloween wall display. You can even write your child’s name and the year on the back to turn it into a special keepsake that captures the size of their hands. Every witch will look a little different, making this simple Halloween craft wonderfully personal and completely one of a kind!

How To Download Template:
Before you can begin your craft you need to download the Handprint Witch template. This download is available to all members for FREE! You heard me correctly, memberships are free to join for everyone who is 18 years an older! Click on the link to signup and to find the Template. You choose which one you want to download and print.
***These printables are intended for personal and school use exclusively. Unauthorized copying, uploading, republishing, distributing or alteration of these files in any manner is strictly prohibited. If you plan to showcase these printables, please ensure to include a link back to artsykidszone.com.
Discover More Kid Friendly Crafts

Popsicle Stick Scarecrow 
Coffee Filter Tree 
Snake Coloirng Pages 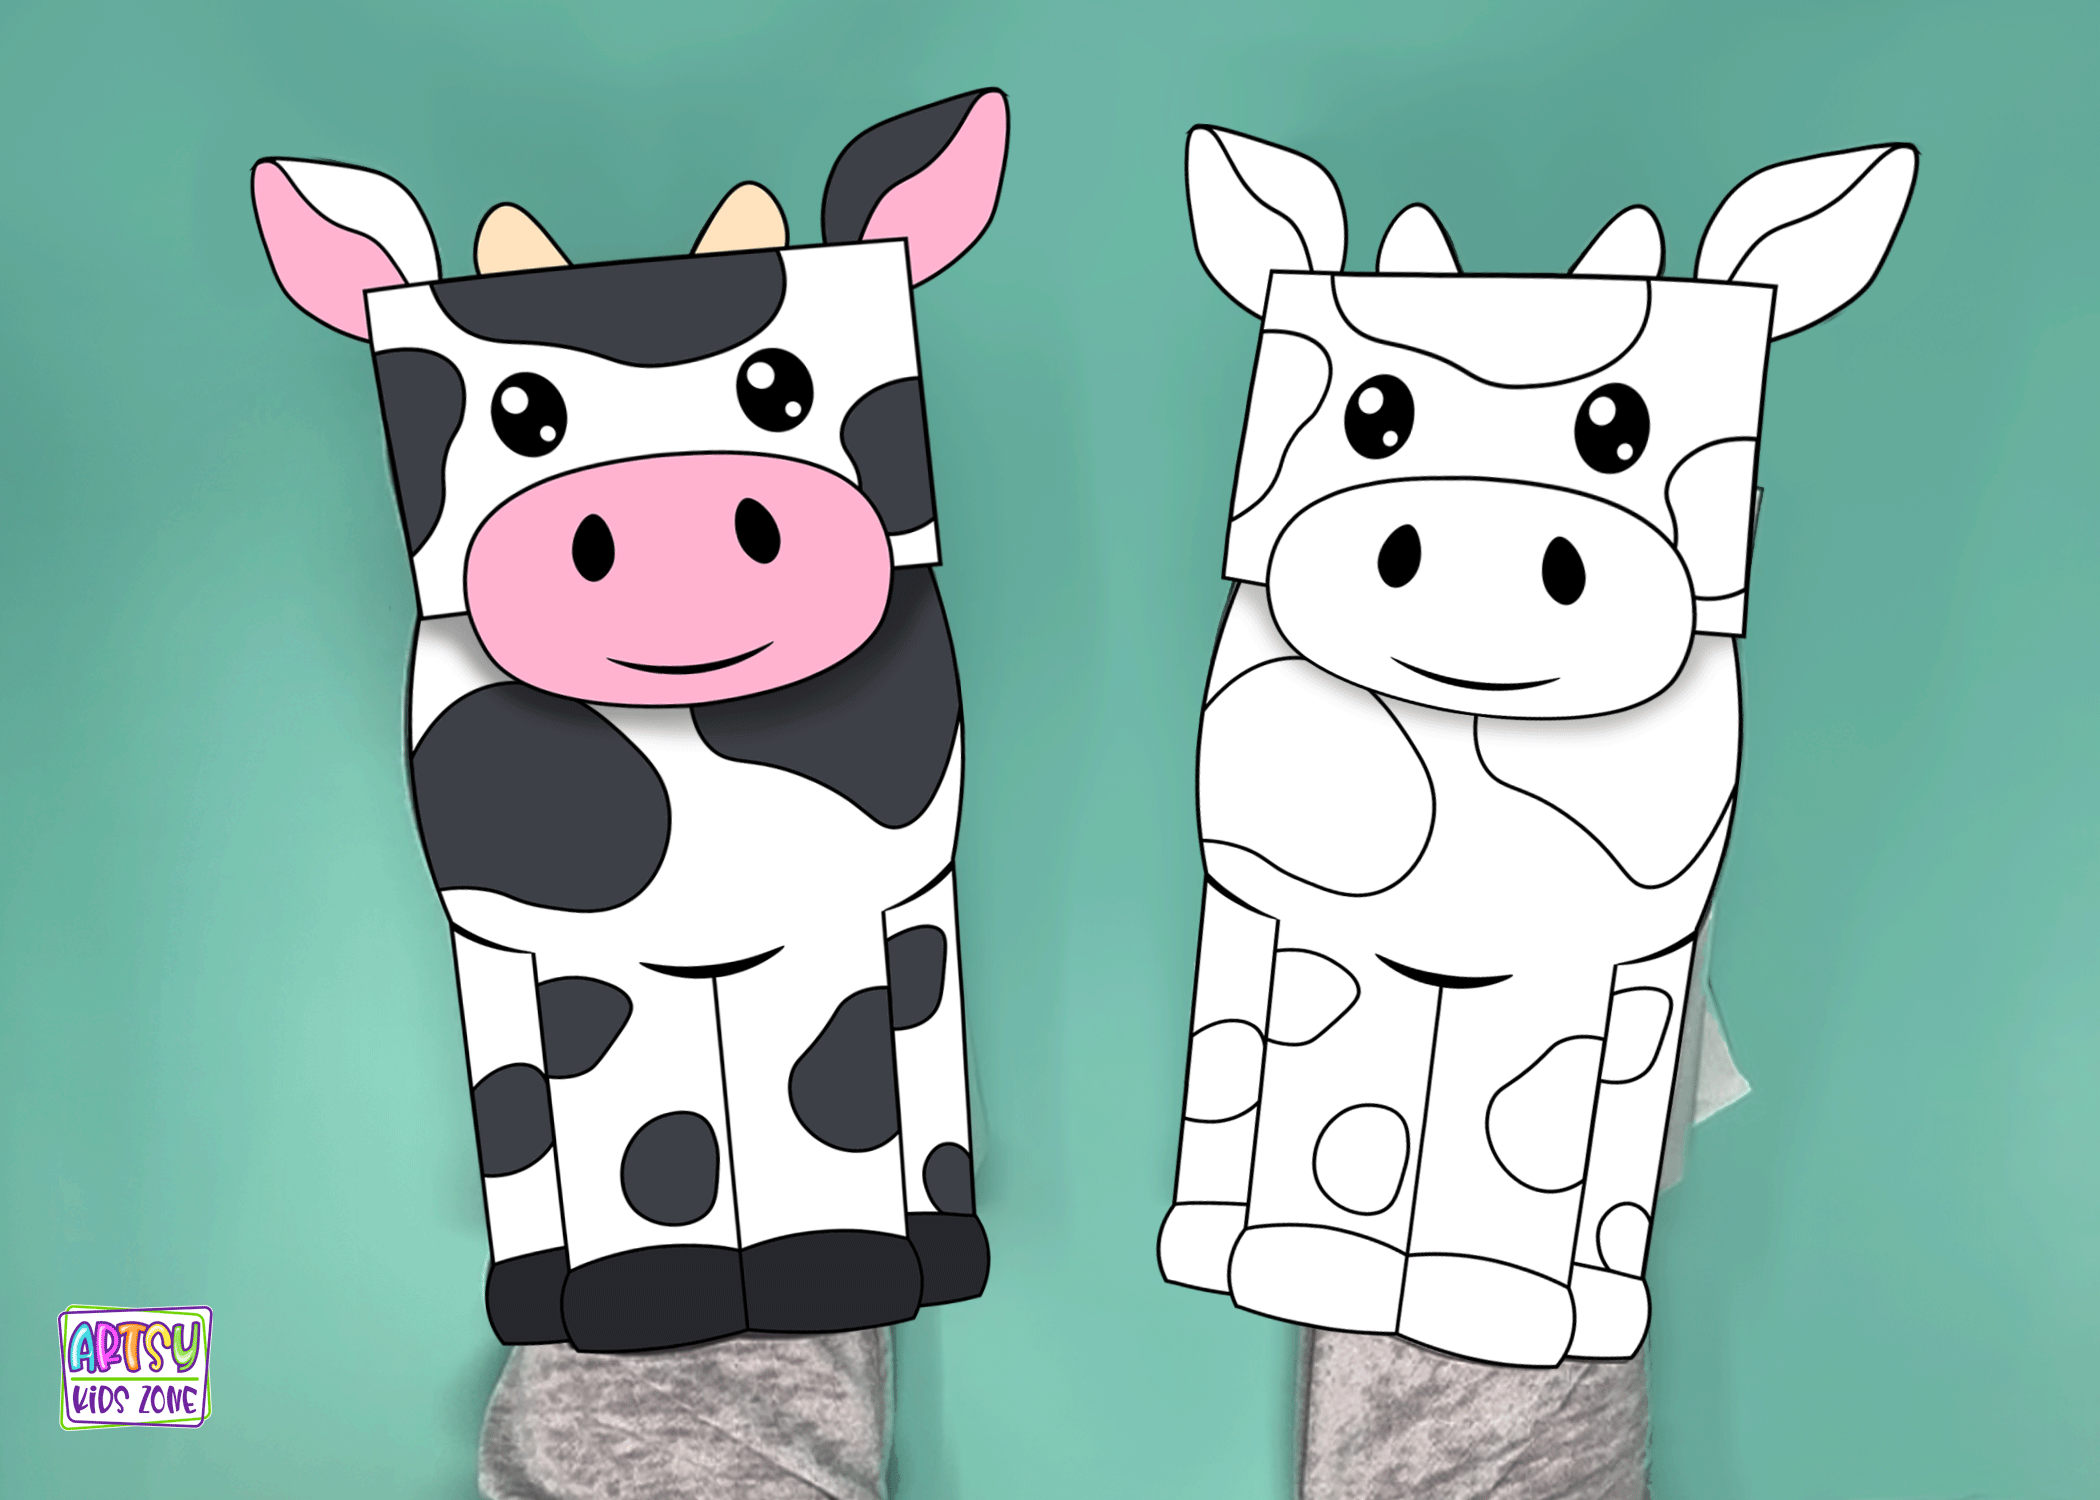
Cow Paper Bag Puppet 
Rainbow Fish Craft 
Alien Handprint Craft 
Fall Leaf Hedgehog 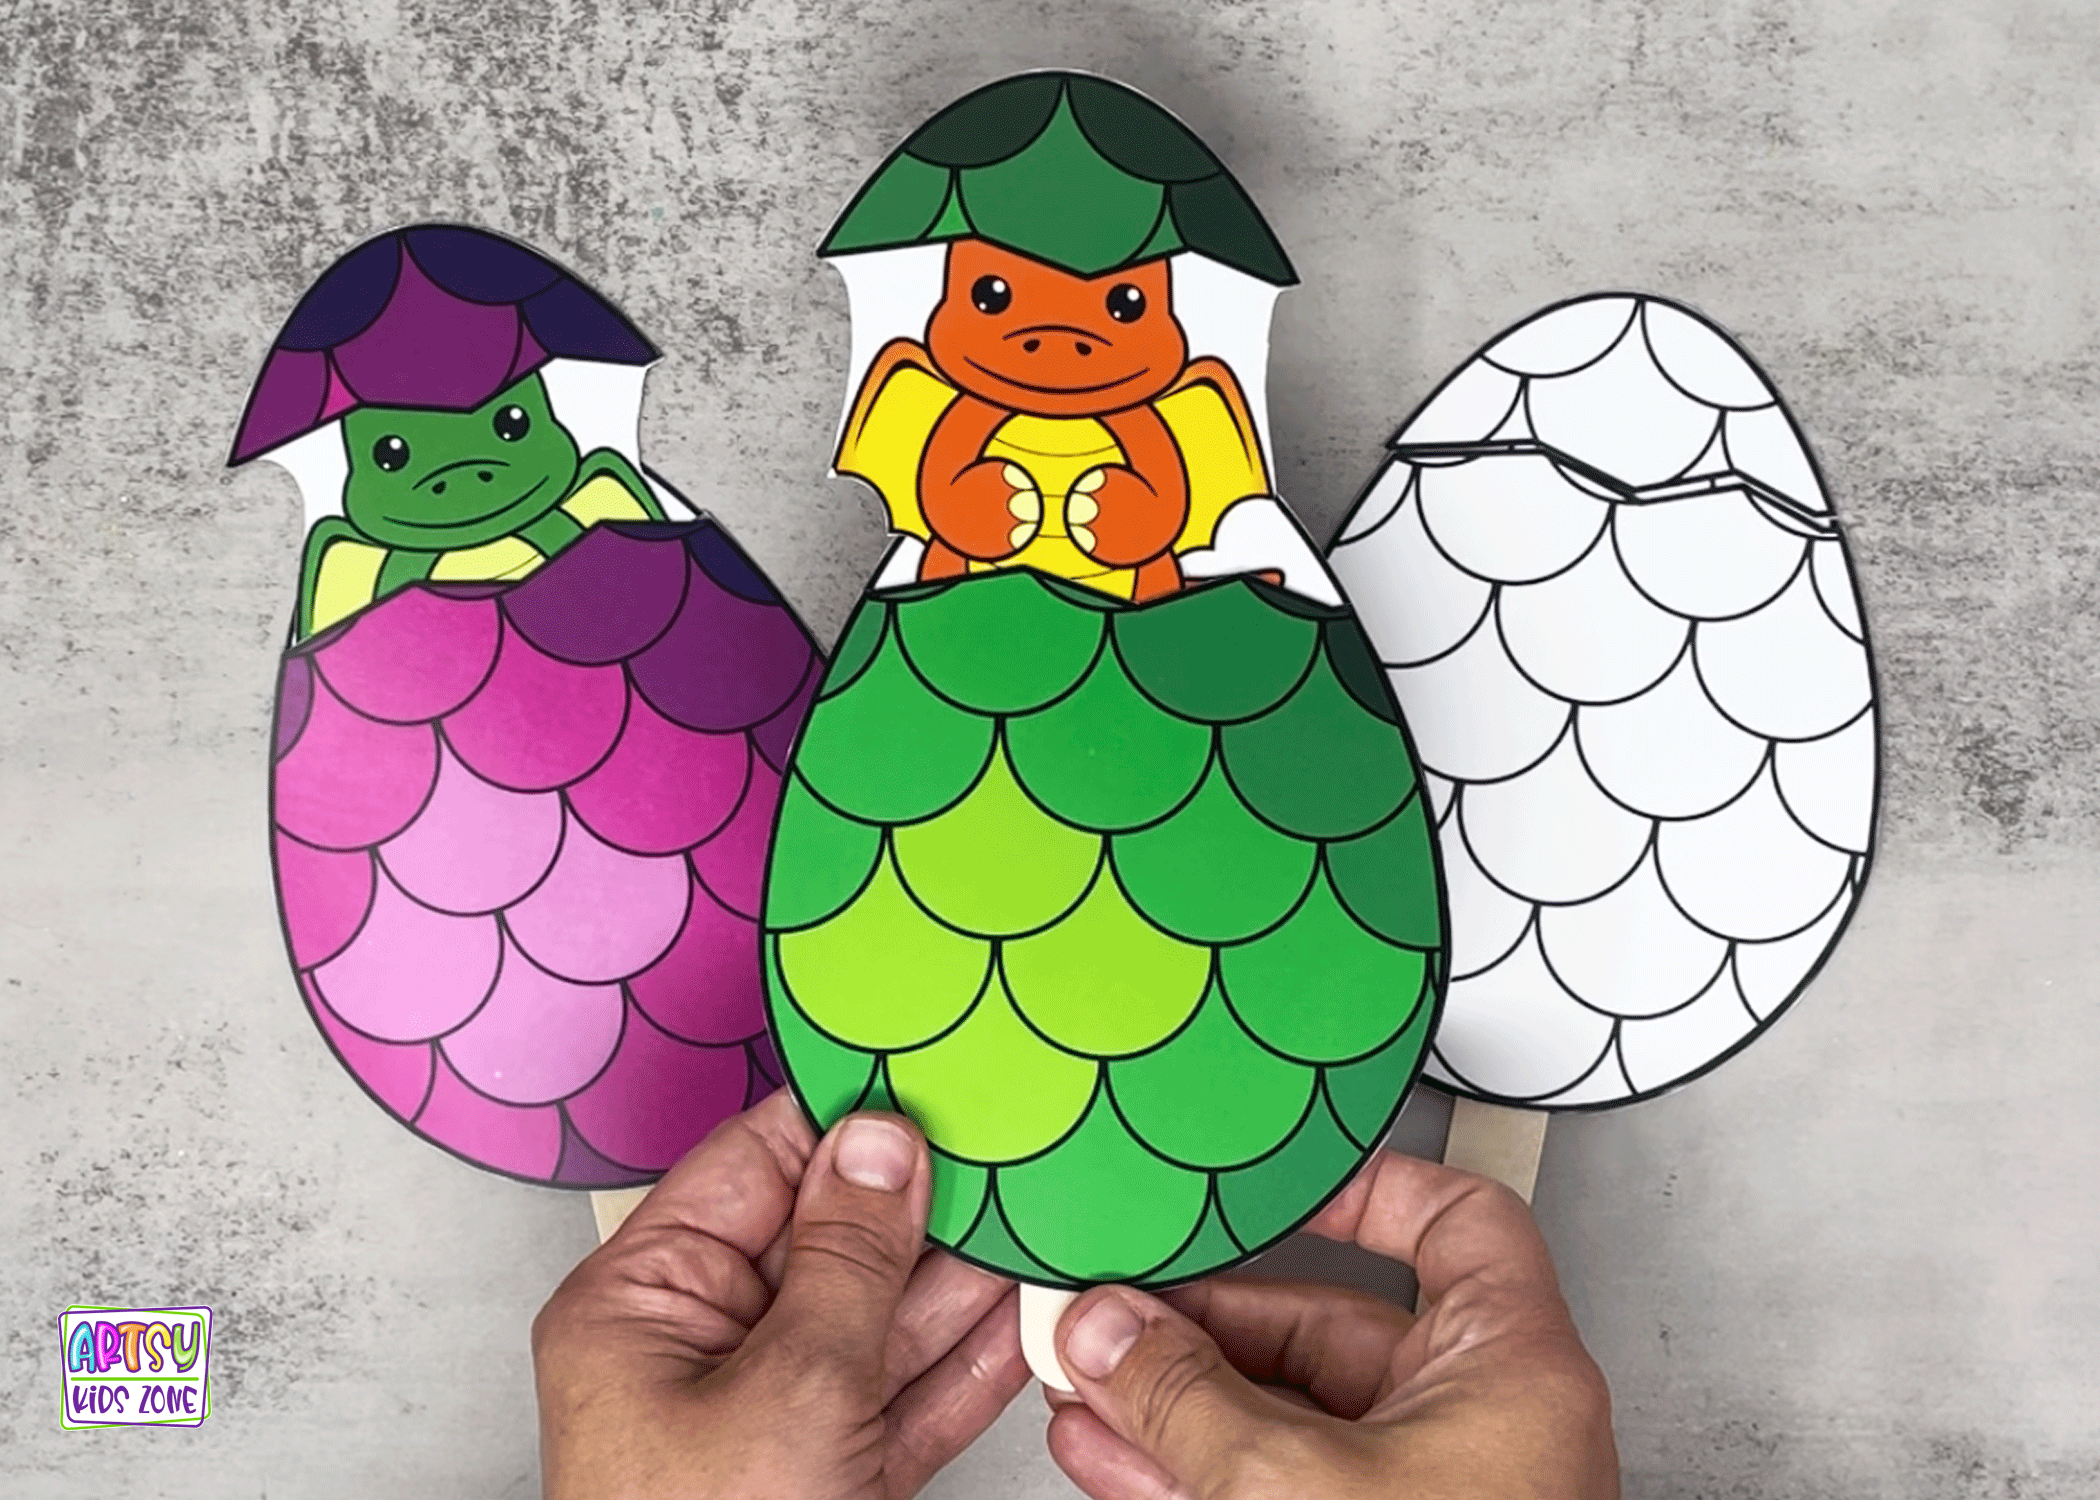
Hatching Dragon Egg 
Fire Dragon 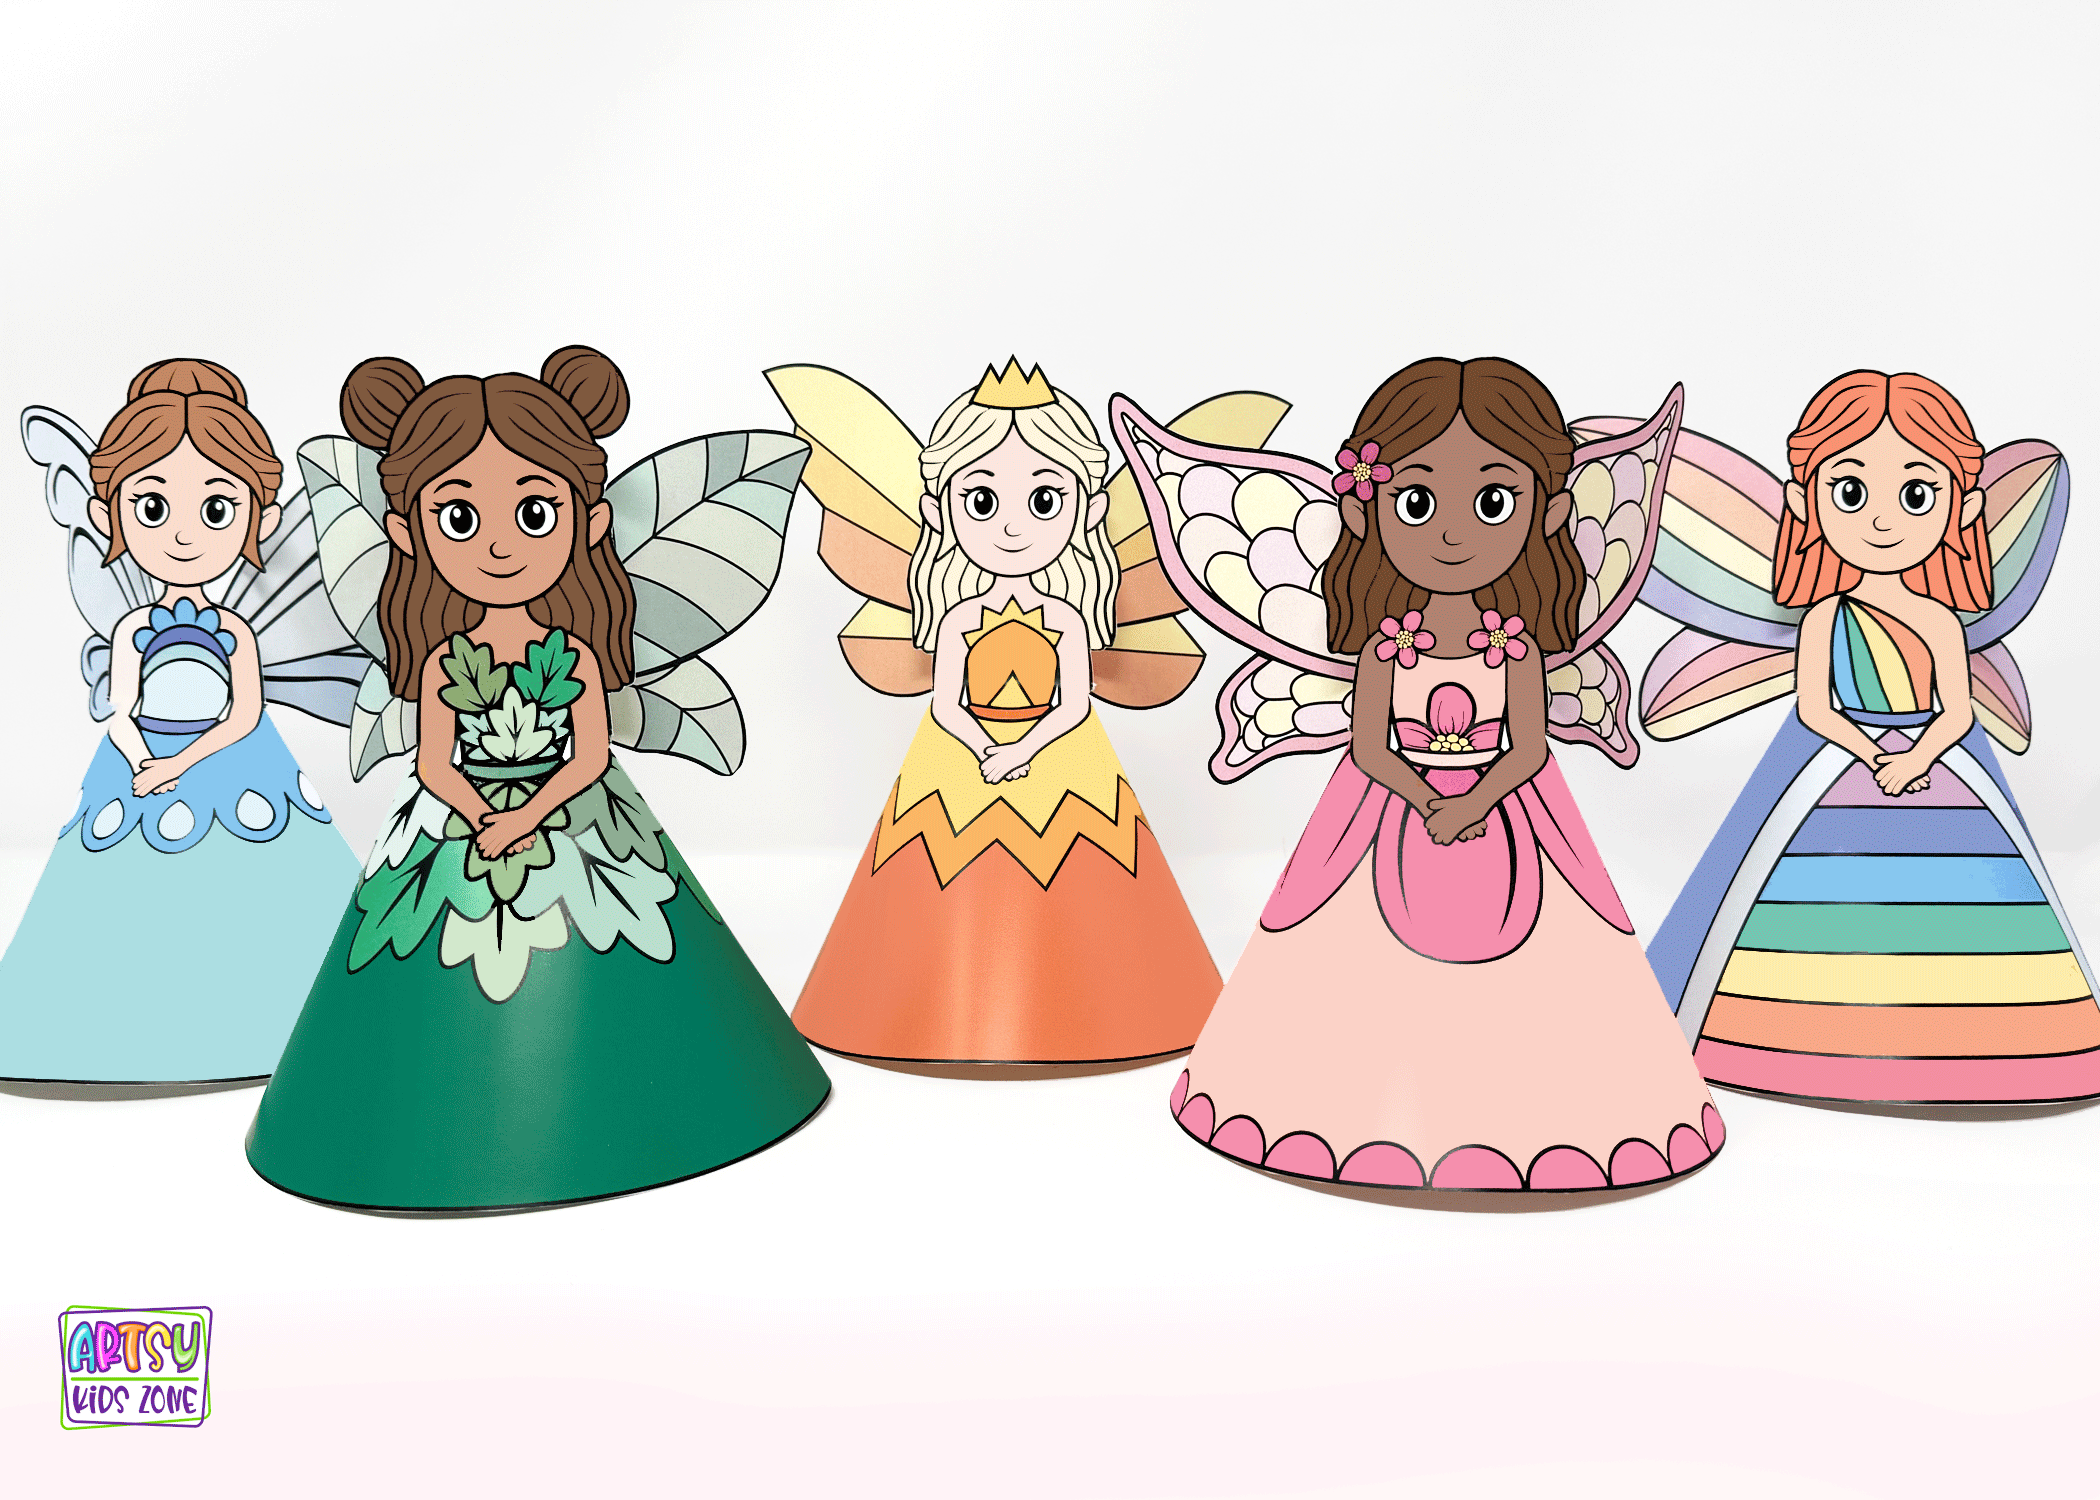
3D Fairy Paper Dolls 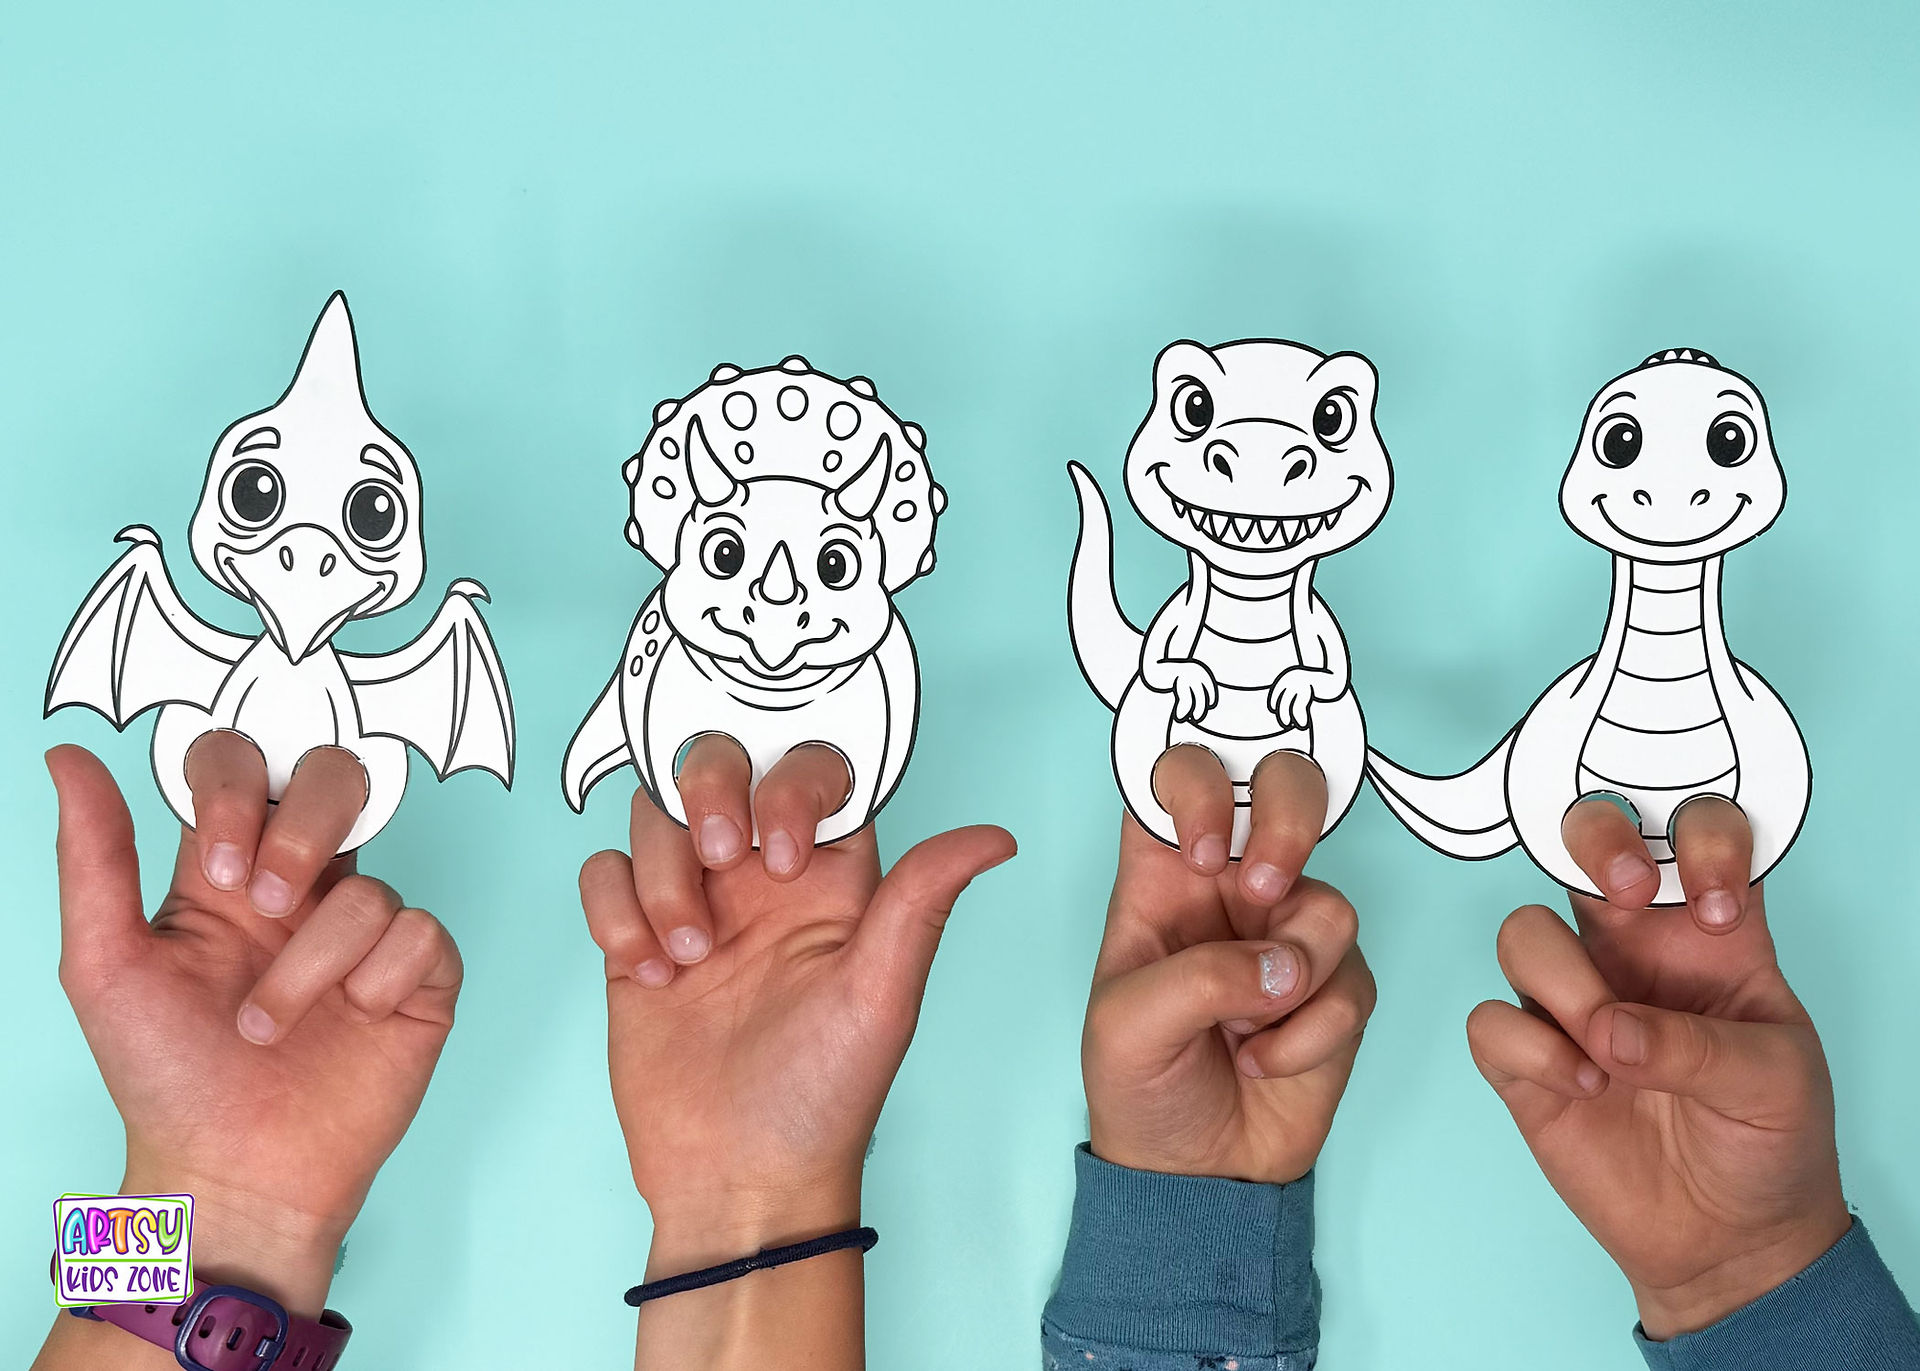
Dino Finger Puppets 
Boat Origami 
Mermaid Craft 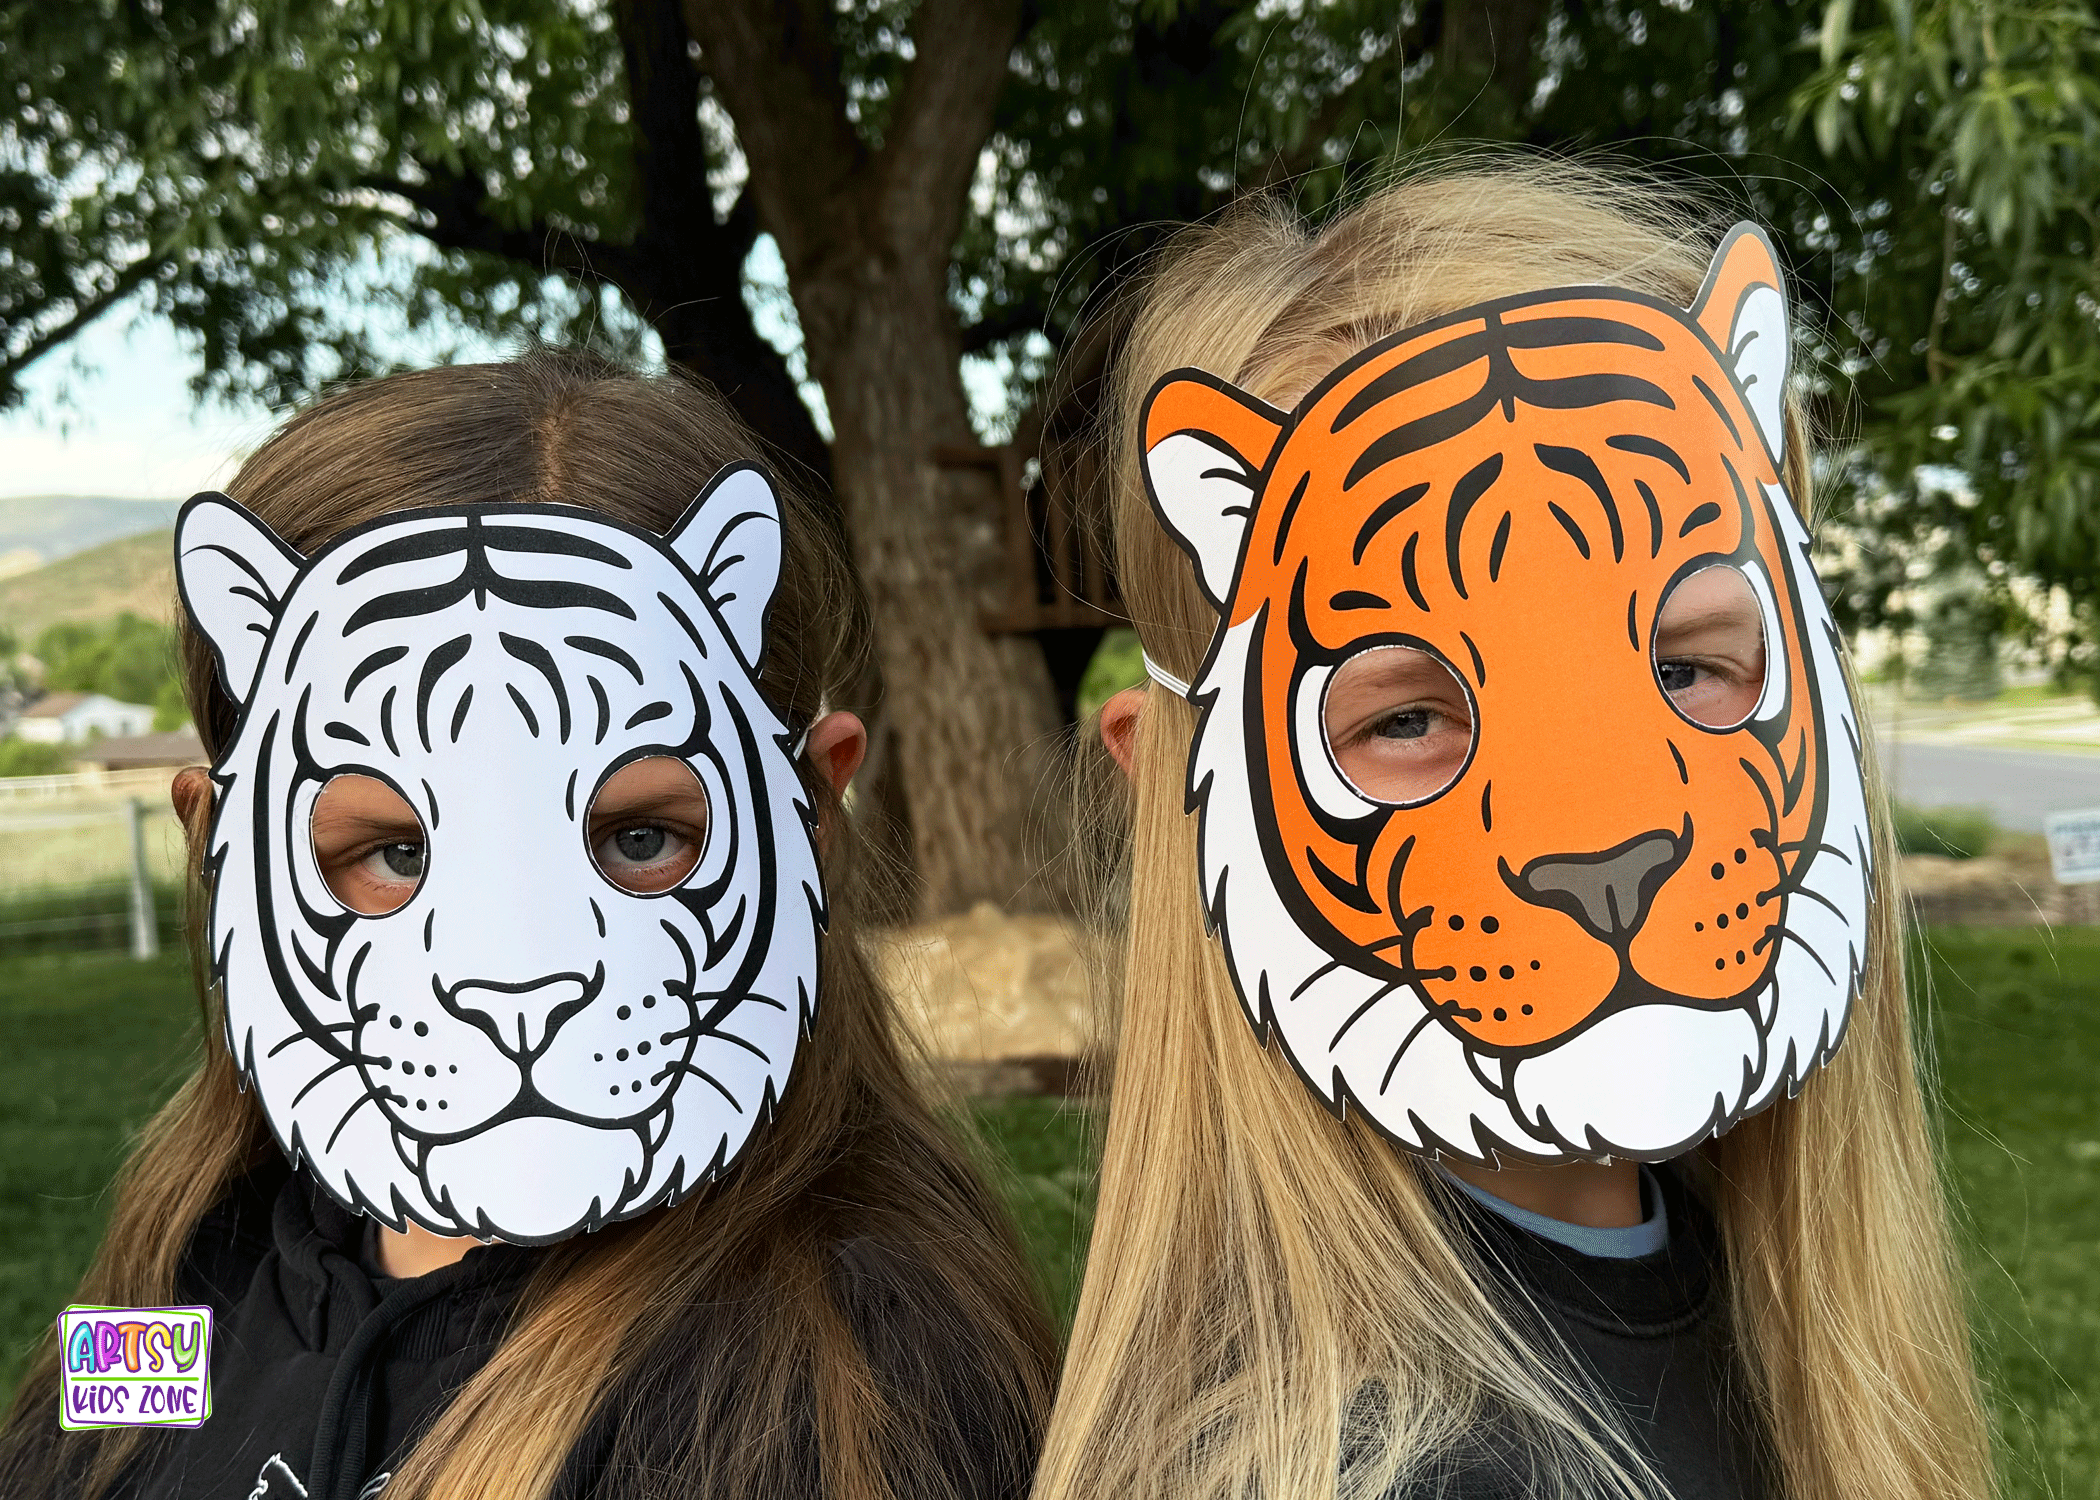
Tiger Masks 
Fall Agamograph 
Pirate Paper Masks
If your kids loved this craft, be sure to explore everything that Artsy Kids Zone has to offer! There’s a whole world of creative fun waiting, from interactive paper bag puppets and playful clothespin puppets to engaging coloring pages and imaginative paper masks. Whether your child is into animals, pirates, dinosaurs, fairies, or something in between, you’ll find endless projects designed to spark curiosity and creativity.
At Artsy Kids Zone, it’s all about giving kids opportunities to create, explore, and express themselves. These hands-on crafts encourage children to color, cut, glue, and build—helping develop fine motor skills while boosting confidence and imagination. Whether you’re crafting at home, in the classroom, or just looking for a fun activity, you’ll find plenty of ways to keep kids entertained and inspired. The fun doesn’t stop here—there’s always something new to discover!


Comments