
Easy Origami Boat for Kids – Simple Paper Folding Craft
- Jessie

- 7 days ago
- 5 min read
All art projects & crafts require adult supervision. This post may contain affiliate links. Read our full disclosure policy.

Set sail on a creative adventure with this Easy Origami Boat for Kids – Simple Paper Folding Craft! This classic paper craft has been enjoyed by generations of children and remains one of the most fun and rewarding beginner origami projects. With just a single sheet of paper and a few simple folds, kids can transform an ordinary piece of paper into a boat ready to sail on imaginary oceans, backyard puddles, or bathtub adventures.
One of the reasons this origami boat craft for kids is so popular is because it’s simple enough for beginners while still feeling magical. There’s something exciting about watching a flat piece of paper slowly transform into a three-dimensional boat. Each fold brings the project closer to life, helping kids build confidence as they learn a new skill.
This easy paper folding activity is perfect for classrooms, homeschool lessons, rainy-day activities, summer camps, or family craft time. It requires very few supplies, making it an affordable and accessible craft that almost anyone can enjoy. All you need is paper and a willingness to fold!

Origami is more than just a fun craft—it’s also a fantastic learning activity. As kids follow the steps, they practice listening, following directions, and paying attention to detail. Folding paper helps strengthen fine motor skills, hand-eye coordination, and spatial awareness, making this craft both educational and entertaining.
Once their boats are finished, kids can personalize them with crayons, markers, stickers, or drawings. They can create pirate ships, racing boats, fishing boats, or even magical fantasy vessels. Every boat becomes a unique creation that reflects the child’s imagination.
The fun doesn't stop once the folding is finished. Kids can use their boats for storytelling, imaginative play, or even simple science experiments. Try floating them in a sink, bathtub, or shallow container of water to see how they sail. It’s a great way to combine crafting and play into one memorable activity.


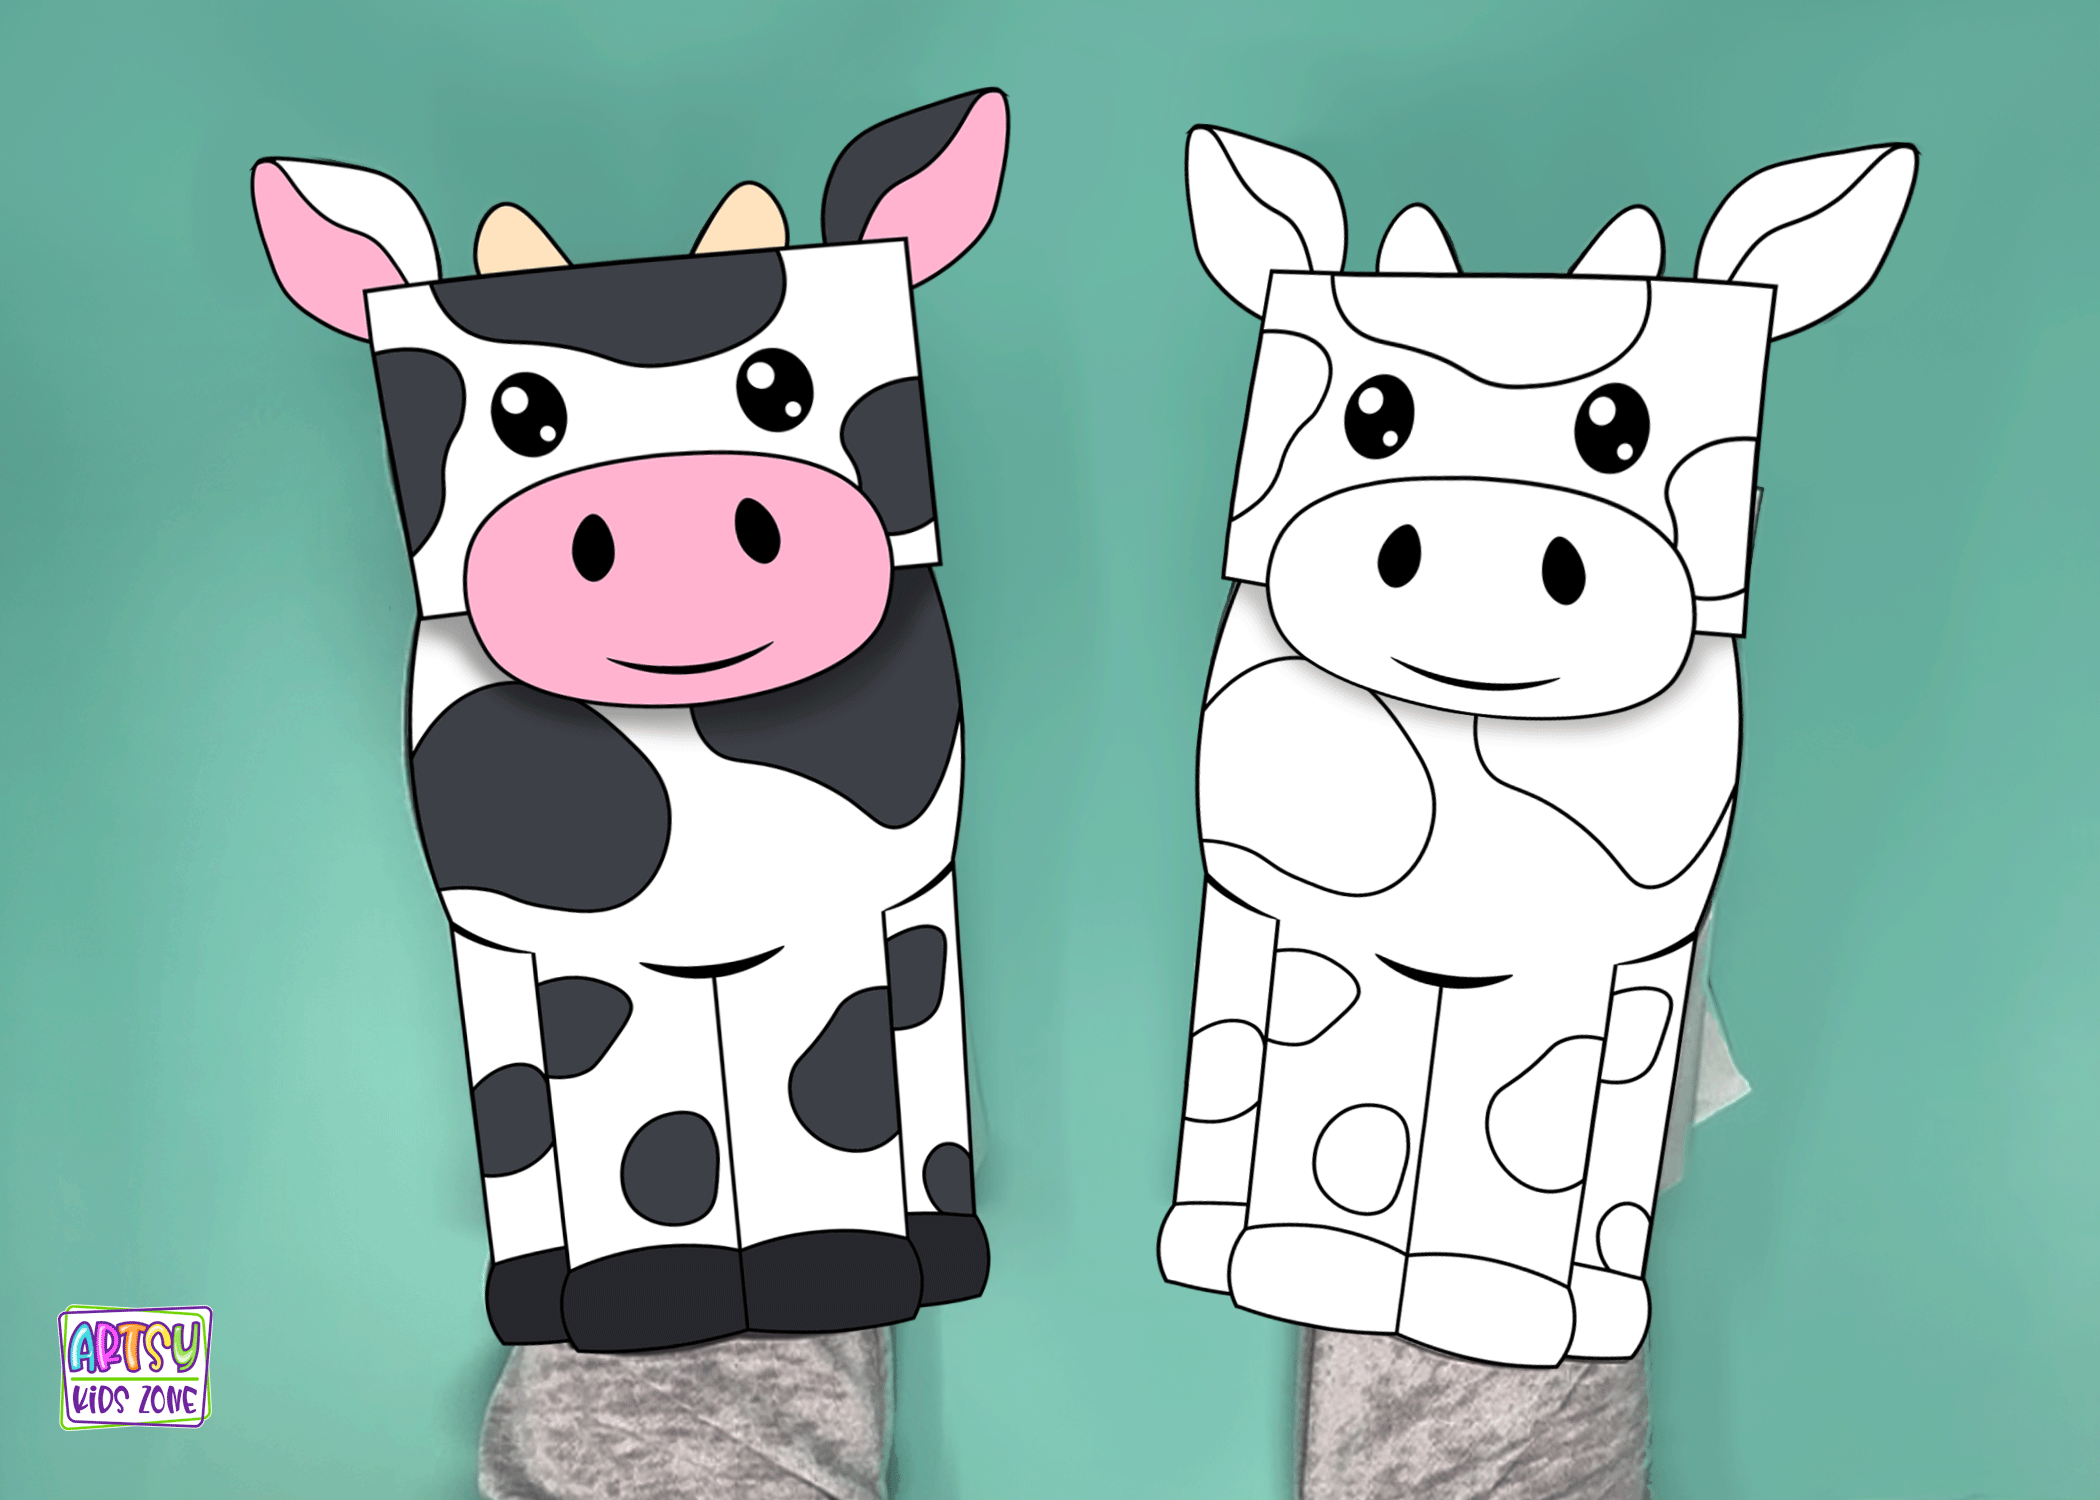
If your kids enjoy this easy origami project, be sure to check out the other fun paper-folding activities on the blog. Favorites include the adorable Origami Dog Craft and interactive Cow Cootie Catcher Puppet, along with many other origami animals and folded paper creations. These projects are perfect for kids who love transforming simple paper into something amazing.
Whether you're introducing your child to origami for the first time or looking for a quick and creative activity, this Easy Origami Boat for Kids is a wonderful place to start. It's simple, fun, educational, and packed with opportunities for imaginative play. Grab a sheet of paper and get ready to launch your next crafting adventure!
How to fold Easy Origami Boat for Kids
Gather Your Supplies. Before you begin folding your paper boat, take a moment to gather everything you'll need. The good news is that this classic origami project requires just one simple supply: a sheet of 8.5 x 11-inch paper. Any color will work, so feel free to use white paper, brightly colored paper, or even patterned paper to give your boat a unique look.
For the best results, use standard printer paper rather than thicker materials like cardstock. While cardstock is great for many crafts, it can make the folds harder to create and may prevent your boat from opening and shaping properly. Regular paper folds easily, holds crisp creases, and is perfect for beginners learning the art of origami. Once you have your paper ready, you're all set to start folding!

Step 1: Make Your First Fold
Start with a rectangular sheet of paper. Fold it in half from top to bottom, then crease firmly.

Step 2: Fold in Half Again
Fold the paper in half from side to side to find the center.

Unfold this fold, leaving the center crease visible.

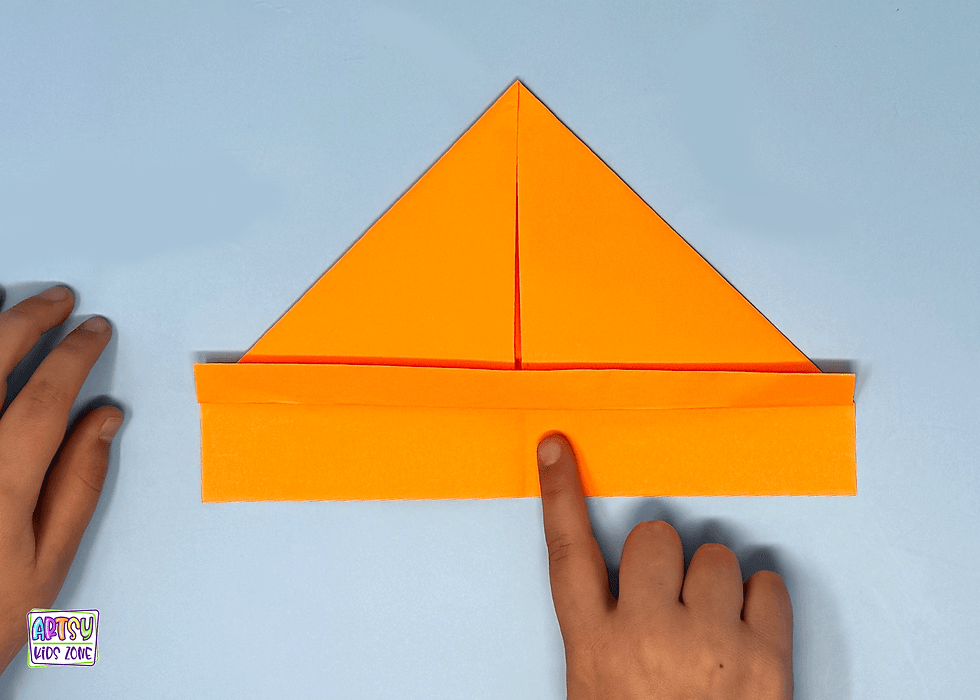
Step 3: Fold the Top Corners
Bring the top left corner down to the center crease. Repeat with the top right corner. The top should now look like a triangle.

Step 4: Fold Up the Bottom Flaps
You will have a strip of paper sticking out below the triangle. Fold the front flap upward so that it aligns with the bottom of the triangle.
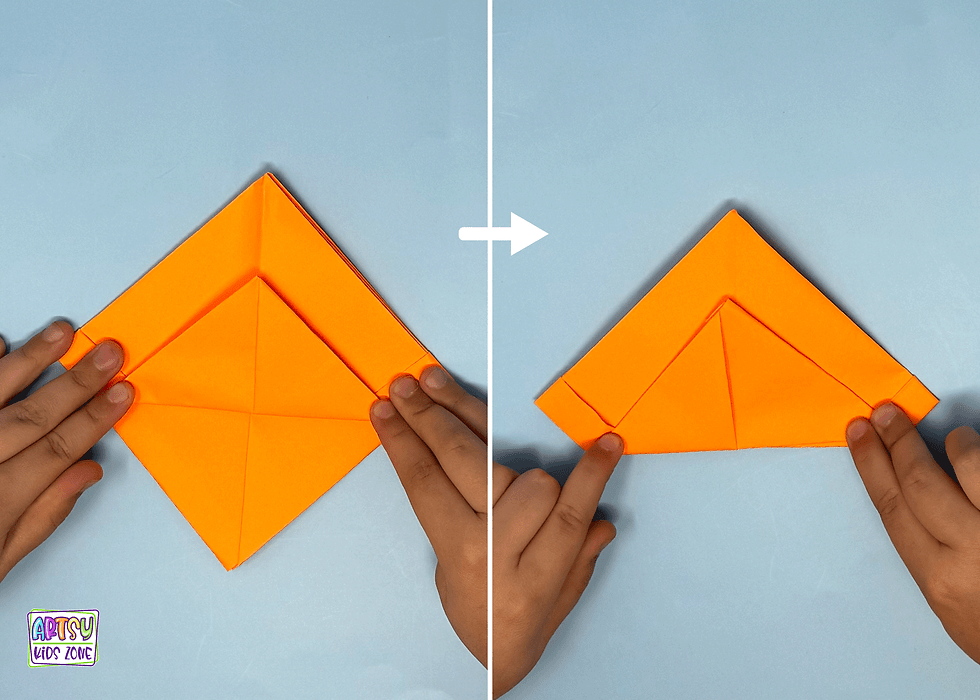
Fold the same flap upwards again so that the fold line is at the base of the triangle. The fold should go over the top of the triangle.

There should be little flaps hanging over the triangle shape on each side. Fold those little flaps over diagonally as shown in the photo above.

Turn the paper over and repeat the folds from the front flap onto the back flap. Fold the flap upward so that it aligns with the bottom of the triangle. Fold the flap upwards again so that flap folds over the triangle. Don't fold the tiny hangover on the sides of the triangle.

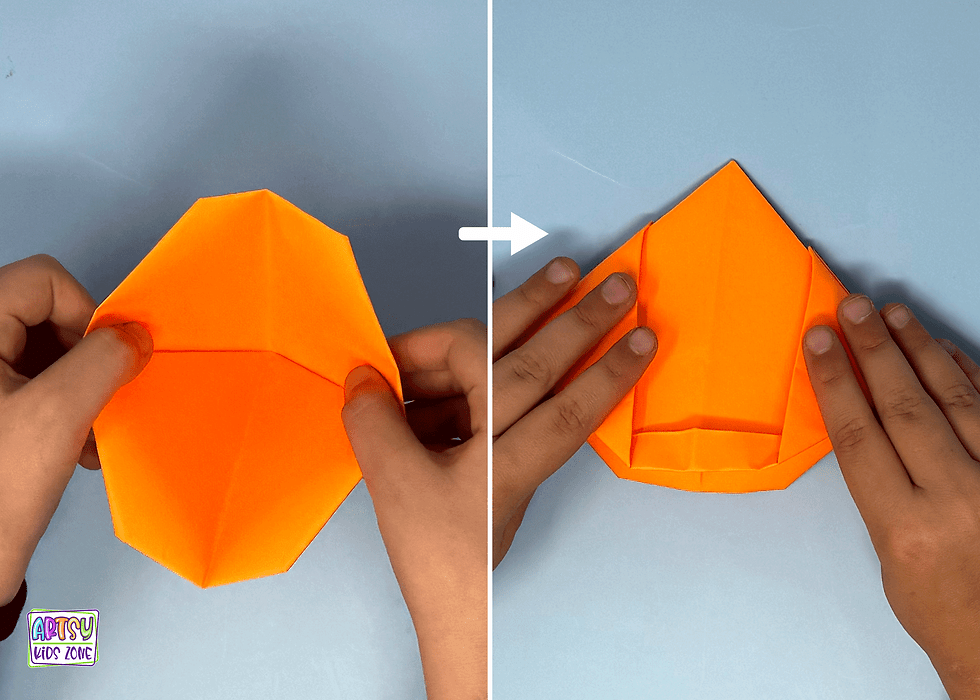
Step 5: Open into a Square
Gently open the bottom of the triangle shape. Pull the sides apart and flatten it into a square shape.
Step 6: Fold Up the Bottom Corners
Take the bottom corner of the square and fold the front flap up towards the top so the tip is approximately one inch below the top. Flip it over and fold the other bottom corner up as well.
Step 7: Open it up Again
Open from the bottom and flatten it.

Step 7: Fold Bottom Up & Repeat
Fold the bottom up. Flip it over and fold the other bottom up.

Step 9: Pull the Top Corners Apart
Hold the two top corners and gently pull them away from each other. The boat will begin to open.

Carefully flatten the bottom and adjust the sides until your paper boat stands upright. Your origami boat is finished! Decorate it with crayons, markers, stickers, or even a paper flag before setting sail on your next adventure.
Be sure to check out these other Origami Projects:
Discover More Kid Friendly Crafts


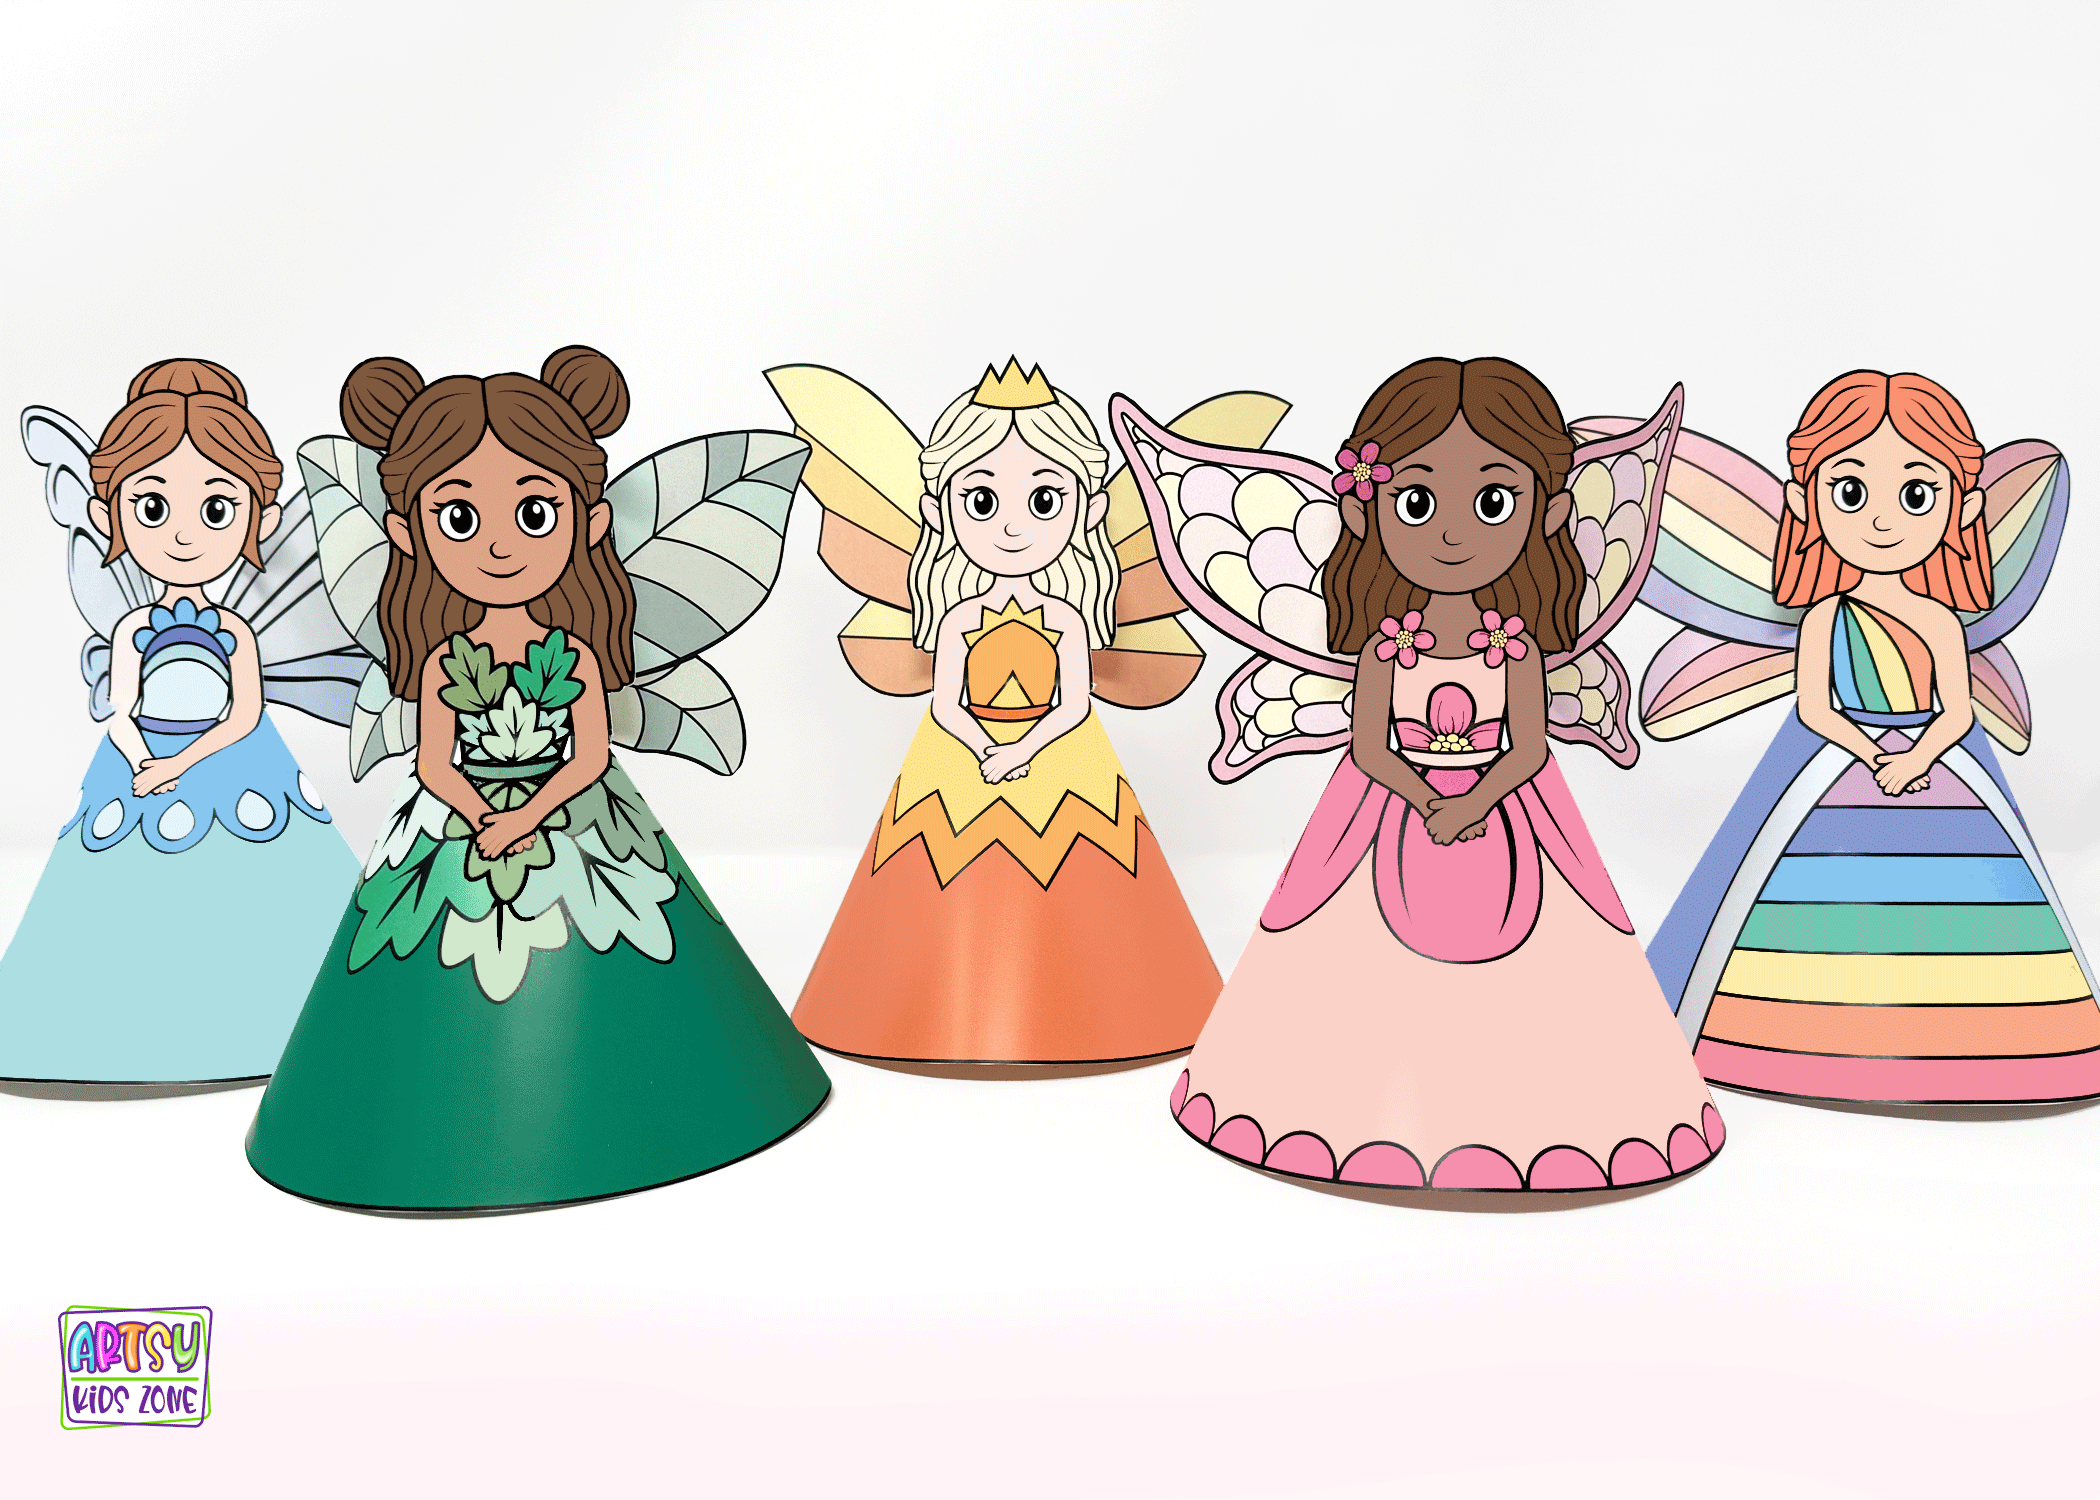


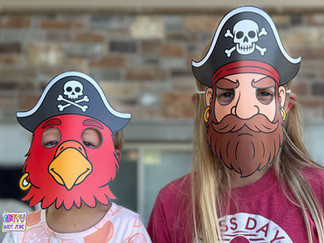


If your kids loved these cootie catcher origami puppets, be sure to explore everything that Artsy Kids Zone has to offer! There’s a whole world of creative fun waiting, from interactive paper bag puppets and playful clothespin puppets to engaging coloring pages and imaginative paper masks. Whether your child is into animals, pirates, dinosaurs, fairies, or something in between, you’ll find endless projects designed to spark curiosity and creativity.
At Artsy Kids Zone, it’s all about giving kids opportunities to create, explore, and express themselves. These hands-on crafts encourage children to color, cut, glue, and build—helping develop fine motor skills while boosting confidence and imagination. Whether you’re crafting at home, in the classroom, or just looking for a fun activity, you’ll find plenty of ways to keep kids entertained and inspired. The fun doesn’t stop here—there’s always something new to discover!


Comments