


Shark Water Gun Painting: Fun Outdoor Craft for Kids

Updated: Sep 11
All art projects & crafts require adult supervision. This post may contain affiliate links. Read our full disclosure policy.

If you're looking for the perfect summer art project for kids that's packed with excitement, you're going to love Shark Water Gun Painting! This jaw-some outdoor craft combines the thrill of water gun painting with one of the ocean's most fascinating creatures. It's the perfect activity for kids who love sharks, ocean animals, and getting creative outside.
Instead of using ordinary paintbrushes, kids fill water guns with washable paint and spray their canvases with bold shades of blue, teal, gray, and other ocean-inspired colors. Every squirt creates colorful splatters that blend together, making each painting look like a unique underwater scene. It's messy in the best possible way and an unforgettable way to make art!
The most exciting moment comes when kids carefully peel away the shark stencil or sticker to reveal a crisp shark silhouette hidden beneath the colorful paint. Watching the design appear feels almost like discovering a shark swimming beneath the ocean's surface. Every masterpiece turns out a little different, making each one completely unique.

One of the best things about Shark Water Gun Painting is that there are no two paintings alike. Kids can experiment with different color combinations, spray patterns, and layers of paint to create dramatic ocean backgrounds. Whether they imagine a great white shark, hammerhead, or tiger shark, every project showcases their creativity.
This outdoor painting activity is a fantastic way to beat summer boredom while encouraging kids to move, play, and create. They'll laugh as they aim their water guns, watch the paint splash across the paper, and bring their underwater artwork to life. Even better, the mess stays outside, making cleanup quick and easy for parents.
Planning an ocean-themed birthday party or backyard summer playdate? Set up a Shark Water Gun Painting station! Add beach balls, seashells, blue streamers, and ocean-themed music to create an exciting under-the-sea atmosphere. Kids will love comparing their colorful shark masterpieces and showing off their finished artwork.

Shark Origami 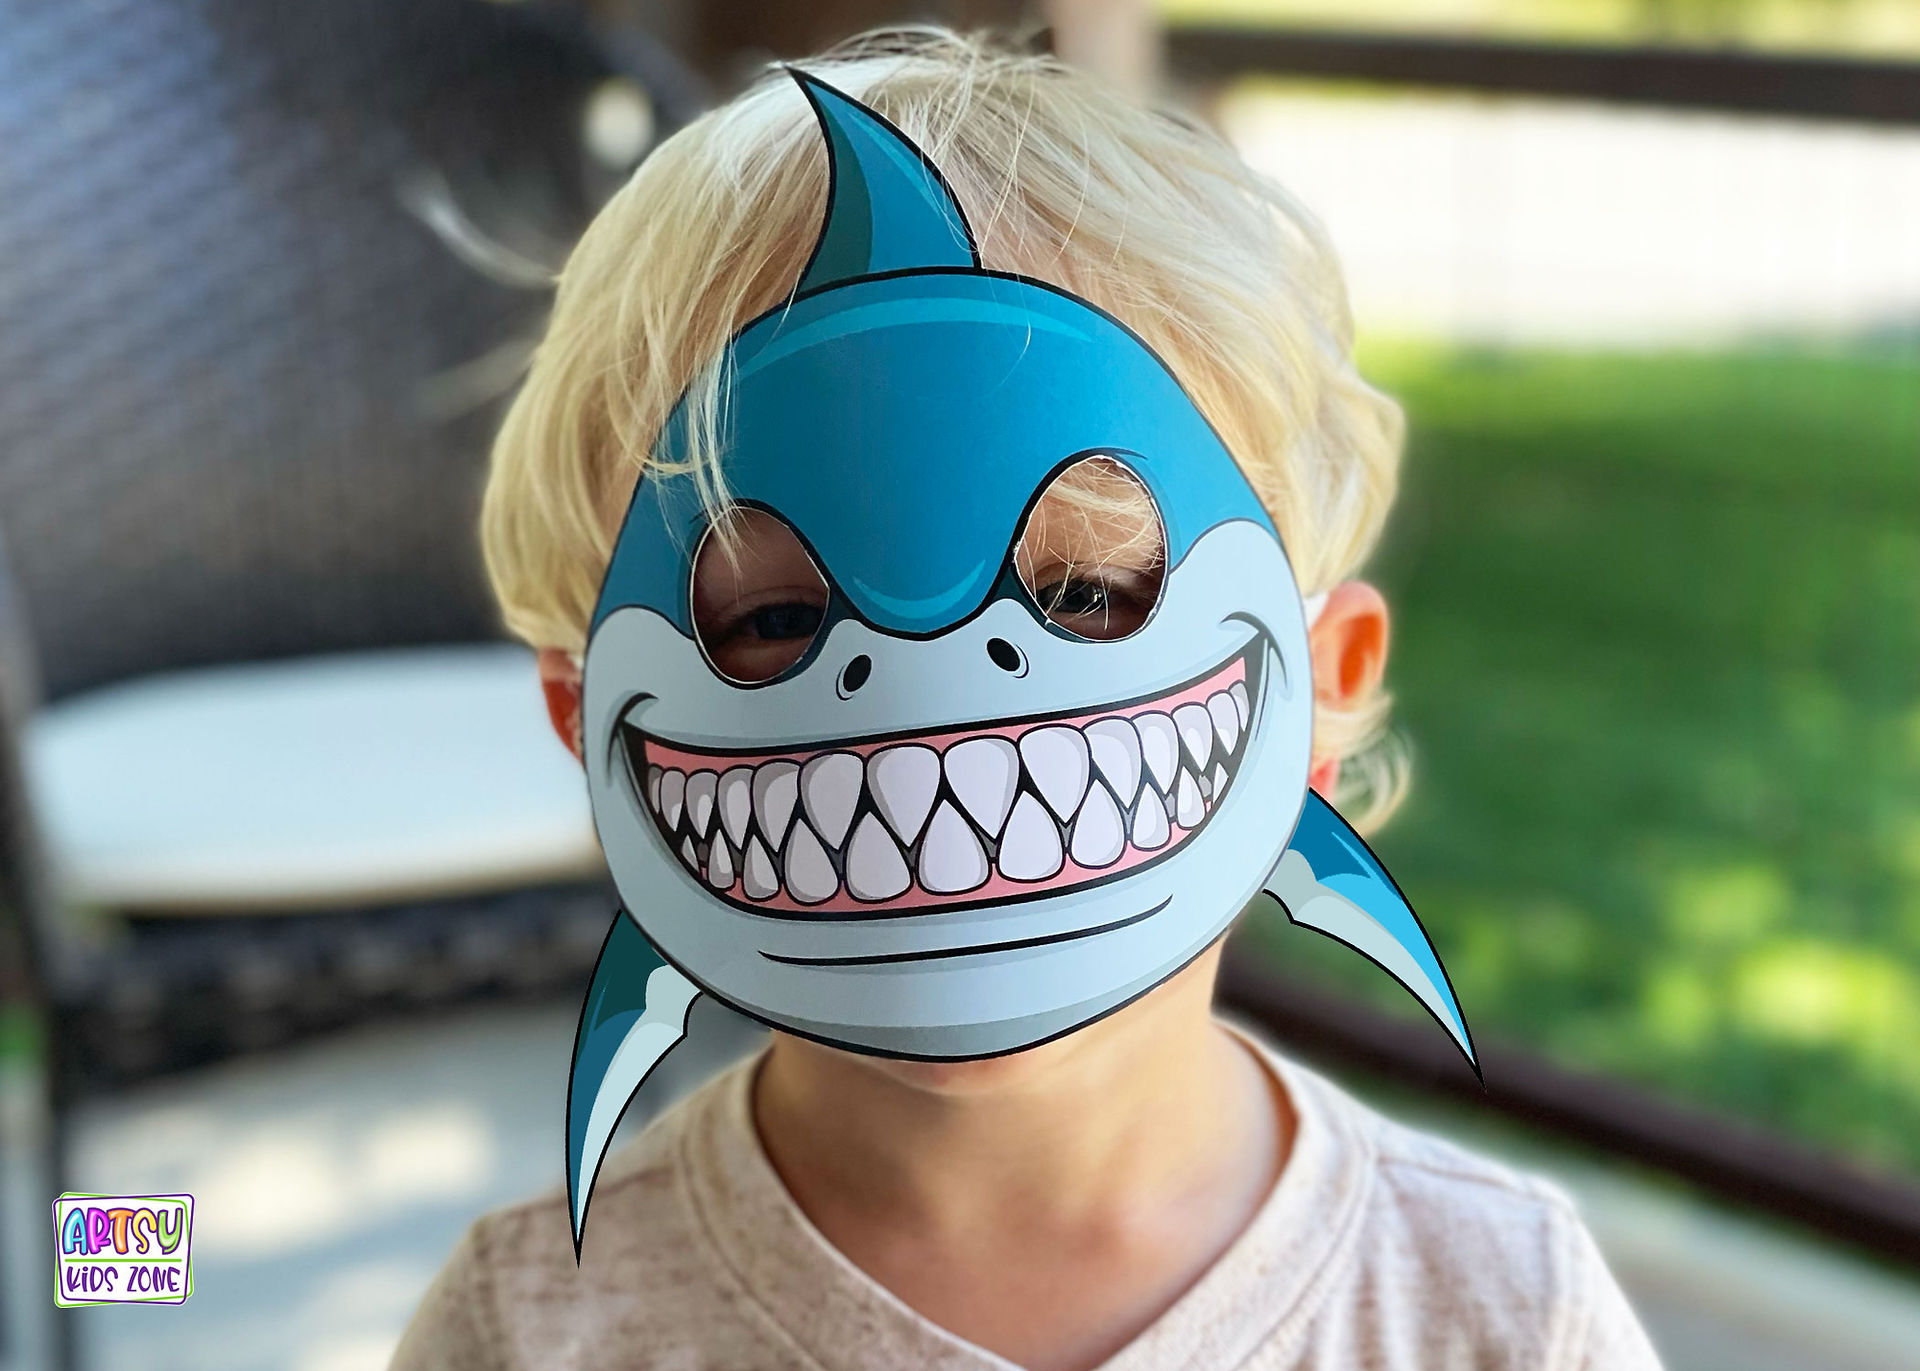
Shark Paper Mask 
Paper Bag Puppets
If your little artists can't get enough sharks and sea creatures, be sure to explore the other ocean-themed crafts on the blog! Pair this project with our Shark Paper Mask, Shark Paper Bag Puppet, Shark Cootie Catcher Puppet, and other fun sea animal activities for an entire day of creative underwater adventures.
So grab your water guns, shark stencils, and your favorite ocean-colored paints—it's time to dive into a splash-filled art adventure! Shark Water Gun Painting is more than just a craft; it's an exciting outdoor experience that combines creativity, movement, and summer fun into one unforgettable ocean masterpiece.
Materials Needed:
Printable Shark Template
Scissors
Vinyl Sticker Paper
Tempera paint (washable and non-toxic)
White acrylic paint
Water
Water guns (one for each color is extra fun!)
Canvas (8x10 or larger)
Plastic cups or squeeze bottles for mixing paint
Old clothes or paint smocks (things can get messy!)
Drop cloth or tarp (optional, to protect grass or fences)
Step-by-Step Directions to make Shark Water Gun Painting

Step 1: Make Your Shark
Start by printing the template provided at the bottom of this post onto 8.5” x 11” vinyl sticker paper. The vinyl works best because it helps resist moisture and holds its shape while your kids are squirting paint all over the canvas. Then carefully cut out the shape.
Want to create your own template? No problem! You can also draw your own shark directly onto the vinyl sticker paper or even onto masking tape and cut it out by hand.

Step 2: Place Your Shark on the Canvas
Once you have the shape is cut out, it’s time to get creative! Carefully peel off the backing and place the sticker onto your canvas however you’d like. Play around with different placements — you can place it the middle or to a side. Press each sticker down firmly so the edges stick well — this helps the sticker resist the paint and stay crisp when you peel it off later.

Step 3: Seal the Shark with White Paint
Now it’s time for a super important step that you do not want to skip! Once your sticker is stuck down, use white acrylic paint to brush over the canvas — make sure to cover the sticker and the edges all around each side.
Why is this step so crucial? Even though your vinyl sticker is flat, your canvas has a slight texture, which means there will be tiny gaps between the sticker and the canvas. If you skip this step, the paint from your squirt guns can seep underneath the sticker and ruin the crisp shape you worked so hard on!
The white paint acts like a sealer. It fills in any little gaps around the edges of the sticker and keeps the other colors from bleeding through. Once the first layer of white paint is dry, add another coat just to be extra safe. It’s a small step that makes a huge difference for keeping your edges sharp and clean when you peel the sticker off later!

Step 4: Prep Your Paint & Load Squirt Guns
In plastic cups or squeeze bottles, mix the tempera paint colors in different cups with a bit of water until it’s thin enough to squirt easily through the water gun. Each brand of paint is a little different, but a 50/50 ratio of paint to water is usually a good starting point. You’re aiming for a milk-like consistency — not too thick, not too runny! If the water gun is struggling to get the paint out, just add a little more water until it flows smoothly. Be careful not to add too much water though, or your colors might look too light and washed out.
Carefully pour each color into its own water gun. Kids love having one gun per color so they can switch up their designs and create bold, layered masterpieces. Make sure the caps are sealed tight so there are no leaks or surprise splashes! I even like to take a permanent marker and write what color is in each gun — it makes it easy for kids to grab the right shade without any mix-ups.

Step 5: Set Up Your Canvas
Set up your canvas outside. Tape it to a fence, easel, or lay them flat on the ground with a drop cloth underneath. The bigger the canvas, the bigger the blast zone for your little artists!
Step 6: Let the Fun Begin!
Hand over the squirt guns and let your kids go wild! Encourage them to try spraying from different angles and distances. Watch as they layer colors and create amazing splatter effects — no two paintings will ever be the same!

Step 7: Let It Dry & Peel Off the Star Stickers
When your little artists are done spraying, set the artwork aside to dry completely. You can clip the canvases to a clothesline, lean them against a fence, or just leave them flat in the sunshine — whatever works best to keep them safe while they dry.
Once the paint is totally dry, it’s time for the best part: peeling off the Shark sticker! Carefully lift each one to reveal bright, crisp white dragon that stayed protected while the rest of the canvas turned into a beautiful, splattered explosion of colors.
This step is always so satisfying for kids (and adults too!). Watching those bold mermaid pop through the messy, colorful background is so exciting. It’s so much fun and each piece of art is truly unique.

Witch Fall Leaves Craft. 
Lion Fall Leaves Craft 
Coffee Filter Fall Trees 
Gold Fish Toilet Paper Roll Shark Mask 
Pirate Parrot Straw Rocket 
Fairy Paper Dolls 
Bee TP Roll Craft 
Zombie Paper Puppet 
Butterfly Coloring Pages 
Hatching Dragon Craft 
Horse Paper Bag Puppet
The fun doesn’t stop here! At Artsy Kids Zone, we’ve got a whole bunch of creative projects waiting to be explored. From playful paper crafts to interactive printables, there are hundreds of hands-on activities to keep little artists busy, learning, and laughing.
Whether your kiddo wants to craft a pirate puppet, make a hatching dragon egg, or try their hand at magical crayon resist art, we’ve got something to spark every imagination. Our projects are made with kids in mind—easy to prep, fun to make, and perfect for classrooms, rainy days, or weekend adventures at the kitchen table. So don’t be shy—dig in, get messy, and let your child’s creativity run wild at Artsy Kids Zone!

How To Download Printable Shark Template:
How to download the Printable Shark Template? Simply sign up to become a member of Artsy Kids Zone to gain access to our exclusive downloads. The best part is that memberships are completely FREE! Not only will you gain access to this art project, but you'll also unlock a treasure trove of Artsy Kids Zone downloads. By signing up, you are agreeing to receive emails from Artsy Kids Zone with updates, new craft ideas, and special offers. It’s a great way to stay inspired and keep your little ones engaged with fun, creative activities!
***These printables are intended for personal and school use exclusively. Unauthorized copying, uploading, republishing, distributing or alteration of these files in any manner is strictly prohibited. If you plan to showcase these printables, please ensure to include a link back to artsykidszone.com.


Comments