


Paper Plate Scarecrow Craft for Kids – Easy Fall Art Project

Updated: 22 hours ago
All art projects & crafts require adult supervision. Artsy Kids Zone is a participant in the Amazon Associates Program, and I may earn a small commission from qualifying purchases at no additional cost to you. Read our full disclosure policy.

There’s something about scarecrows that just feels like fall! Cornfields, pumpkin patches, crunchy leaves, and those funny straw-filled faces are all signs that autumn has arrived. This Paper Plate Scarecrow Craft for Kids – Easy Fall Art Project is a simple way to bring a little of that harvest season fun to your craft table. With a paper plate and a few basic craft supplies, kids can create their very own cheerful scarecrow to display all season long.
I especially love crafts that don’t require a complicated list of supplies or hours of prep, and this paper plate scarecrow definitely fits the bill. Kids can decorate the paper plate to create the scarecrow’s face, add all of the fun details, and give their scarecrow its own personality. Make yours silly, sweet, surprised, or completely goofy—there’s no right or wrong way to create a scarecrow!
My 4-year-old son absolutely loves this craft. He keeps making paper plate scarecrows and then insists that we hang every single one on the fence posts out back. At this point, we practically have our own little army of scarecrows watching over the yard! It has provided hours of entertainment for him, both making the scarecrows and deciding exactly where each one needs to go outside.

I’ve even found myself watching the weather forecast a little more closely because I need enough warning to rescue all of his scarecrows before it rains! These little guys are made from paper plates, so they are definitely not waterproof. But boy, has this been a fun craft. It’s incredibly simple, easy to make, and has somehow turned into an activity he wants to do over and over again. Those are always my favorite kinds of kids’ crafts.
This easy scarecrow craft for kids is a great choice for preschoolers and elementary-aged children because there’s plenty of room for creativity. Grab crayons, markers, paint, or colored pencils and let kids experiment with different colors and details. Scarecrows are supposed to look a little mismatched, which makes them especially fun for young artists. Patchwork clothing, rosy cheeks, silly smiles, colorful hats, and wild straw hair only add to their charm!
While kids are busy creating, they’re also practicing important skills. Coloring, cutting, gluing, and arranging the different pieces help strengthen fine motor skills, hand-eye coordination, scissor skills, and creative thinking. Younger children may need a little help with cutting, but they can take the lead when it comes to choosing colors, decorating the face, and deciding how their finished scarecrow should look.

Coffee Filter Fall Tree 
Fall Leaves Lion 
Fall Leaf Hedgehog 
Fall Agamograph 
Popsicle Stick Scarecrow 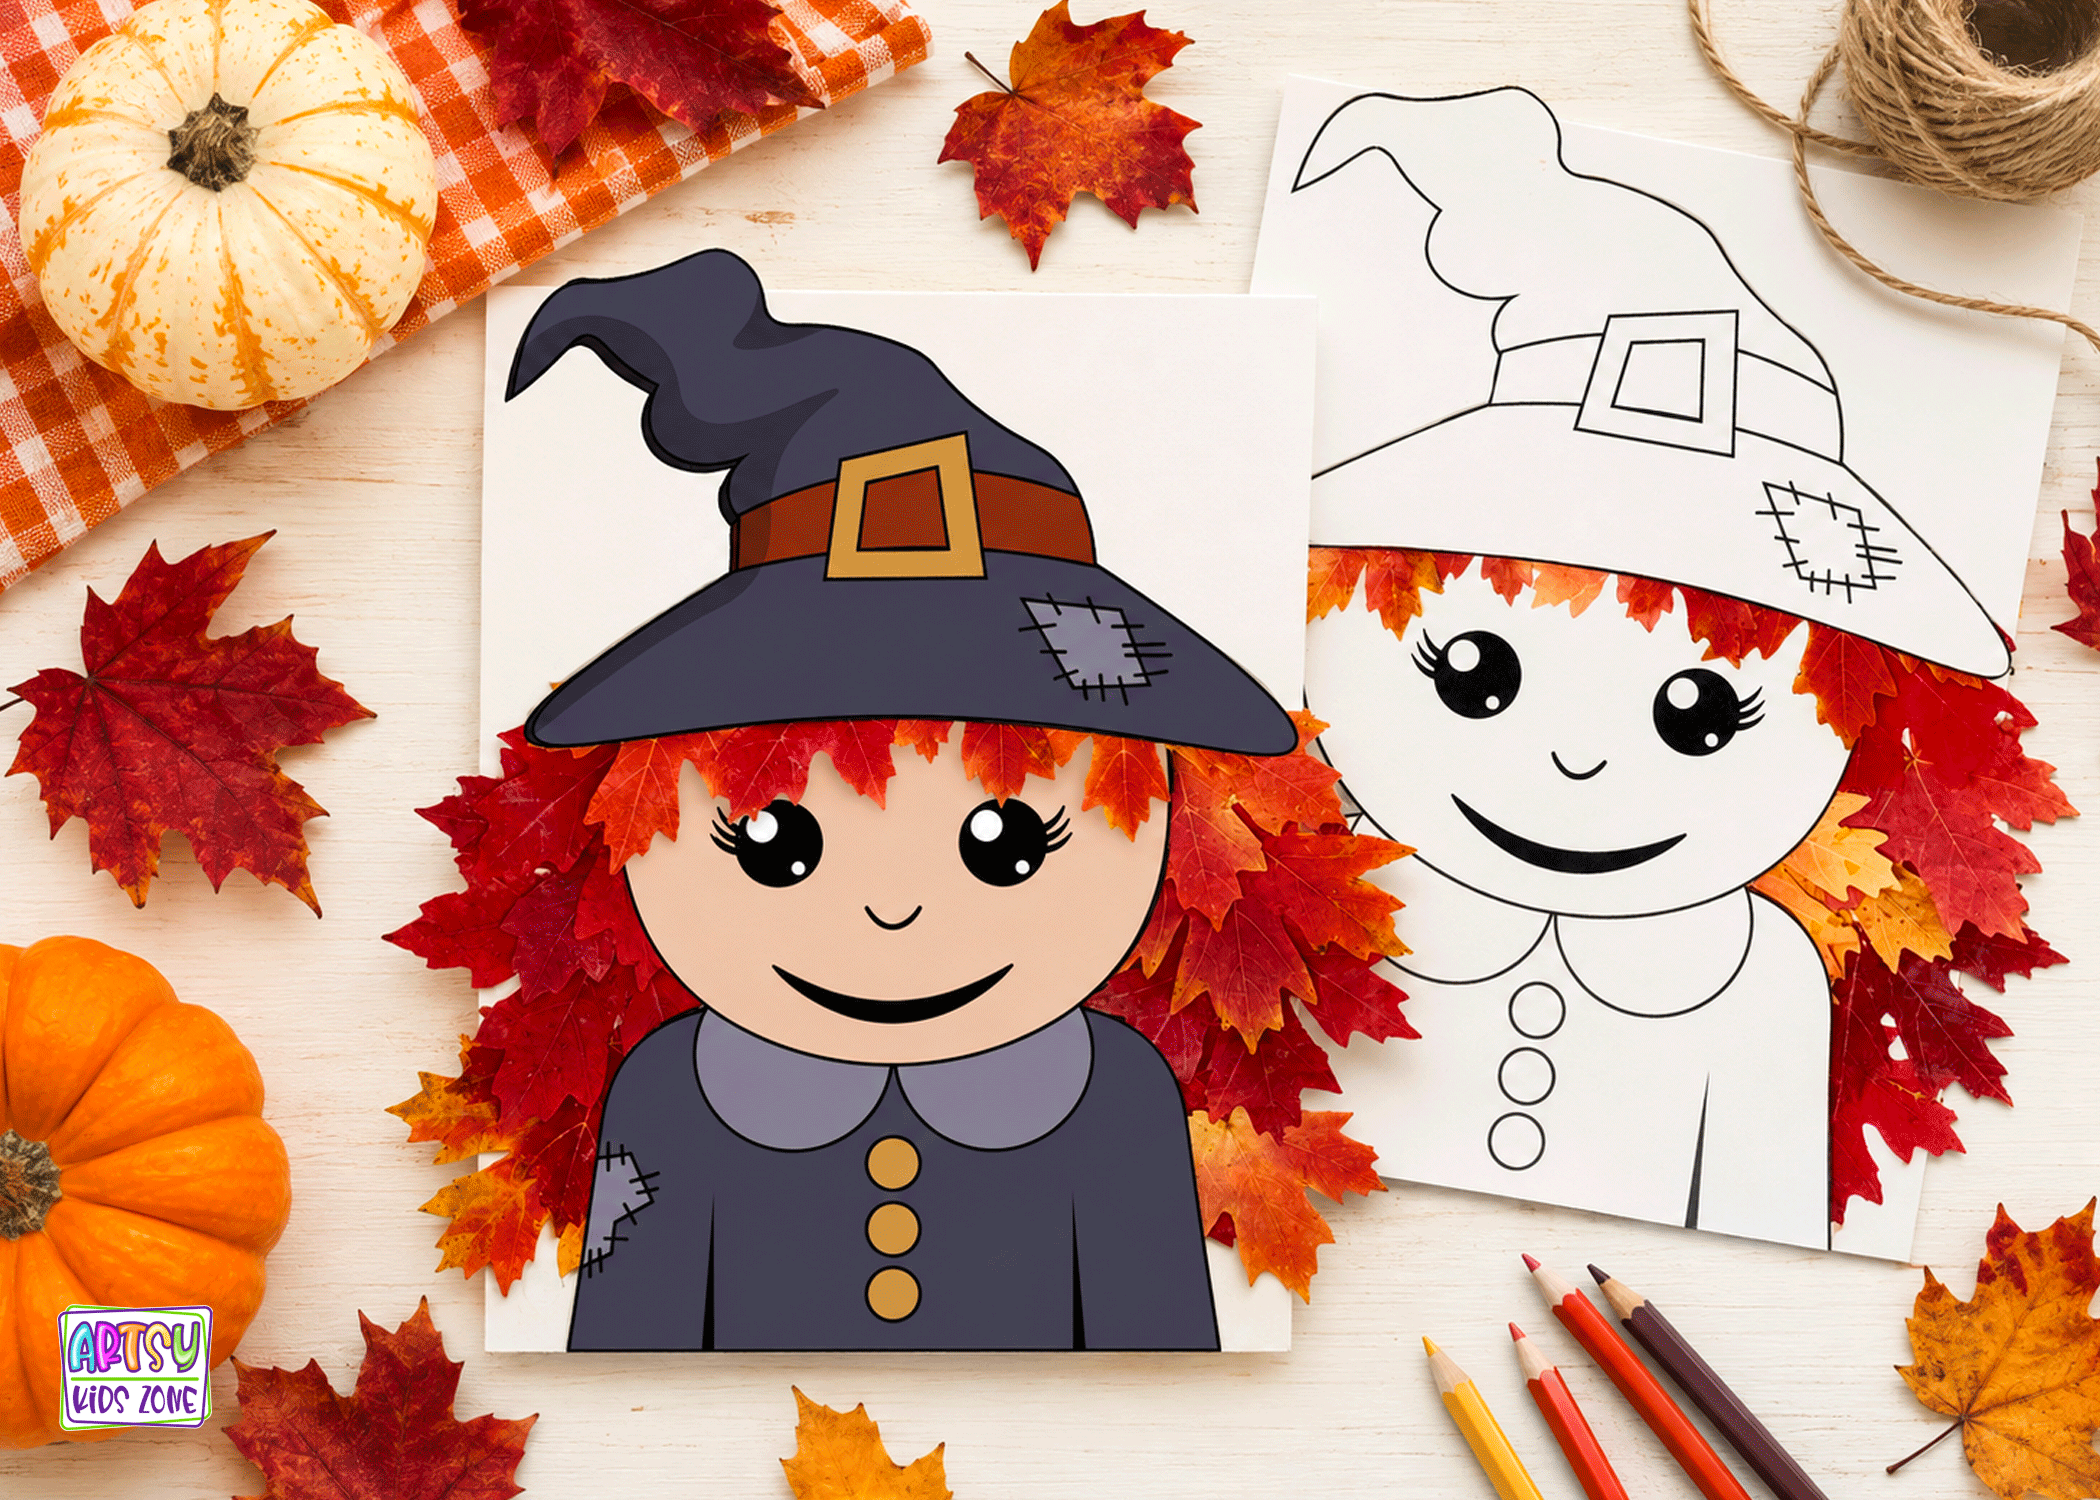
Fall Leaf Witch 
Fall Leaf Fairies 
Fall Painted Rocks 
Scarecrow Finger Puppets
If this craft puts you in the mood for even more autumn creativity, there are plenty of fall crafts for kids to discover on Artsy Kids Zone. Head outside to collect colorful leaves and turn them into wings for the Fall Leaf Fairies, or use real leaves to create a magnificent mane with the Fall Leaf Lion Craft. Kids can also make their own Scarecrow Finger Puppets for pretend play or try the Fall Agamograph, an optical illusion coloring page where changing your viewing angle makes it look like the leaves have fallen from the tree to the ground.

So grab a paper plate, gather your craft supplies, and make room for a few new scarecrow friends! Whether your child hangs their finished creation on the refrigerator, classroom wall, bedroom door—or, like my little boy, insists on giving every fence post outside its very own scarecrow—this Paper Plate Scarecrow Craft for Kids is a wonderfully simple way to celebrate fall. Just remember to bring those fence-post scarecrows inside before the rain comes!
Gather Your Supplies
Scarecrow Paper Plate Hat Template
Yellow or Orange Paper
Elmer's School Glue
Watch Video Tutorial
Paper Plate Scarecrow Craft
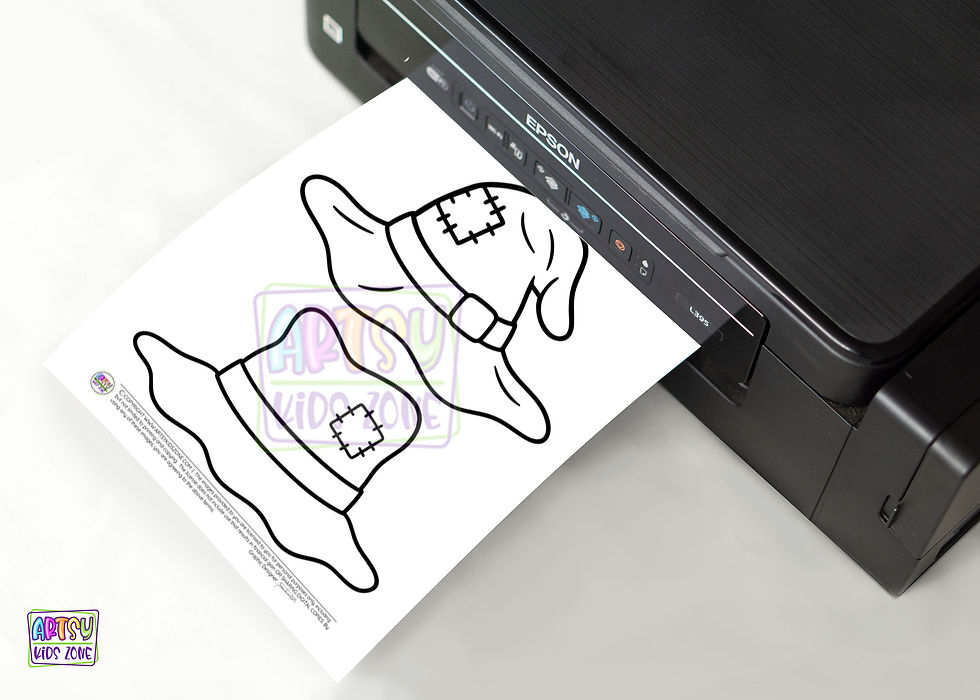
Step 1: Print the Scarecrow Hats
Download and print the scarecrow hat templates on 8.5 x 11-inch white cardstock. Cardstock works best because it makes the hats sturdy and easier to glue onto the paper plates. In your printer settings, select Actual Size or 100% and do not choose “Shrink to Fit.” This printable is free! You can find instructions for accessing it near the bottom of this post under How to Download.

Step 2: Cut the Paper Hair
Cut several strips from yellow construction paper to create the scarecrow’s straw hair. The strips do not need to be the same length or width—in fact, uneven pieces can give your scarecrow even more personality! I cut mine approximately 1/2 inch wide, but any size will work. Try using several shades of yellow, tan, or light brown to add extra color and texture. Set the finished strips aside for later.

Step 3: Color the Scarecrow Hat
Use crayons, markers, colored pencils, or acrylic paint pens to decorate the scarecrow hat. Kids can choose traditional fall colors such as orange, red, yellow, brown, and green, or create a bright rainbow-colored hat. Encourage them to experiment with patterns, patches, and unexpected color combinations.
As your child colors, build their artistic confidence by noticing specific details in their work. Try saying, “I love the colors you chose for that patch,” or “Those patterns make your hat look so interesting!” Asking questions such as, “What made you choose that color?” also shows children that their creative ideas are important.

Step 4: Cut Out the Hat
Carefully cut around the outside edge of the scarecrow hat. Remind children to sit while cutting, hold the scissors with the blades pointing away from their bodies, and keep their helping hand safely away from the cutting line. Younger children should use child-safe scissors and may need help from an adult with smaller or more detailed areas. Always carry scissors with the blades closed and pointed downward.

Step 5: Draw the Nose
Use a yellow or orange marker to draw a simple nose in the center of the paper plate. A triangle or circle works perfectly for a scarecrow nose, so there is no need to make it complicated. Once you are happy with the shape, color it in completely.
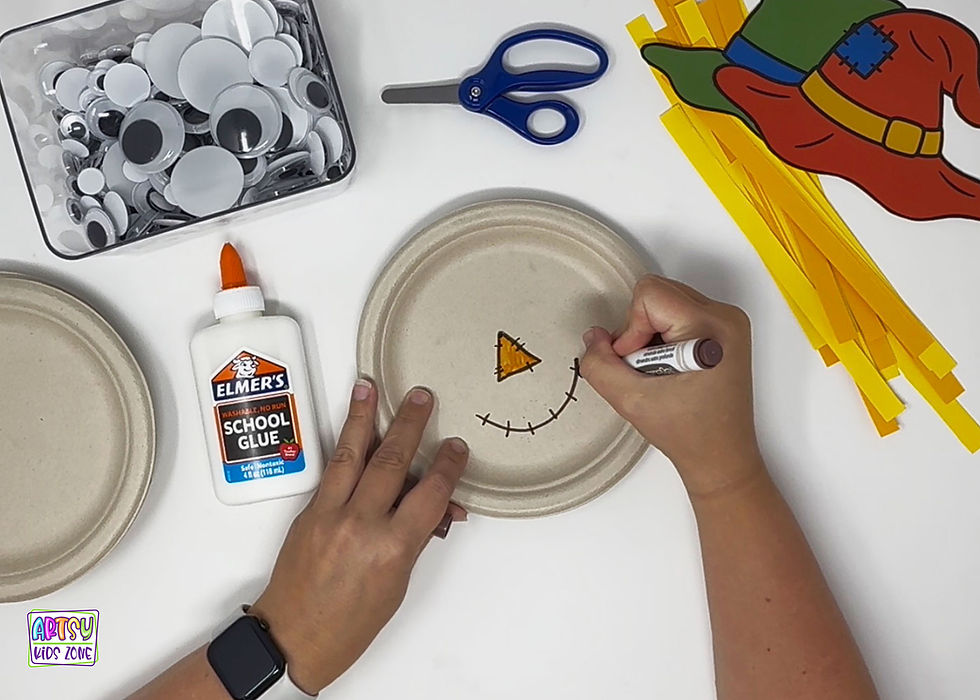
Step 6: Finish Drawing the Face
Use a dark brown or black marker to draw a curved smile beneath the nose. Add several short lines crossing the smile to make the mouth look stitched. Next, trace around the nose to give it a bold outline, then draw a few short lines across the outline to create more stitched details. Feel free to add freckles, rosy cheeks, eyebrows, or anything else that gives your scarecrow a friendly personality.Step 6: Finish Drawing the Face
Use a dark brown or black marker to draw a curved smile beneath the nose. Add several short lines crossing the smile to make the mouth look stitched. Next, trace around the nose to give it a bold outline, then draw a few short lines across the outline to create more stitched details. Feel free to add freckles, rosy cheeks, eyebrows, or anything else that gives your scarecrow a friendly personality.
Step 7: Glue on the Googly Eyes
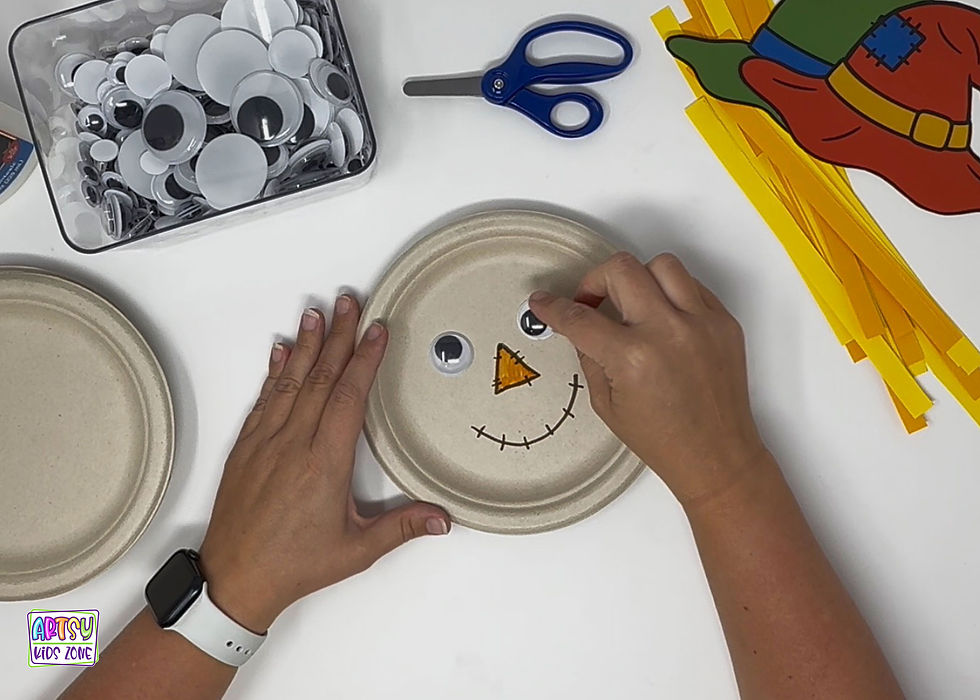
Glue two googly eyes onto the paper plate above the nose and mouth. You can position them evenly or make them slightly crooked for a silly expression. Press the eyes gently into the glue, then allow them to dry before moving the plate.

Step 8: Glue on the Hair
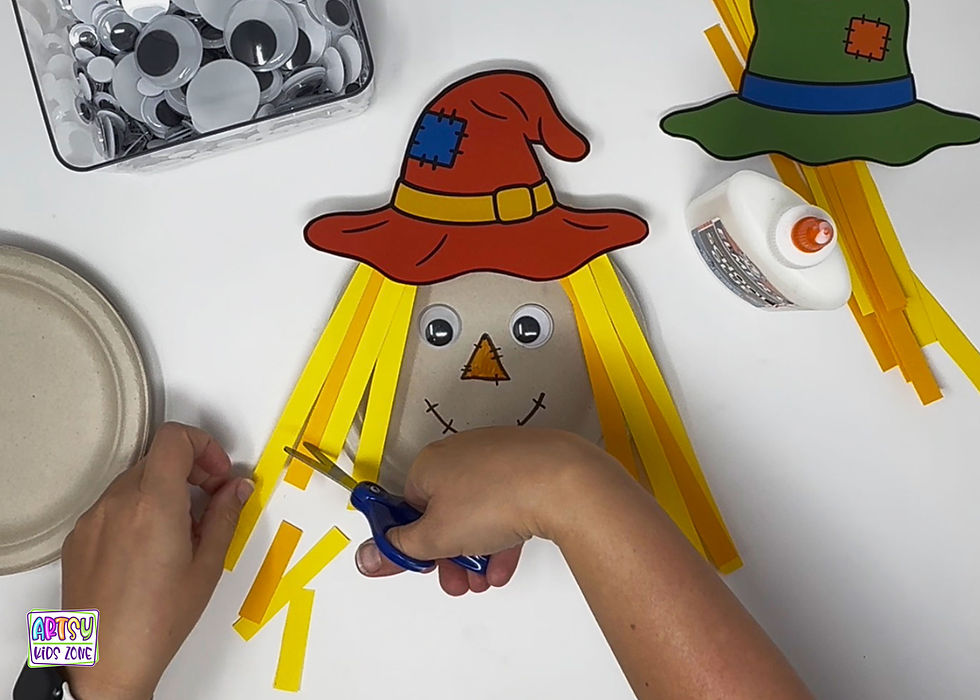
Glue the yellow paper strips around the top and sides of the paper plate to create the scarecrow’s straw hair. Leave the upper ends of the strips near the top of the plate so the hat will cover them later. Keep the strips straight, curl them around a pencil, or accordion-fold them to make fun, bouncy hair.

Step 9: Glue on the Hat
Apply glue to the back of the decorated scarecrow hat and attach it to the top of the paper plate. Position the hat so it covers the glued ends of the paper hair, then press it down firmly. Set the scarecrow aside until all the glue has dried completely.
Optional: Give Your Scarecrow a Haircut
Once the glue is completely dry, trim the paper strips to your desired length. Cut them evenly for a tidy hairstyle or leave them different lengths for a wonderfully messy straw look. In other words, it is time to give your scarecrow a haircut!

Your Paper Plate Scarecrow Is Complete!
Your cheerful Paper Plate Scarecrow Craft is finished and ready for some fall fun! Display it on the refrigerator, hang it on a classroom bulletin board, or place it near your fall decorations. Every scarecrow will look unique depending on the colors, facial features, and hairstyle each child chooses. Whether your scarecrow has straight straw hair, bouncy accordion-folded strips, or a freshly trimmed haircut, it is sure to add plenty of handmade charm to your autumn display!

How To Download Template:
Before you can begin your craft you need to download the Handprint Witch template. This download is available to all members for FREE! You heard me correctly, memberships are free to join for everyone who is 18 years an older! Click on the link to signup and to find the Template. You choose which one you want to download and print.
***These printables are intended for personal and school use exclusively. Unauthorized copying, uploading, republishing, distributing or alteration of these files in any manner is strictly prohibited. If you plan to showcase these printables, please ensure to include a link back to artsykidszone.com.
Discover More Kid Friendly Crafts

Crayon Relief Stocking 
Christmas Stockings 
Christmas Puppets 
Turkey Cootie Catcher 
Cow Paper Bag Puppet 
Rainbow Fish Craft 
Alien Handprint Craft Fall Agamograph 
Hatching Dragon Egg 
Fire Dragon 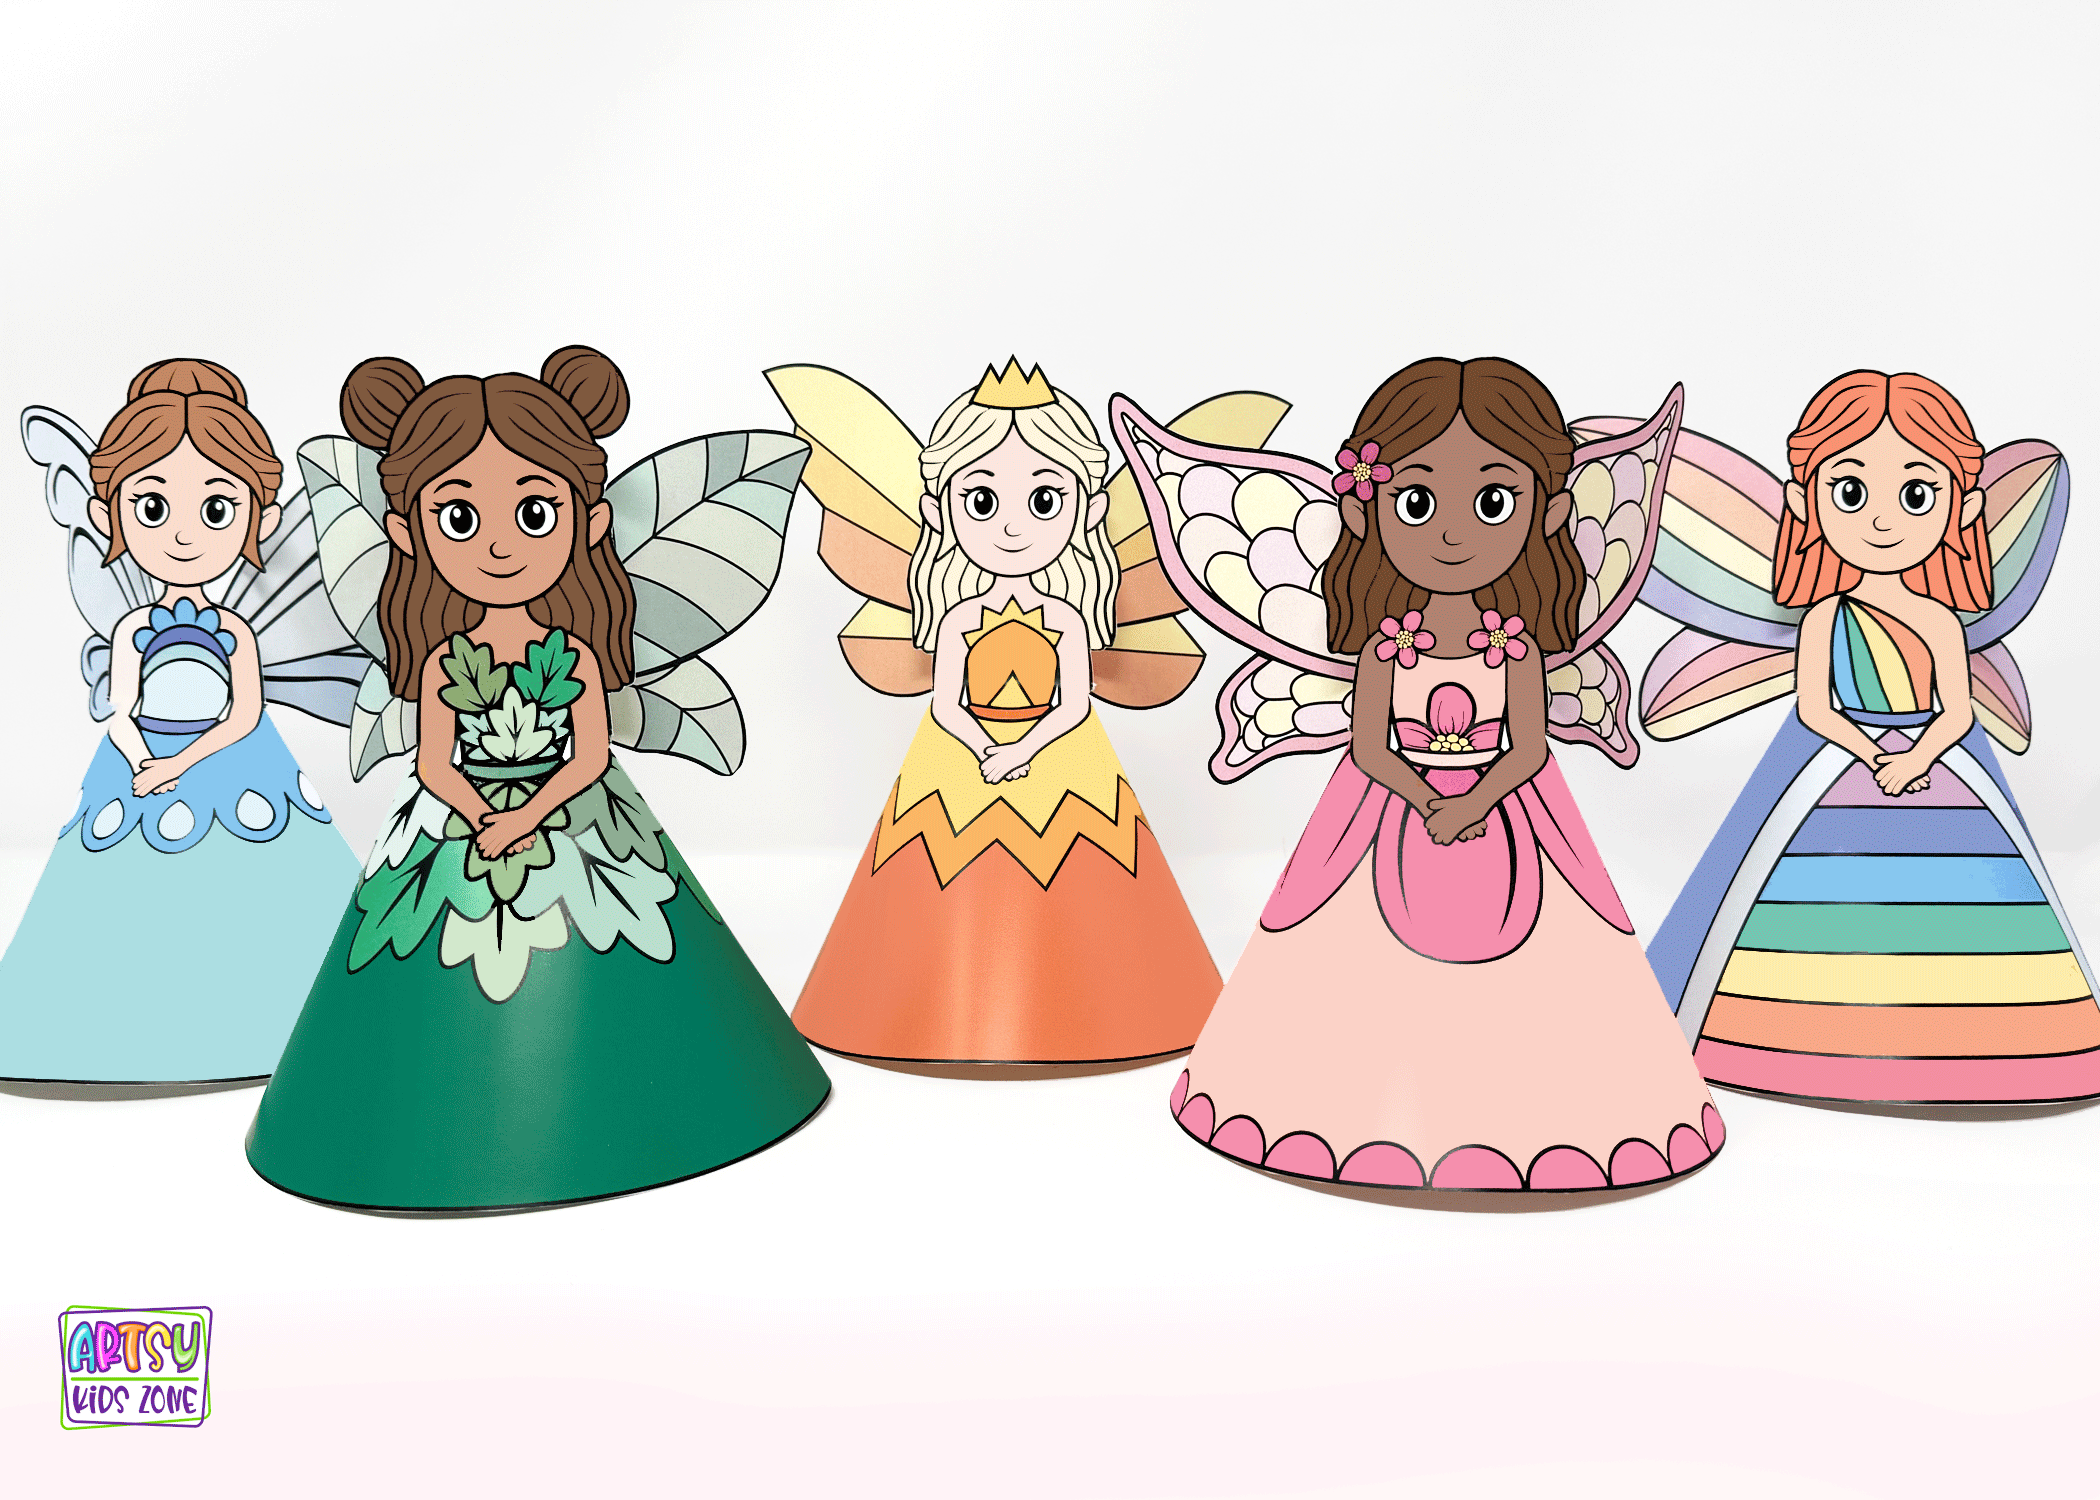
3D Fairy Paper Dolls 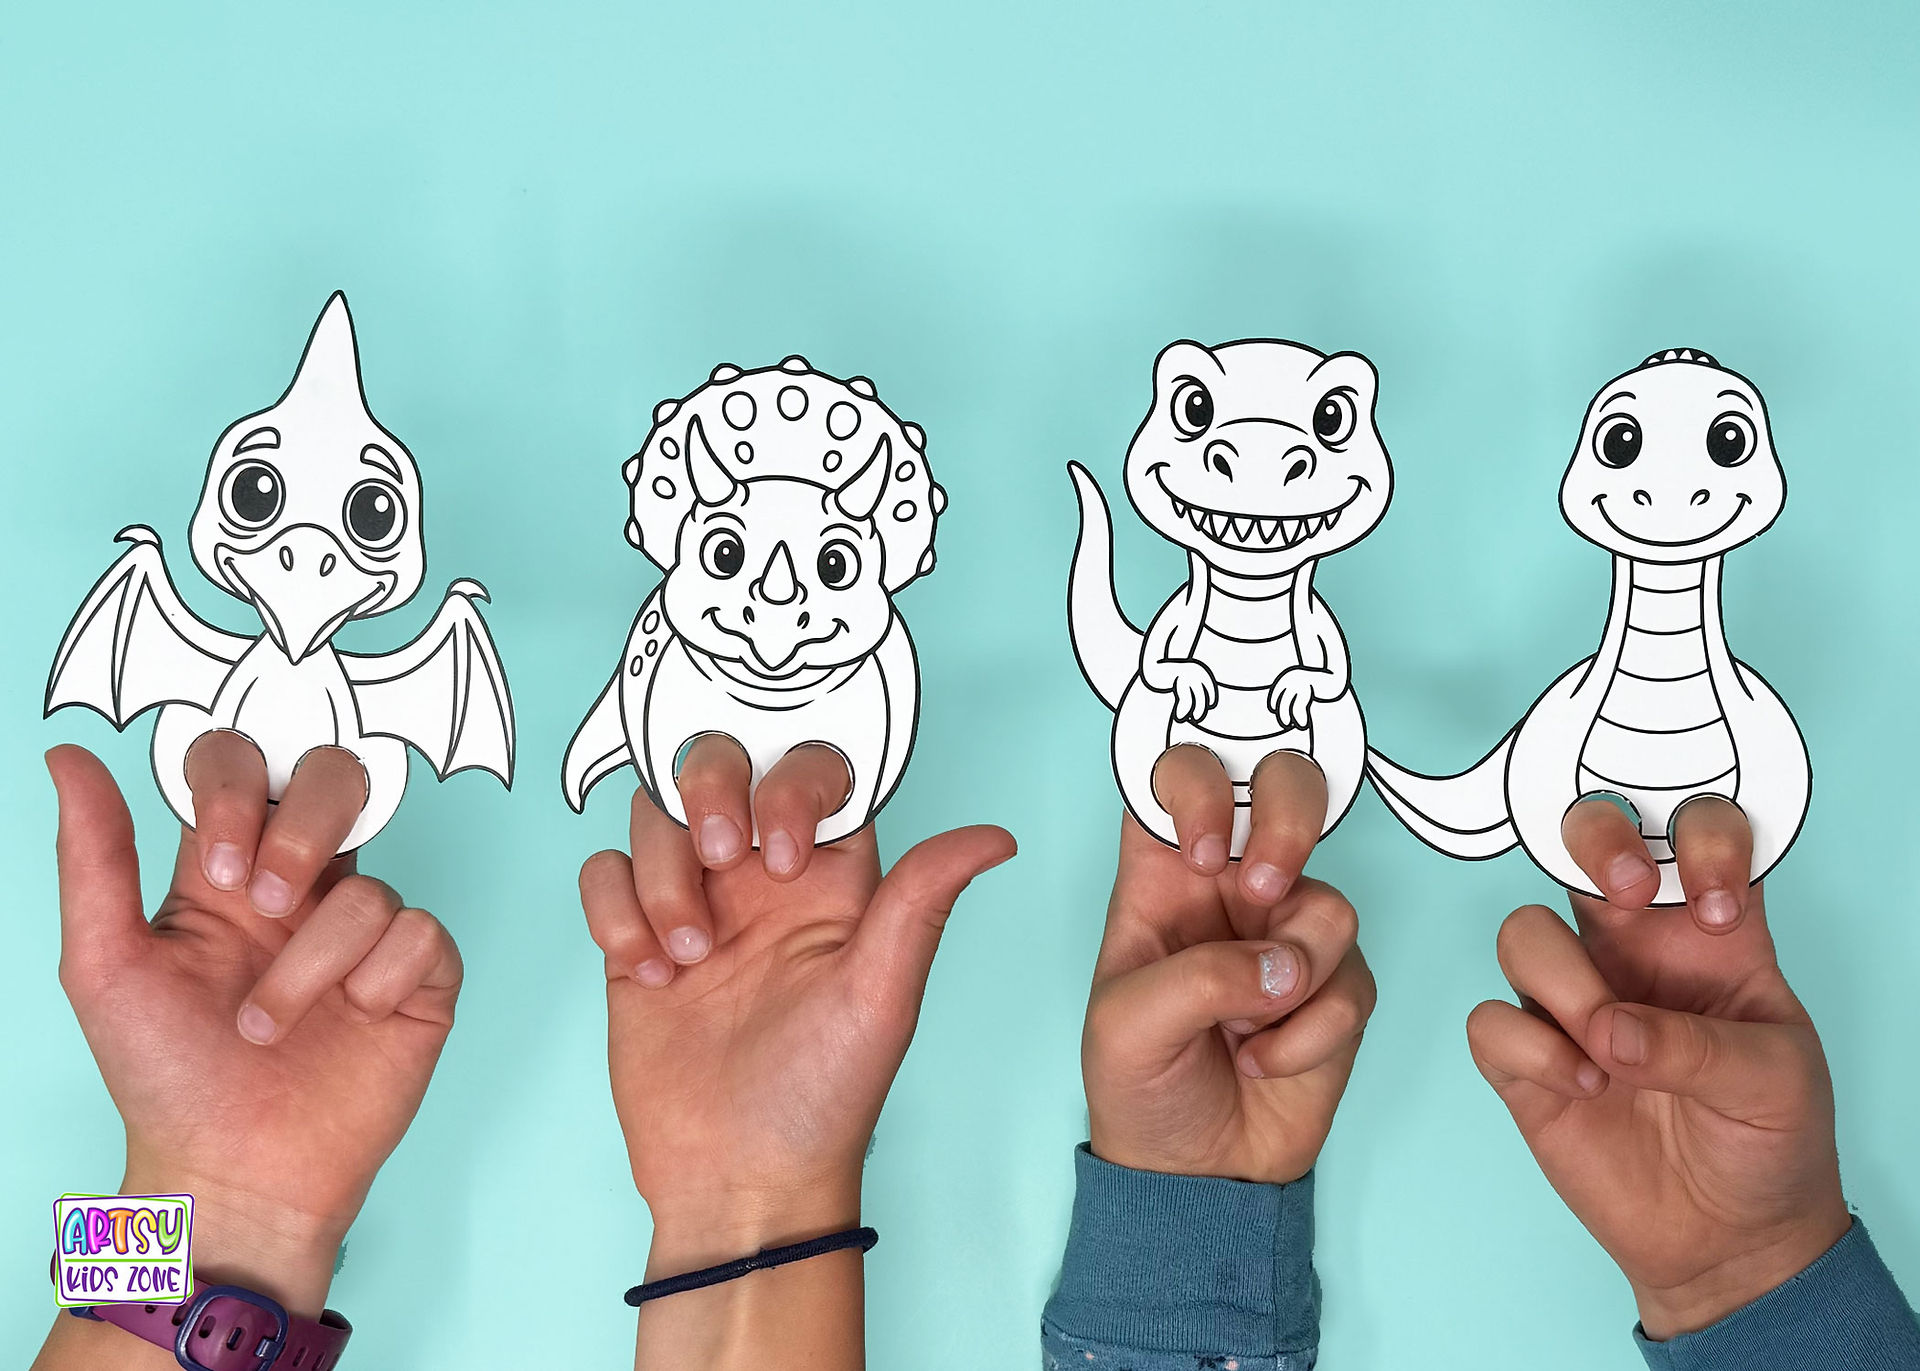
Dino Finger Puppets 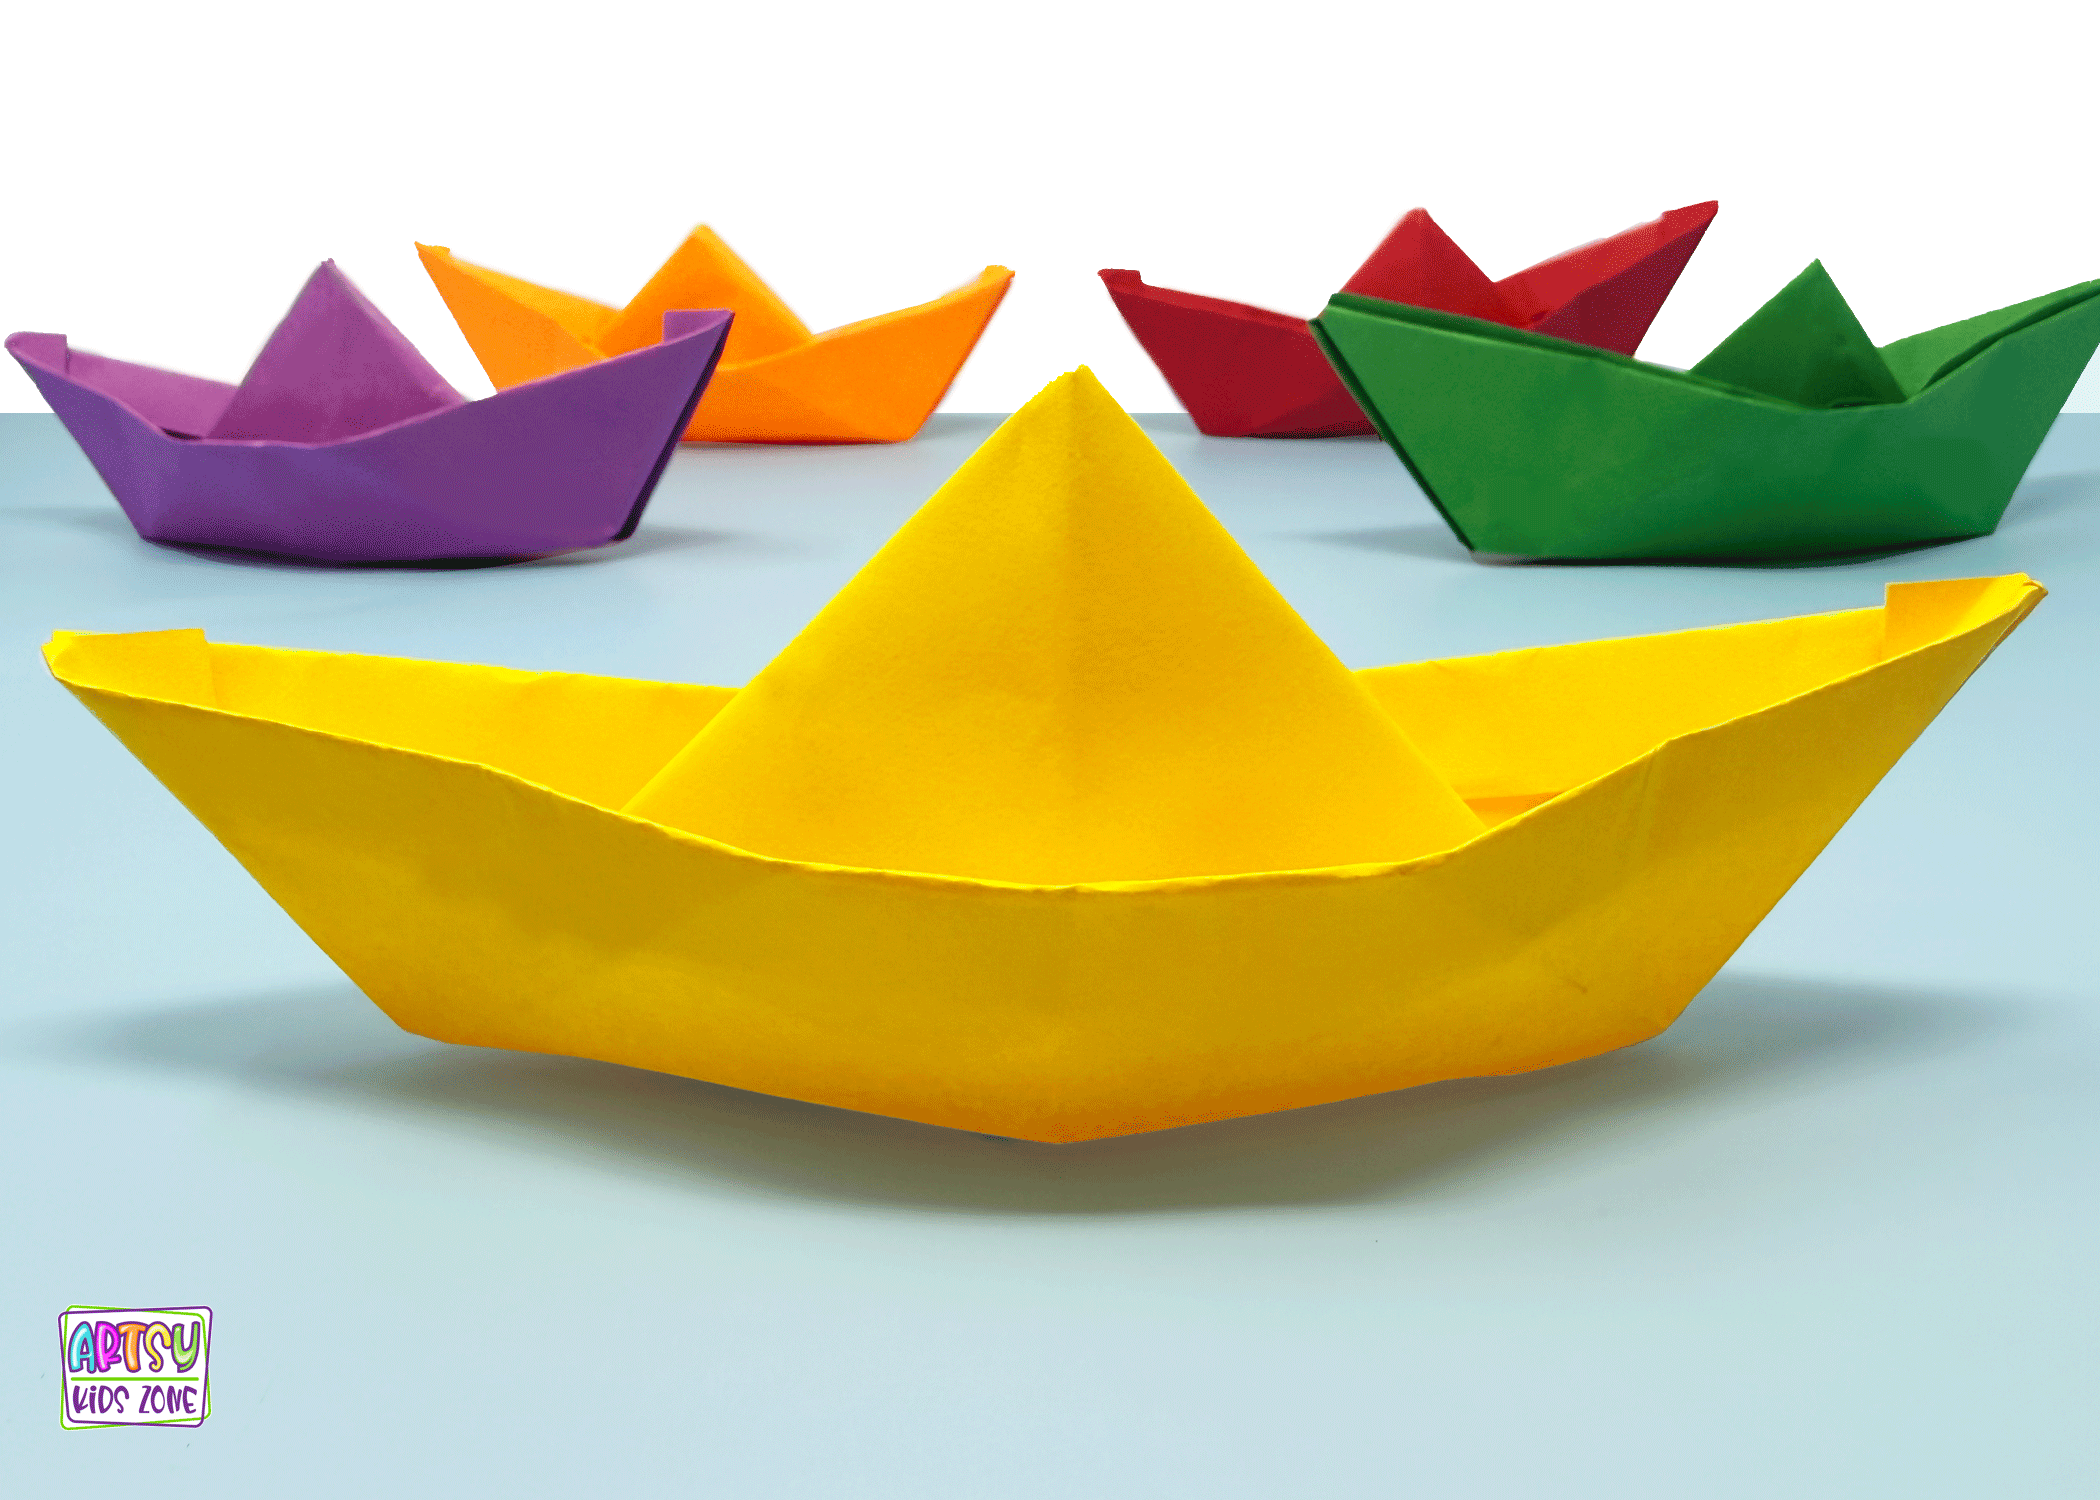
Boat Origami 
Mermaid Craft 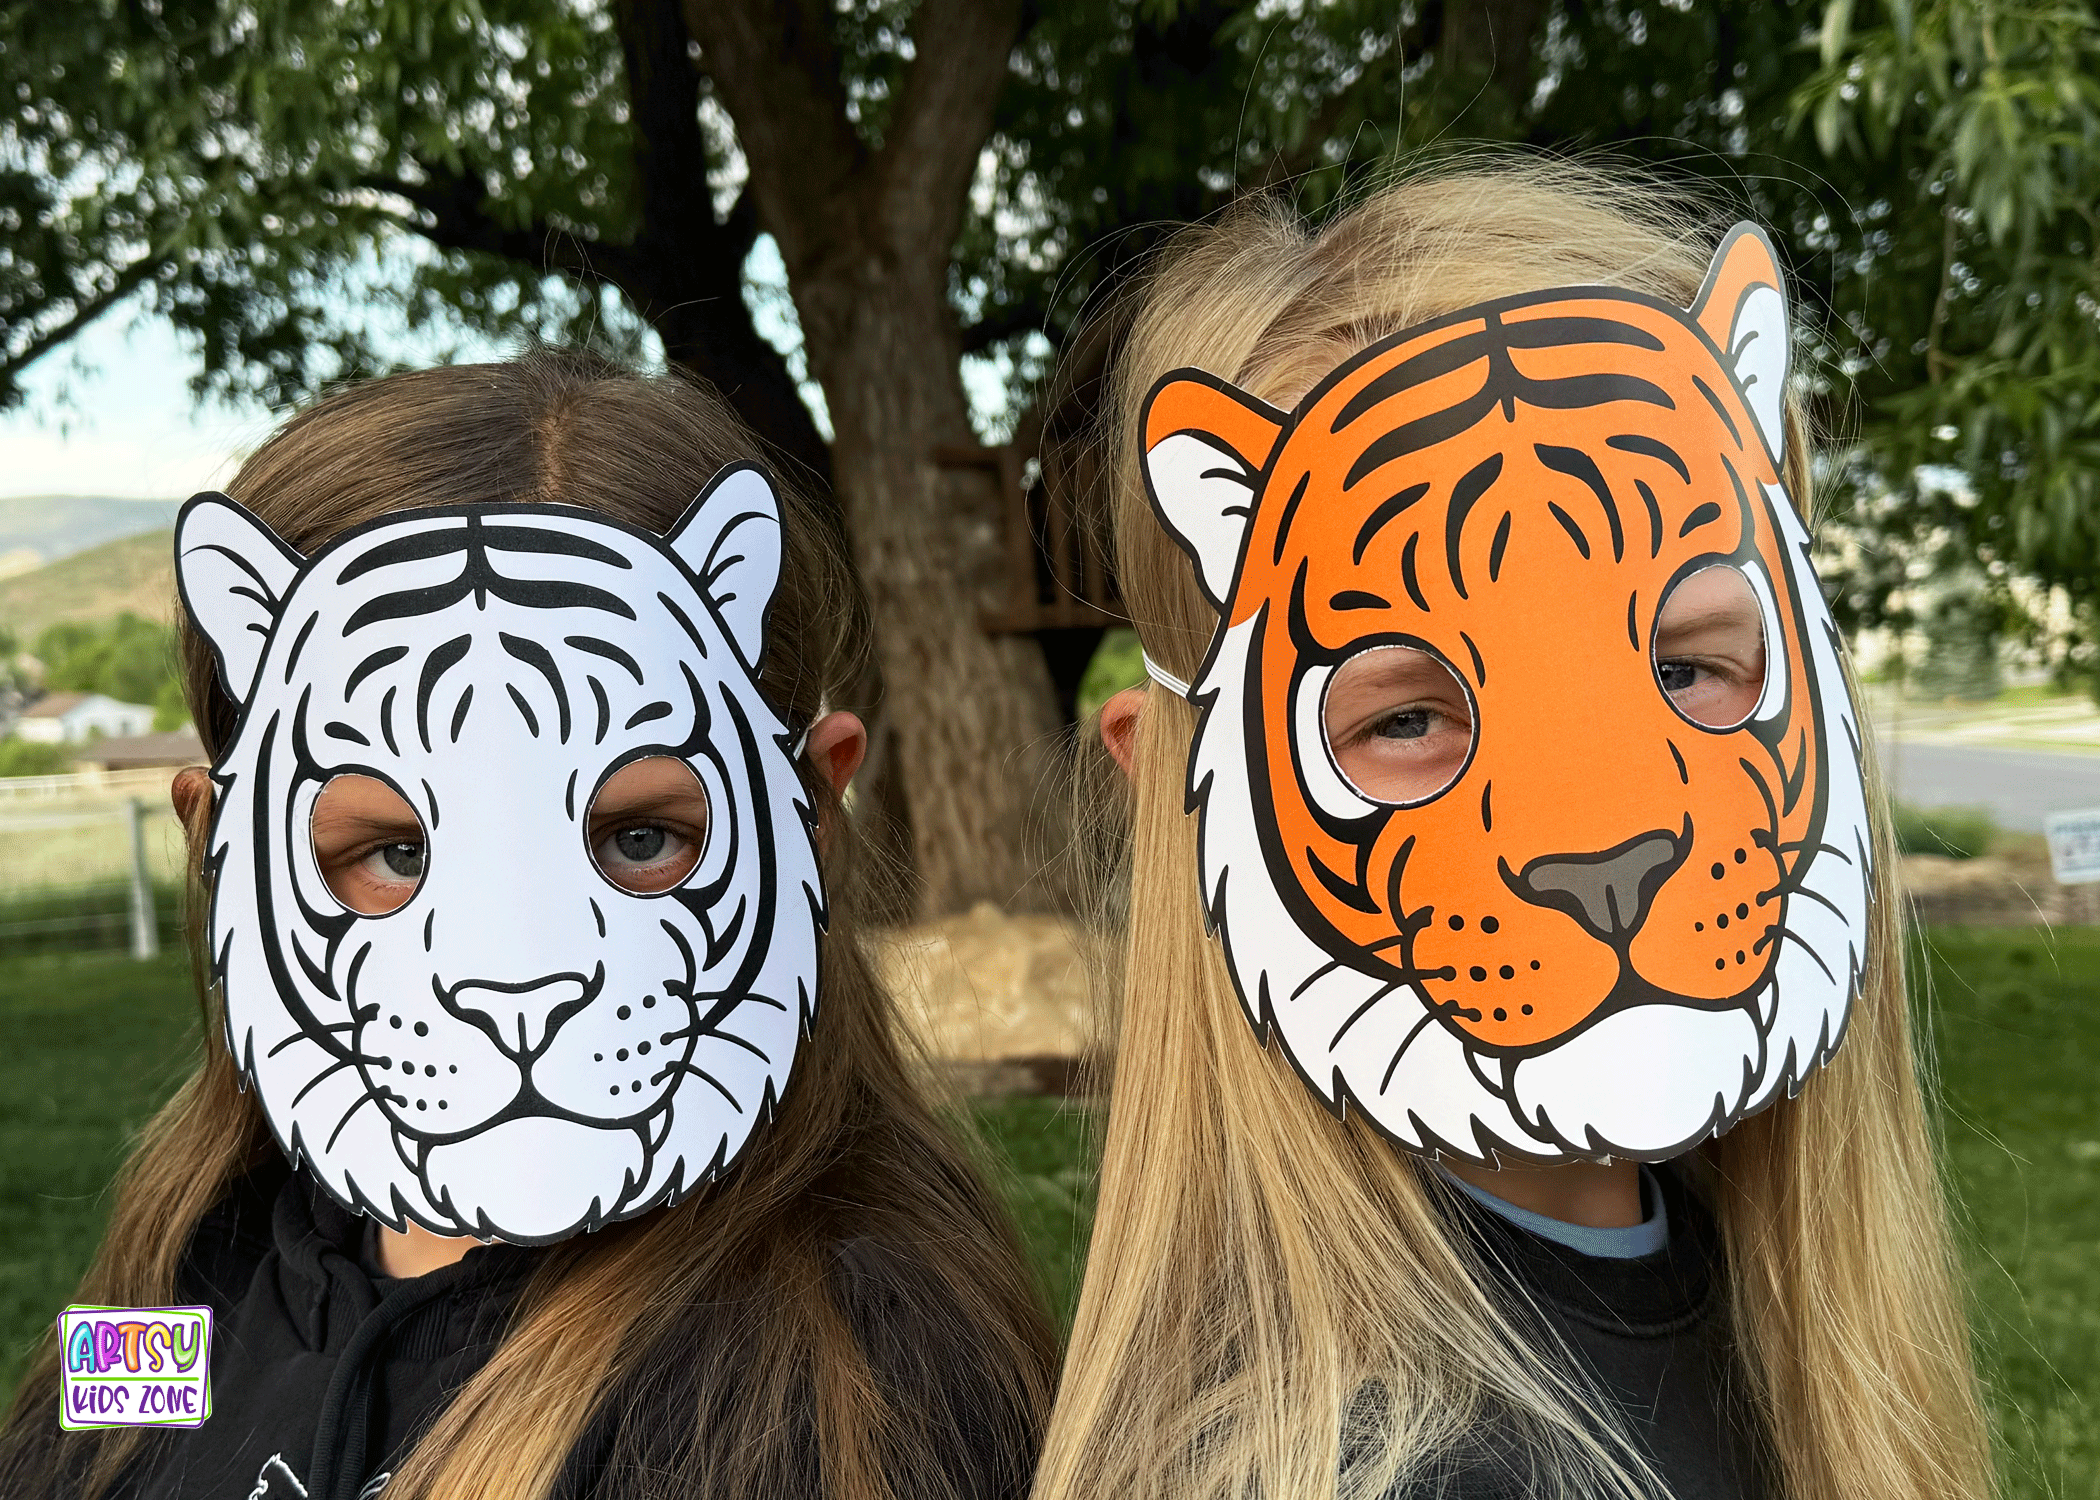
Tiger Masks 
Pirate Paper Masks
If your kids loved this craft, be sure to explore everything that Artsy Kids Zone has to offer! There’s a whole world of creative fun waiting, from interactive paper bag puppets and playful clothespin puppets to engaging coloring pages and imaginative paper masks. Whether your child is into animals, pirates, dinosaurs, fairies, or something in between, you’ll find endless projects designed to spark curiosity and creativity.
At Artsy Kids Zone, it’s all about giving kids opportunities to create, explore, and express themselves. These hands-on crafts encourage children to color, cut, glue, and build—helping develop fine motor skills while boosting confidence and imagination. Whether you’re crafting at home, in the classroom, or just looking for a fun activity, you’ll find plenty of ways to keep kids entertained and inspired. The fun doesn’t stop here—there’s always something new to discover!


Comments