


Easy Origami Pumpkin for Kids – Fall Paper Folding Craft

All art projects & crafts require adult supervision. Artsy Kids Zone is a participant in the Amazon Associates Program, and I may earn a small commission from qualifying purchases at no additional cost to you. Read our full disclosure policy.
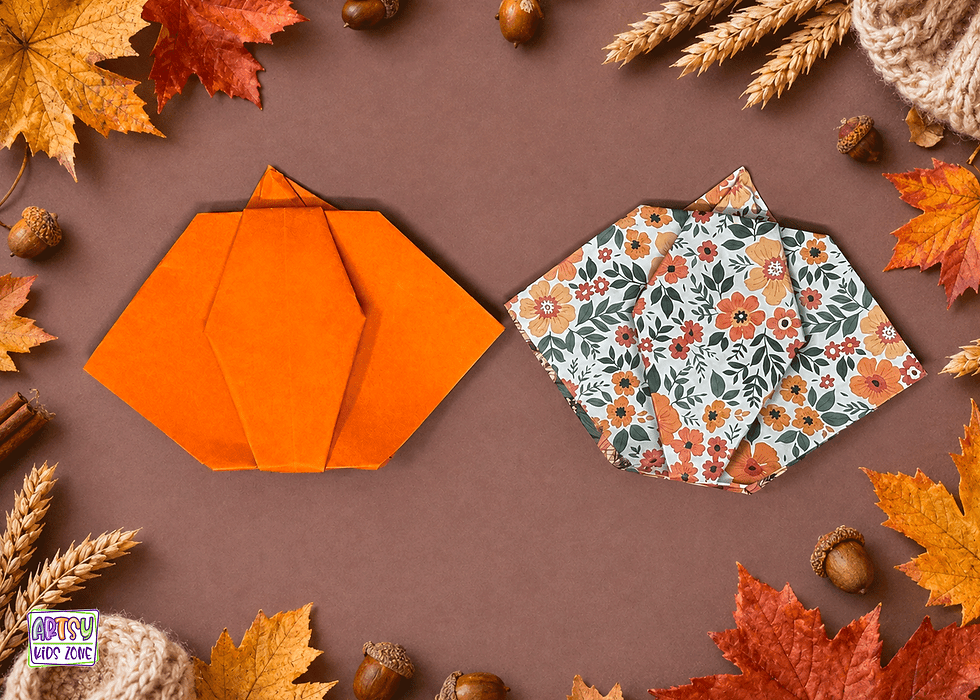
Nothing says fall quite like bright orange pumpkins! This Easy Origami Pumpkin for Kids – Fall Paper Folding Craft is a simple and fun activity that transforms an ordinary sheet of paper into an adorable pumpkin using just a few easy folds. Whether you're decorating for autumn, celebrating harvest season, or looking for a cozy afternoon craft, this beginner-friendly origami project is the perfect way to welcome fall.
One of the best things about this origami pumpkin craft for kids is that it's easy enough for beginners while still creating an impressive finished result. Children will love watching a flat piece of paper slowly transform into a cute pumpkin with each fold. It's a wonderful introduction to origami and a fun way to discover what can be created with just paper and a little patience.
This fall paper folding craft is perfect for classrooms, homeschool lessons, library programs, fall festivals, pumpkin-themed units, or a relaxing afternoon at home. Since all you need is a sheet of paper and a marker for the finishing details, it's an inexpensive activity that's easy to prepare almost anywhere.

Origami is much more than a fun craft—it also helps children build important developmental skills. As kids carefully follow each fold, they strengthen fine motor skills, hand-eye coordination, concentration, patience, and problem-solving. Every completed fold helps build confidence while encouraging creativity and attention to detail.
Once the pumpkin is folded, kids can add their own creative touches. Draw a smiling jack-o'-lantern face, a silly grin, or keep it as a classic pumpkin with a green stem and curly vine. You can even use different shades of orange, yellow, or patterned paper to create an entire pumpkin patch filled with unique designs.
The fun doesn't stop once your pumpkin is finished! Fold several pumpkins to decorate a classroom bulletin board, create a festive fall centerpiece, make homemade greeting cards, or display them around the house throughout the autumn season. Kids can even combine their pumpkins with other paper crafts to create their own harvest scenes.

Fall Leaves Lion 
Coffee Filter Fall Tree 
Fall Leaf Hedgehog 
Fall Agamograph 
Fall Leaf Turkey 
Popsicle Stick Scarecrows
If you love celebrating fall, be sure to check out all the other seasonal crafts waiting for you on Artsy Kids Zone! Pair this origami pumpkin with our Popsicle Stick Scarecrow Craft, Printable Owl Paper Mask, Lion Fall Leaf Craft, Coffee Filter Fall Tree, or our interactive Fall Tree Agamograph, where kids can watch colorful autumn leaves magically transform into bare winter branches as they tilt the artwork. Together, these projects make a wonderful collection of creative fall activities for kids.
So grab a square sheet of paper and start folding! This Easy Origami Pumpkin for Kids is a fun, educational, and screen-free craft that's perfect for celebrating the beauty of autumn. Before you know it, you'll have your very own paper pumpkin ready to brighten your home, classroom, or fall decorations all season long.
Watch How to Fold Origami Pumpkin
Easy Origami Pumpkin for Kids

Step 1: Position the Paper
Place one square sheet of origami paper on a flat surface in a diamond shape. The colored side you want to appear on the finished pumpkin should face down.

Step 2: Fold the Paper in Half
Bring the top point down to meet the bottom point. Press firmly along the fold to create a triangle.

Step 3: Fold the Triangle in Half
Bring the right point over to meet the left point. Crease the fold well to create a smaller triangle.
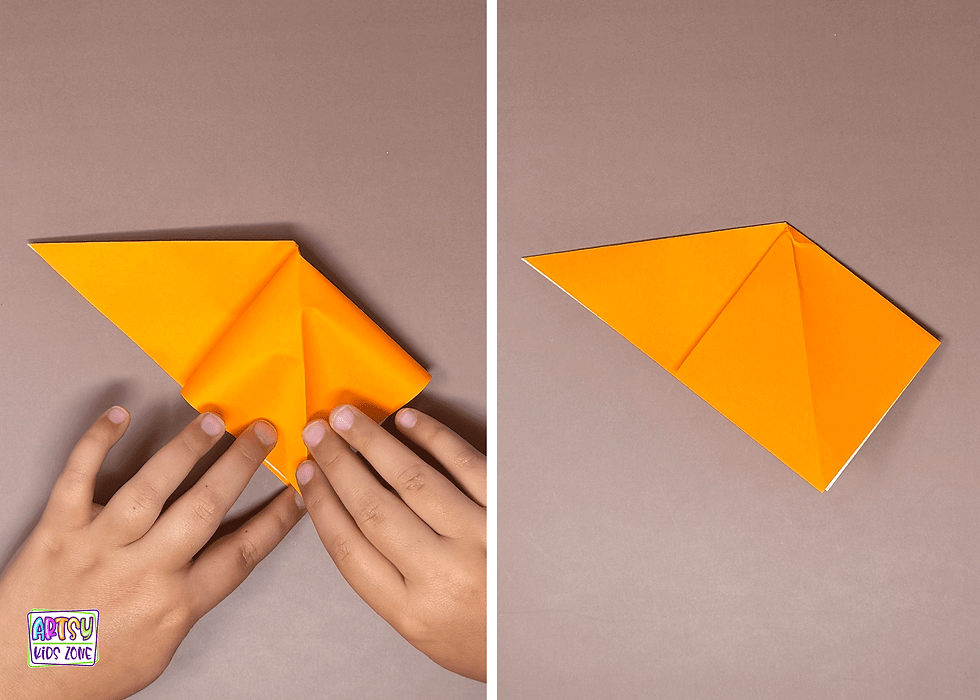
Step 4: Make the First Squash Fold
Gently open the top flap. Press the flap down flat, lining up its center crease with the fold underneath to create a square shape.

Step 5: Turn the Paper Over
Flip the folded paper over from left to right.
Step 6: Make the Second Squash Fold
Fold the top flap over to the left along the center crease. Open the flap and carefully squash it down to create another square. Your paper should now look like a small diamond.
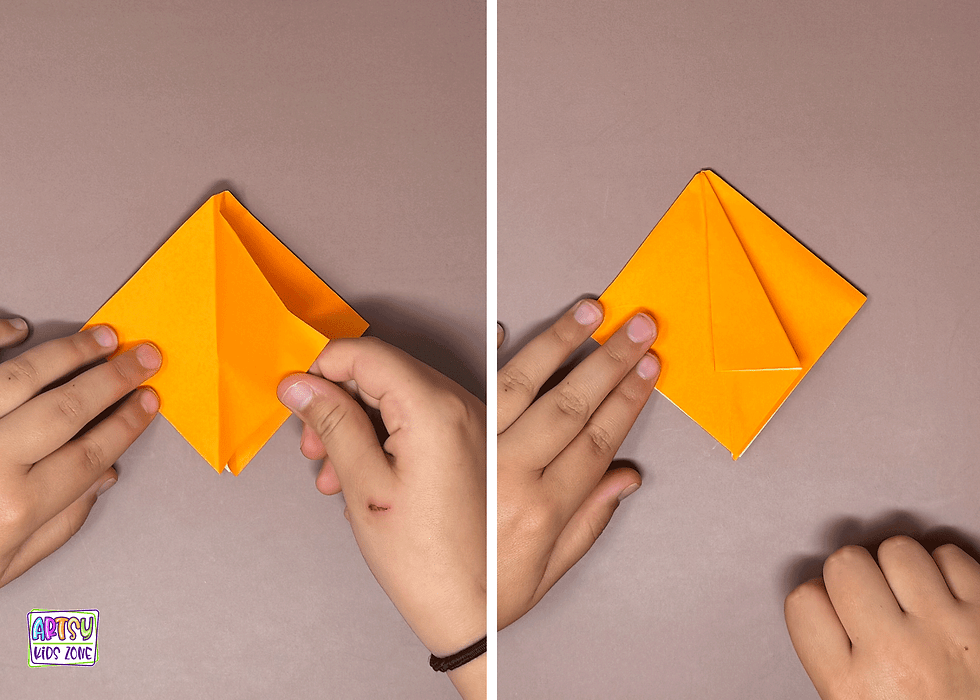
Step 7: Move the Flap
Position the paper so the open edges are pointing toward you. Fold the right flap over to the left side.
Step 8: Fold the Flap Toward the Center
Fold the same flap back toward the left, stopping when its edge meets the center crease.

Step 9: Fold the Lower Edge Inward
Fold the bottom-right edge of the top flap inward until it meets the center crease. Press the fold flat.

Step 10: Return the Flap to the Left
Fold the flap over to the left.
Step 11: Move the Right Flap
Fold the right flap over to the left side.
Step 12: Fold the Flap Toward the Center
Fold the same left flap back toward the right, stopping when its edge meets the center crease.
Step 13: Fold the Lower Edge Inward
Fold the bottom-left edge of the top flap inward until it meets the center crease.

Step 14: Return the Flap to the Right
Fold the entire top flap back over to the right. The folds on both sides should now match.

Step 15: Flip the Pumpkin Over
Turn the folded paper over from left to right. You should begin to see the pumpkin’s rounded shape.

Step 16: Fold Down the Top Point
Fold the top point down slightly. This small flap will be used to create the pumpkin’s stem.
Step 17: Create the Stem
Fold part of the flap back upward so the point extends slightly beyond the top edge of the pumpkin.

Step 18: Flip the Pumpkin Over
Flip the pumpkin over so the folded flaps are in the front.

Step 19: Fold Up the Bottom Point
Fold the bottom point upward slightly to flatten the bottom of the pumpkin and give it a more rounded appearance. Flip the folds to go inside of the pumpkin.Try to make the folds approximately the same size so the pumpkin looks even.

Your Origami Pumpkin Is Complete!
Your adorable origami pumpkin is ready for fall! Make several pumpkins using different colors and sizes of paper to create an entire pumpkin patch. Display them around the house, turn them into a festive fall garland, glue them onto homemade cards, or use them to decorate a classroom bulletin board. Add silly, happy, or spooky faces to make every pumpkin unique!
Tips for Success
Experiment with Paper Types: Try patterned origami paper, metallic paper, or lightweight white paper and color it in.
Use Your Pumpkins in Other Crafts: Attach the finished pumpkins to Halloween cards, fall gift tags, party invitations, garlands, or classroom displays.
Create a Whole Pumpkin Patch: Fold pumpkins using different paper sizes and colors to create a playful and colorful pumpkin patch.
Avoid Uneven or Loose Folds: Carefully line up the edges before creasing each fold. Sharp, precise creases will help your pumpkin hold its shape and look more even.
Avoid Paper That Is Too Thick: Avoid heavy cardstock or thick construction paper because it can be difficult to fold and may make the layers bulky. Lightweight origami paper or colored printer paper works best.

Mermaid Clothespin Puppets 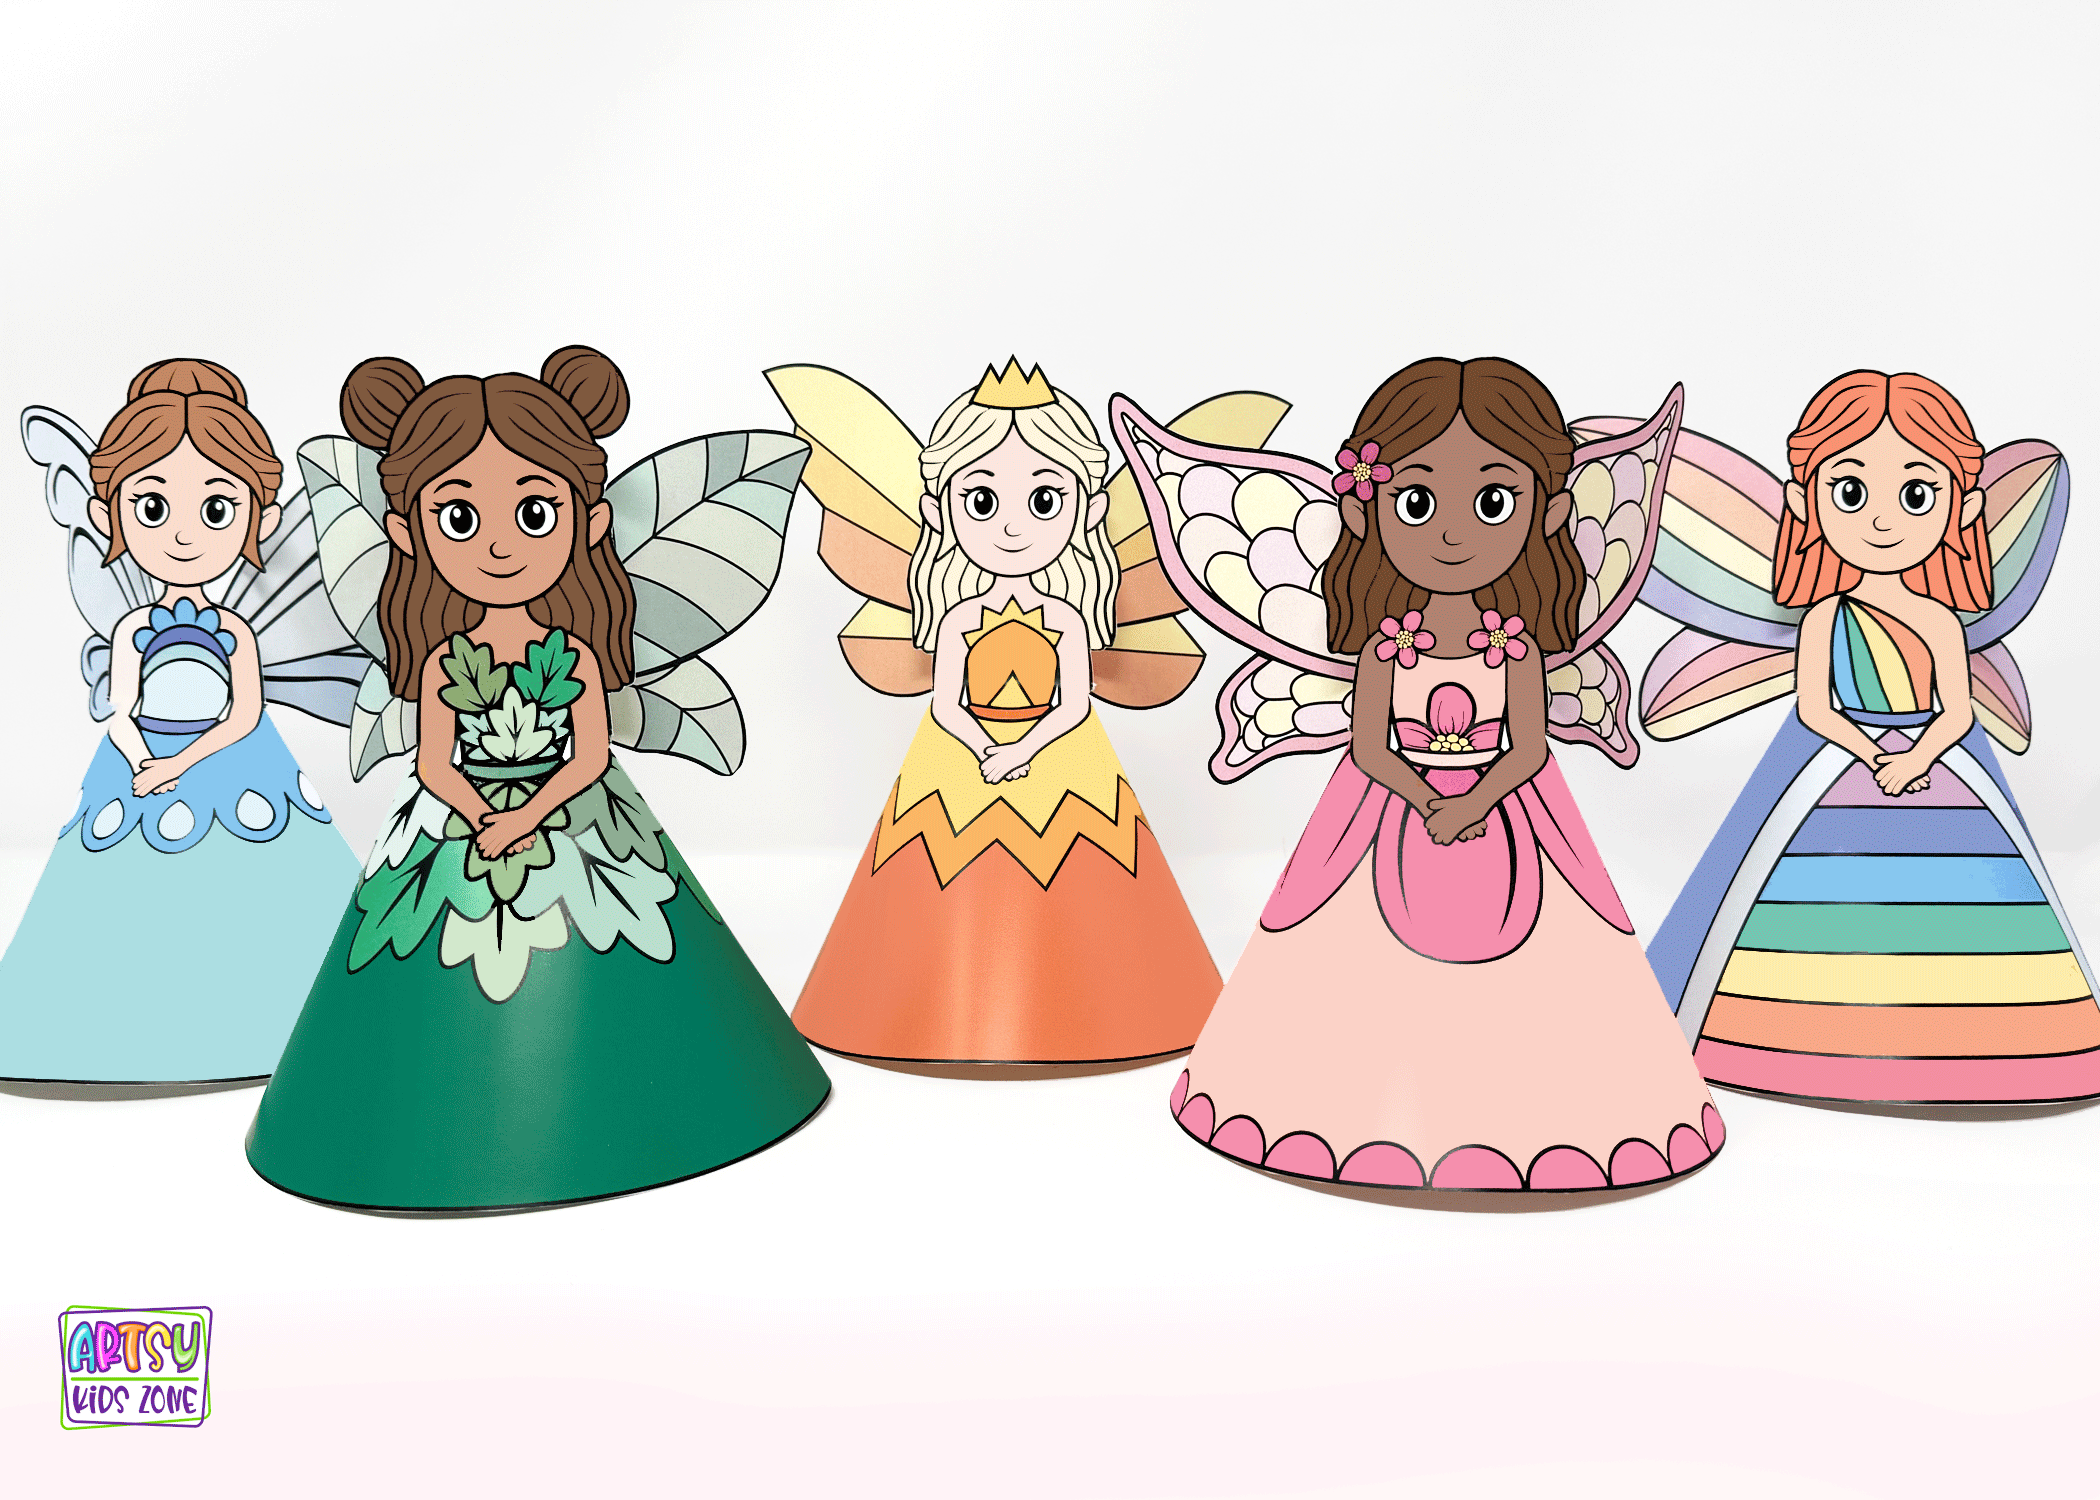
3D Fairy Paper Dolls 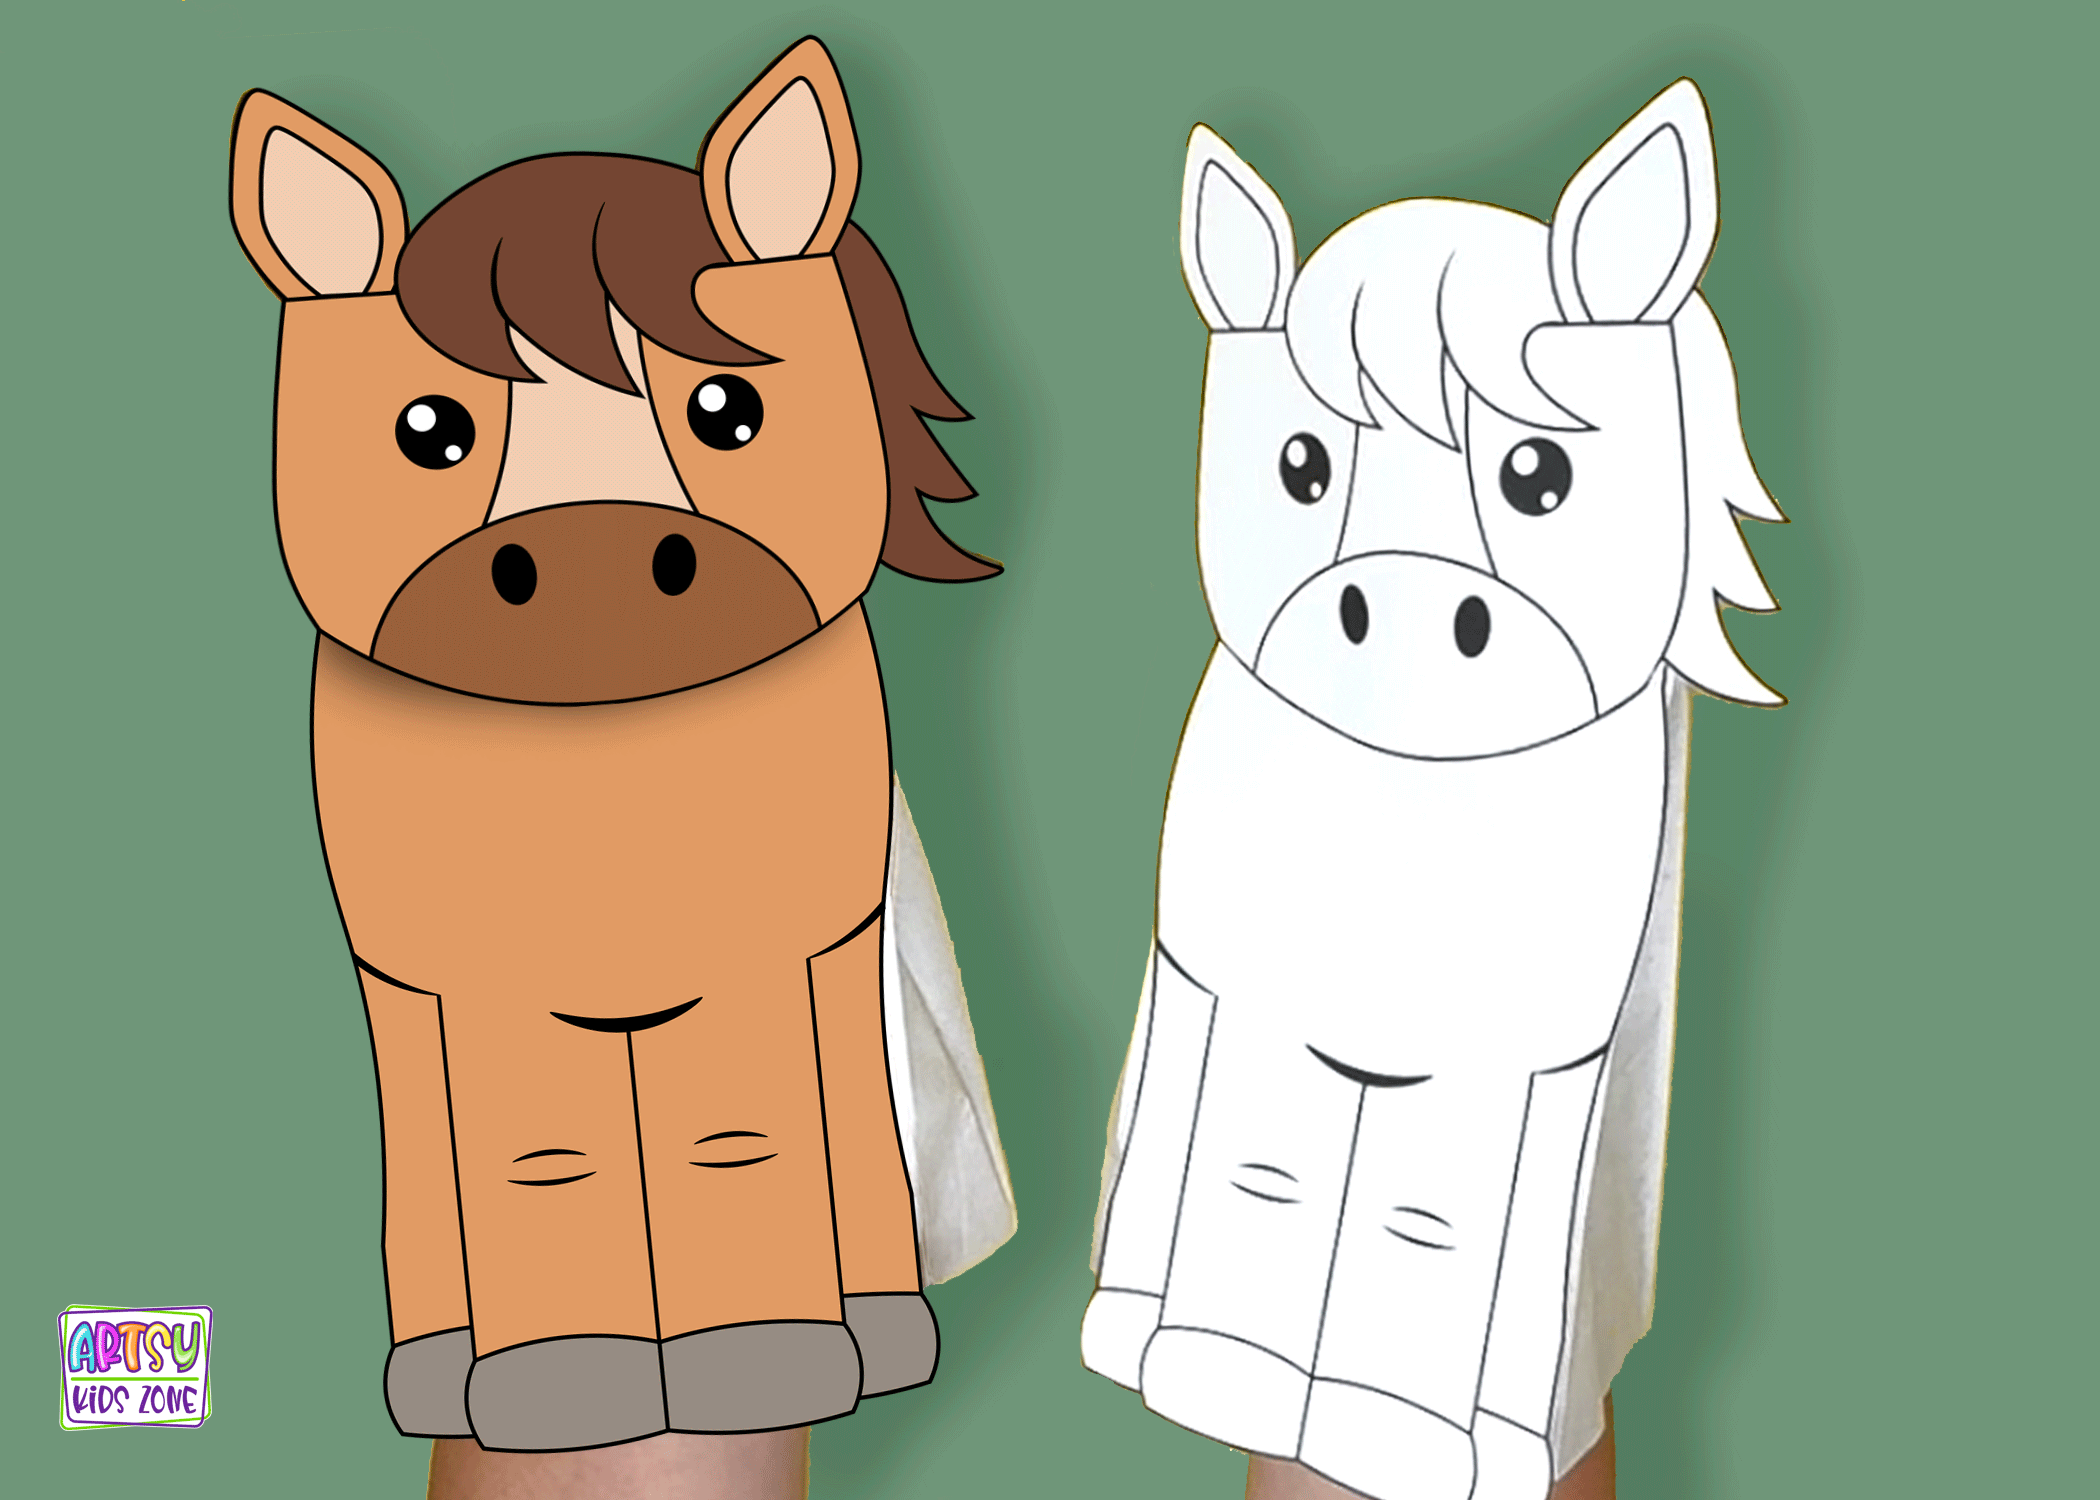
Horse Paper Bag Puppet 
Paper Pirate Hat 
Owl Handprint Craft 
Dino Finger Puppets 
Coffee Filter Dragons 
Dog Origami Template 
Cow Origami 
Paper Pirate Masks 
Christmas Puppets 
Bat Bookmarks
If you enjoyed making this Easy Origami Pumpkin, be sure to explore more fun art projects for kids on Artsy Kids Zone! You’ll find plenty of creative fall crafts, Halloween activities, printable projects, painting ideas, and easy paper crafts to keep little hands busy and imaginations growing all season long.



Comments