


Fairy Agamograph Craft for Kids – Printable Fairy House Optical Illusion Coloring Page

Updated: 5 days ago
All art projects & crafts require adult supervision. Artsy Kids Zone is a participant in the Amazon Associates Program, and I may earn a small commission from qualifying purchases at no additional cost to you.. Read our full disclosure policy.
Step into a magical world where fairies flutter through enchanted forests and tiny mushroom homes hide among the flowers! This Fairy Agamograph Craft for Kids – Printable Fairy House Optical Illusion Coloring Page combines the wonder of fairy tales with the excitement of optical illusion art. Kids will color, cut, and fold their way to an amazing masterpiece that magically changes as they look at it from different angles.
Unlike an ordinary coloring page, this fairy agamograph hides two magical pictures in one. From one side, you'll see a beautiful fairy, and as you move to the other side, the picture transforms into a charming fairy mushroom house. It's always exciting to watch children's faces light up when they discover their artwork can actually change right before their eyes!

This fairy craft for kids is perfect for classrooms, homeschool lessons, birthday parties, rainy afternoons, library programs, or anyone who loves fantasy and imaginative art. It's a wonderful project for older kids who enjoy a creative challenge and love making crafts that are a little different from the ordinary.
Agamographs are more than just fun—they're a fantastic way to combine art and science. As children carefully color, cut, fold, and assemble the template, they're strengthening fine motor skills, hand-eye coordination, concentration, patience, and problem-solving. When the project is finished, they also get to explore how changing perspective creates an amazing optical illusion.
One of my favorite things about agamographs is watching kids proudly show off their finished creations. They can't wait to tilt the artwork back and forth so family and friends can see the fairy magically transform into her cozy woodland home. It's a craft that's interactive long after the coloring is finished.

Fairy Agamograph 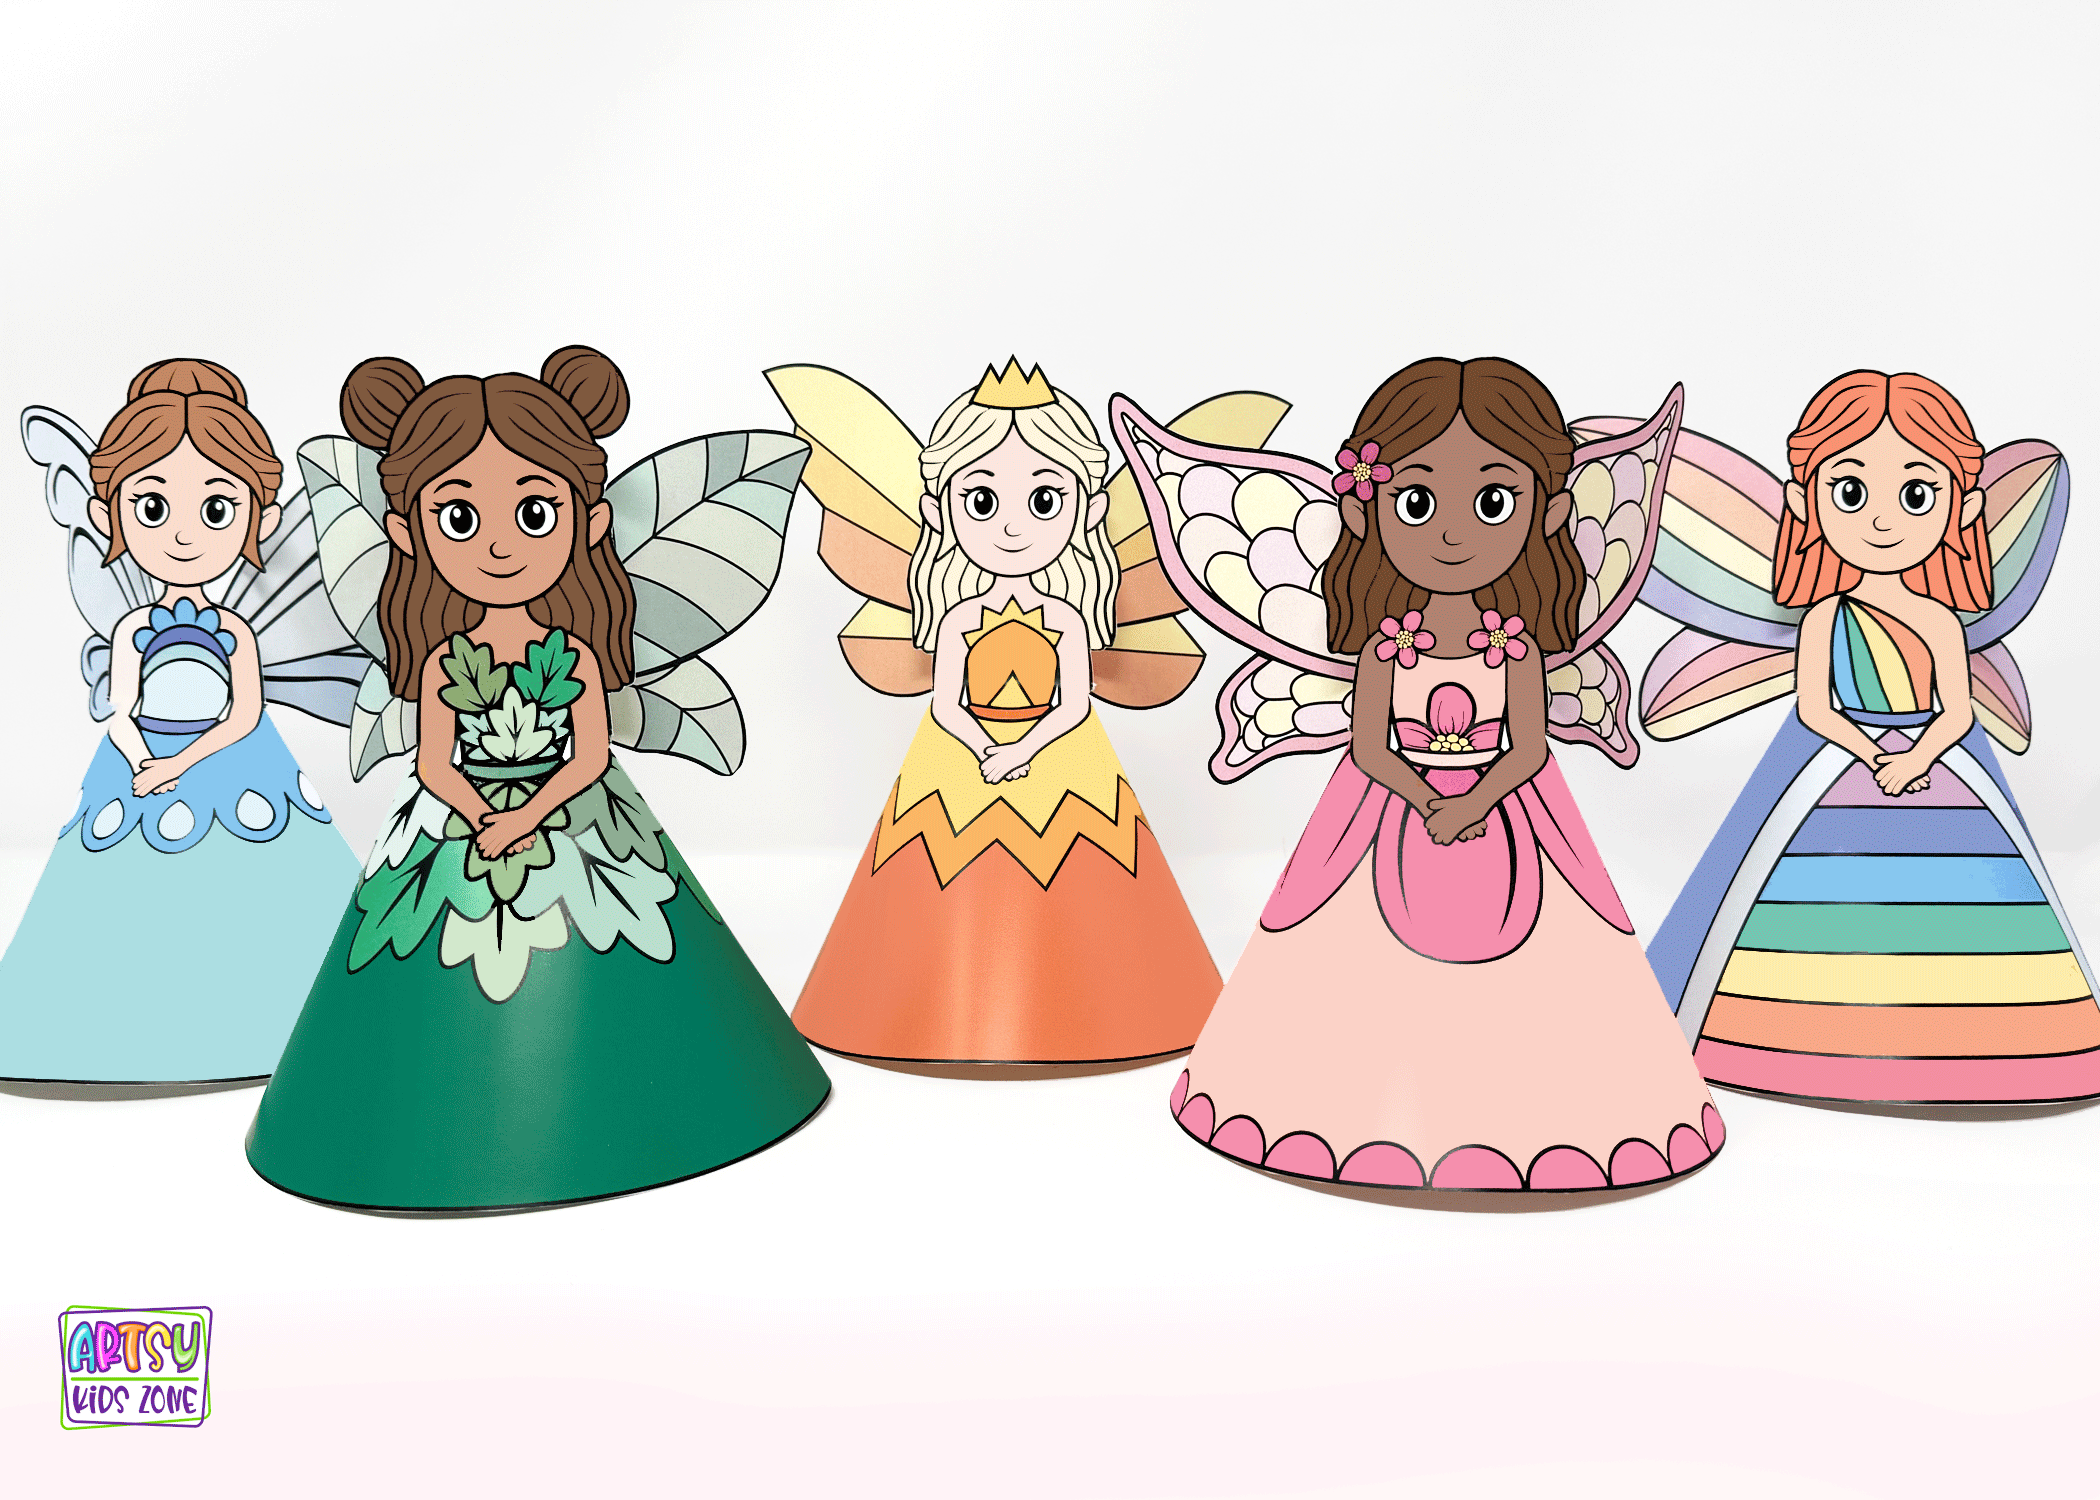
Fairy Paper Dolls
If your little artists love fairies, be sure to explore the other magical fairy crafts here on Artsy Kids Zone! Create an enchanted fairy world with our 3D Fairy Paper Dolls, where colorful fairy characters stand on their own for imaginative play, or try our beautiful Fairy Resist Painting, where hidden fairy designs magically appear through vibrant watercolor techniques. Together, these projects make the perfect collection for a fairy-themed craft day.
Whether your child dreams of magical forests, sparkling fairy wings, or tiny mushroom cottages, this Fairy Agamograph Craft is sure to inspire hours of creativity and imagination. It's a fun way to combine fantasy, art, and a little bit of science into one unforgettable project that kids will be excited to display.
So gather your crayons, markers, scissors, and glue, and get ready to discover a little fairy magic! This Printable Fairy House Optical Illusion Coloring Page is a unique craft that transforms from one enchanting scene into another, making it a magical activity that kids will remember long after the last fold is complete.

What Is an Agamograph?
An Agamograph is a fascinating form of optical illusion art that reveals two different pictures in the same artwork. Depending on the angle you view it from, one image magically changes into another! It's an exciting combination of art, paper folding, and visual science that amazes both kids and adults.
Here's how it works: After coloring the template, the paper is folded back and forth like an accordion. Those folds create angled surfaces that reveal different parts of each picture depending on where you're standing. As you move from side to side, one soccer image disappears while the other comes into view. It's an incredible transformation that makes every finished agamograph feel like a little bit of artistic magic—and it's one of the reasons agamographs are one of my favorite paper crafts to make with kids!
Materials You'll Need:
Agamograph Template
Markers or colored pencils
Scissors
Toothpick
Ruler
A piece of cardstock or heavy paper
Fairy Agamograph Craft

Step 1: Download and Print the Agamograph Template
To begin your Agamograph art project you need to download and print our Agamograph template. Directions to download your FREE copy is found at the bottom of the post.
I recommend printing the Agamograph Template on 8.5x11 white cardstock paper. Although cardstock paper is superior, you can use regular paper if you are unable to find cardstock.

Step 2: Color Your Template:
Once you've printed the template, it's time to unleash your creativity! Use markers or colored pencils to bring the agamograph to life. You're the artist, so let your imagination run wild!
The two images are broken up into segments and are laid out every other one from the two images. To help you keep it straight, on the template I have labeled them Picture A and Picture B. This way you can know which picture you are coloring.
Struggling with coloring these two images? We understand that the disconnected lines can make it challenging. If you're finding it tough, scroll down to the bottom of the post to discover a helpful hack that simplifies the coloring process. While it might involve a few extra steps, especially beneficial for our younger artists, it's well worth the effort.

Step 3: Score Along the Dotted Lines
It is important that your lines are precise. Younger kids may need help from an adult with this step. To achieve precise folds you need to score the lines on the agamograph before begin to fold. I used a toothpick and a ruler.
How To Score Lines
Place Your Ruler: Lay your ruler along the line where you want to create the score. Make sure it's positioned precisely where you want the fold to be.
Line up the Toothpick: Take your toothpick and place it along the ruler's edge, exactly on the line you want to score. It should be parallel to the ruler.
Apply Light Pressure: Press down gently with the toothpick while keeping it aligned with the ruler. The goal here is to make a shallow indentation or crease along the line, rather than cutting through the paper.
Repeat if Necessary: Depending on the thickness of your paper or cardstock, you may need to go over the same line a few times with the toothpick to ensure a clean score. Apply a bit more pressure if needed, but be careful not to tear the paper.
Once you've scored the line, remove the ruler and toothpick. You should see a faint crease where you scored.

Step 4: Cut Out The Template:
Carefully cut out Agamograph along the solid lines provided on the template. Be sure to follow the outlines precisely to ensure your Agamograph works its magic when we fold it.

Step 5: Fold Along the Dotted Lines
This is where the real enchantment begins. Fold your Agamograph along the dotted lines, creating an accordion-style pleat. The folds should be parallel to each other and about an inch apart. Take your time with this step, as precision is key for the Agamograph effect.
Step 6: Showcase Your Agamograph
With your Agamograph assembled, it's time to unveil the magic. Hold your artwork at one end and gently begin to bend it back and forth along the folds. Watch as the fairy transforms into a mushroom home, and the mushroom home into the fairy with each twist! It's a sports illusion that will leave everyone enchanted.
Struggling with coloring these two images? As mentioned earlier, here's a special trick to simplify things, especially for younger kids. Before you start coloring, carefully cut along the dotted lines and assemble the two images separately. Color them in, and then glue them to another sheet of paper in the same order as they came. Afterward, proceed with the folding step. This method allows you to view the completed coloring page as a whole.


Rock Paintings 
Origami Butterfles 
Dino Clothespin Puppets 
Tooth Fairy 
Mermaid Puppets 
Mermaid Crown 
Rainbow Fish
Discover a treasure trove of creativity on our blog, where a plethora of art projects awaits young artists! From whimsical paper bag puppets to mesmerizing agamographs, our collection offers endless opportunities for imaginative expression and hands-on fun. Whether your child is captivated by animals, sports, or seasonal themes, there's something for everyone to enjoy. Let their creativity soar as they dive into our diverse range of art projects, each designed to spark joy and inspire endless creativity. Join us on an artistic adventure filled with laughter, learning, and boundless imagination!
How To Download Template:
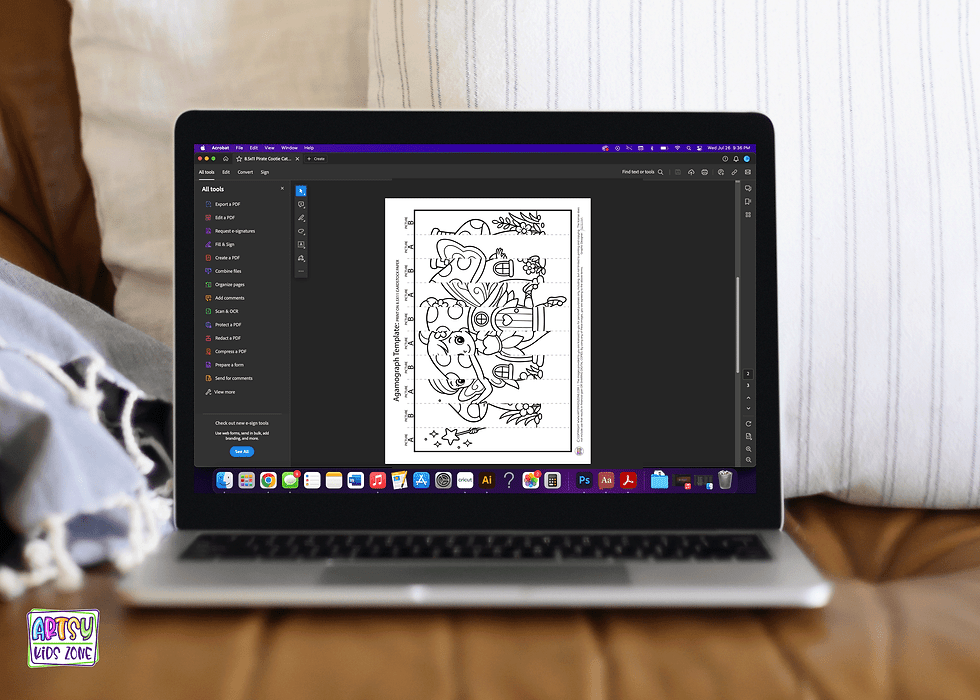
Before you can begin your craft you need to download the Agamograph Template. This download is available to all members for FREE! You heard me correctly, memberships are free to join for everyone who is 18 years an older! Click on the link to signup and to find the Template. You choose which one you want to download and print.
***These printables are intended for personal and school use exclusively. Unauthorized copying, uploading, republishing, distributing or alteration of these files in any manner is strictly prohibited. If you plan to showcase these printables, please ensure to include a link back to artsykidszone.com.


Comments