Religious Easter Agamograph Template
- Jessie

- Apr 21, 2025
- 6 min read
Updated: Jan 22
All art projects & crafts require adult supervision. This post may contain affiliate links. Read our full disclosure policy.

Easter is such a special time to help kids connect with the true meaning of the season—Jesus’ sacrifice and miraculous resurrection. If you're looking for a hands-on way to bring that message to life, you're going to love our Religious Easter Agamograph Template. This interactive craft is more than just a fun art project—it visually tells the Easter story, helping kids understand the journey from Christ’s suffering to His victory over the grave.
So, what exactly is an agamograph? It’s a clever piece of art that shows two different images depending on the angle it’s viewed from. In this Easter version, kids will see Jesus carrying the cross when they look from one side, and the Resurrected Christ when they shift to the other. It’s a powerful reminder of what Easter is all about: hope, redemption, and the miracle of new life.
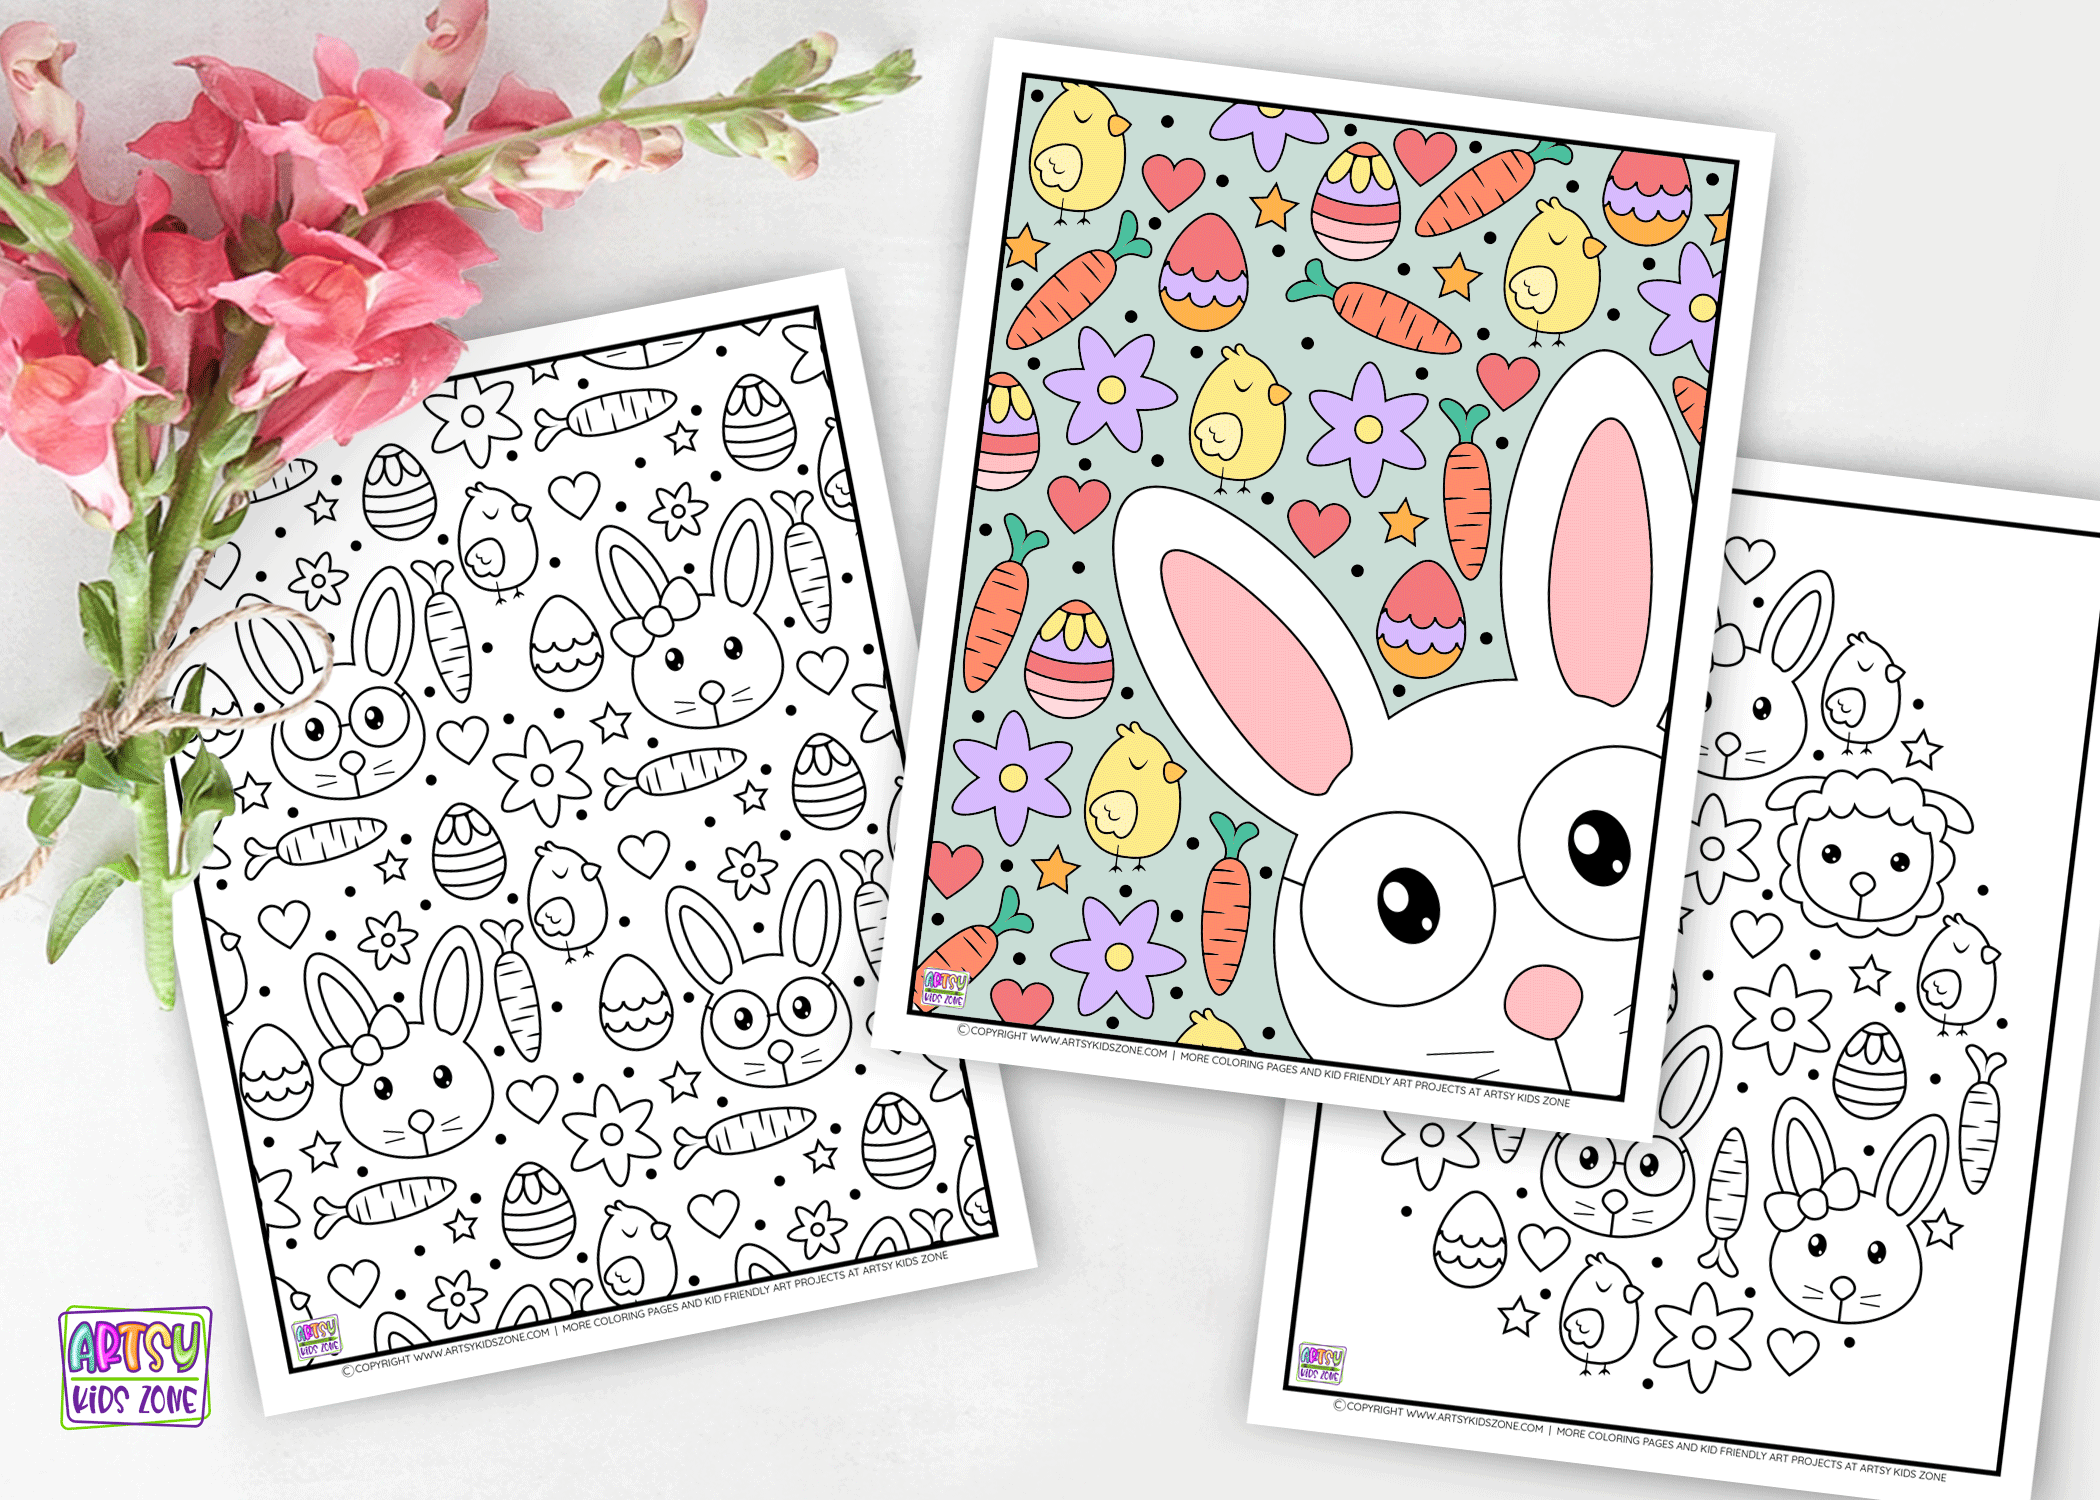
This agamograph isn’t just a coloring page—it’s a storytelling tool. As children color and fold, they’ll reflect on the events of Holy Week in a meaningful and age-appropriate way. It’s perfect for Sunday school, homeschool lessons, or even a quiet family moment at the kitchen table. Plus, it pairs beautifully with our Religious Easter Coloring Pages for younger kids, which feature simpler illustrations of Jesus, the cross, and other Christian Easter symbols that are perfect for preschool and early elementary ages.

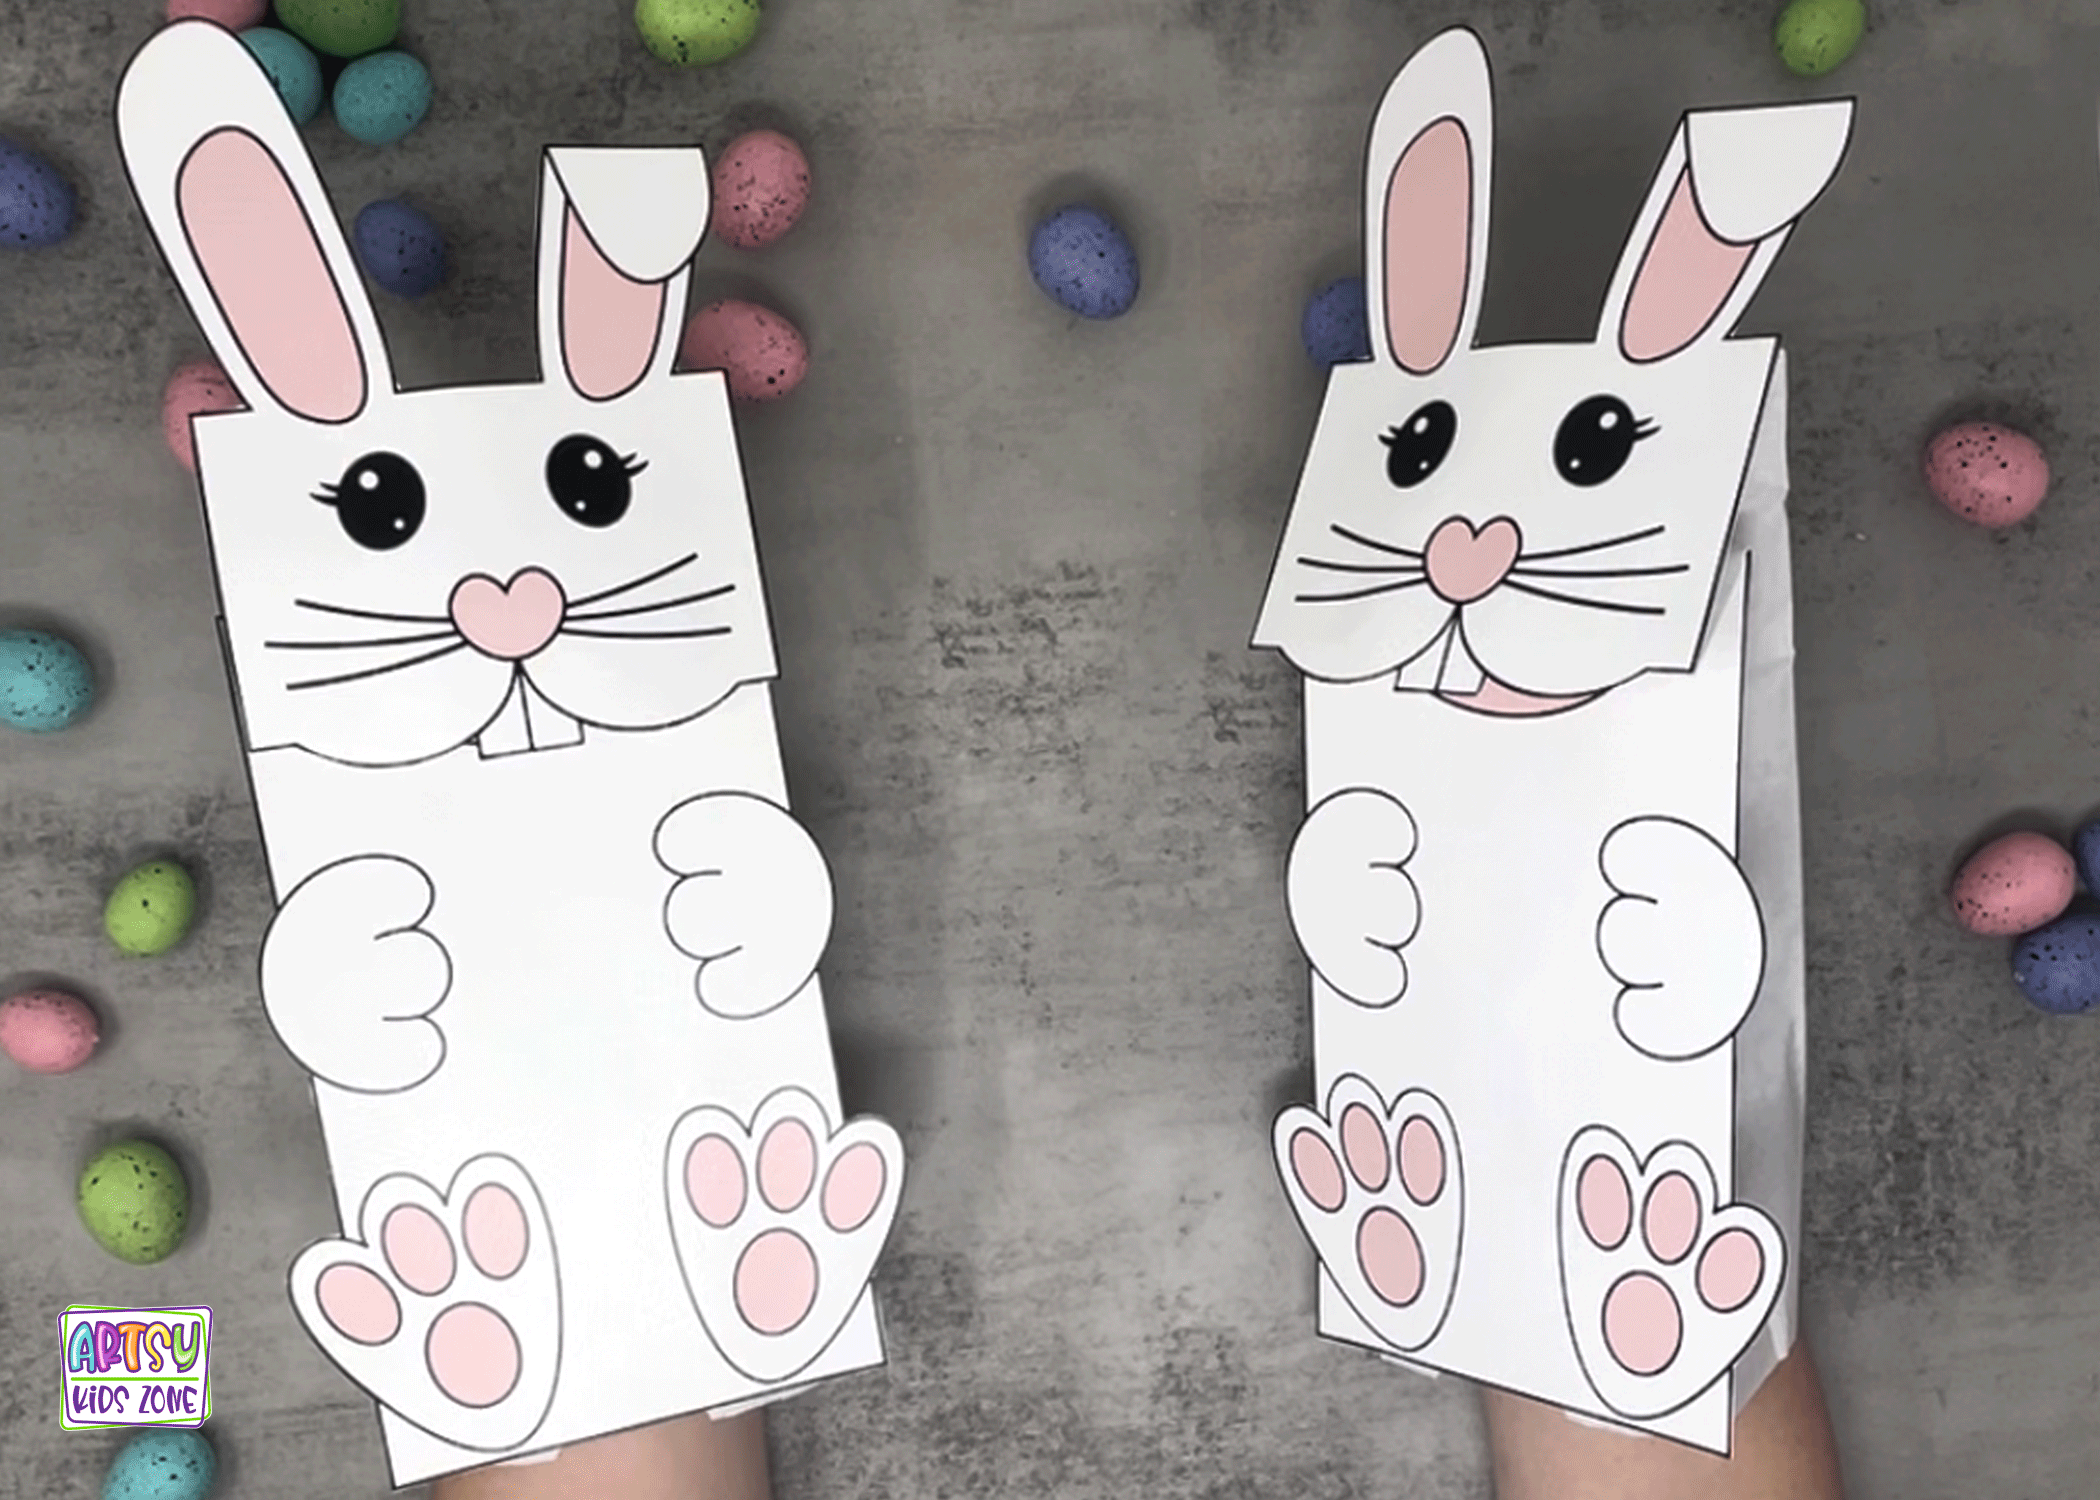
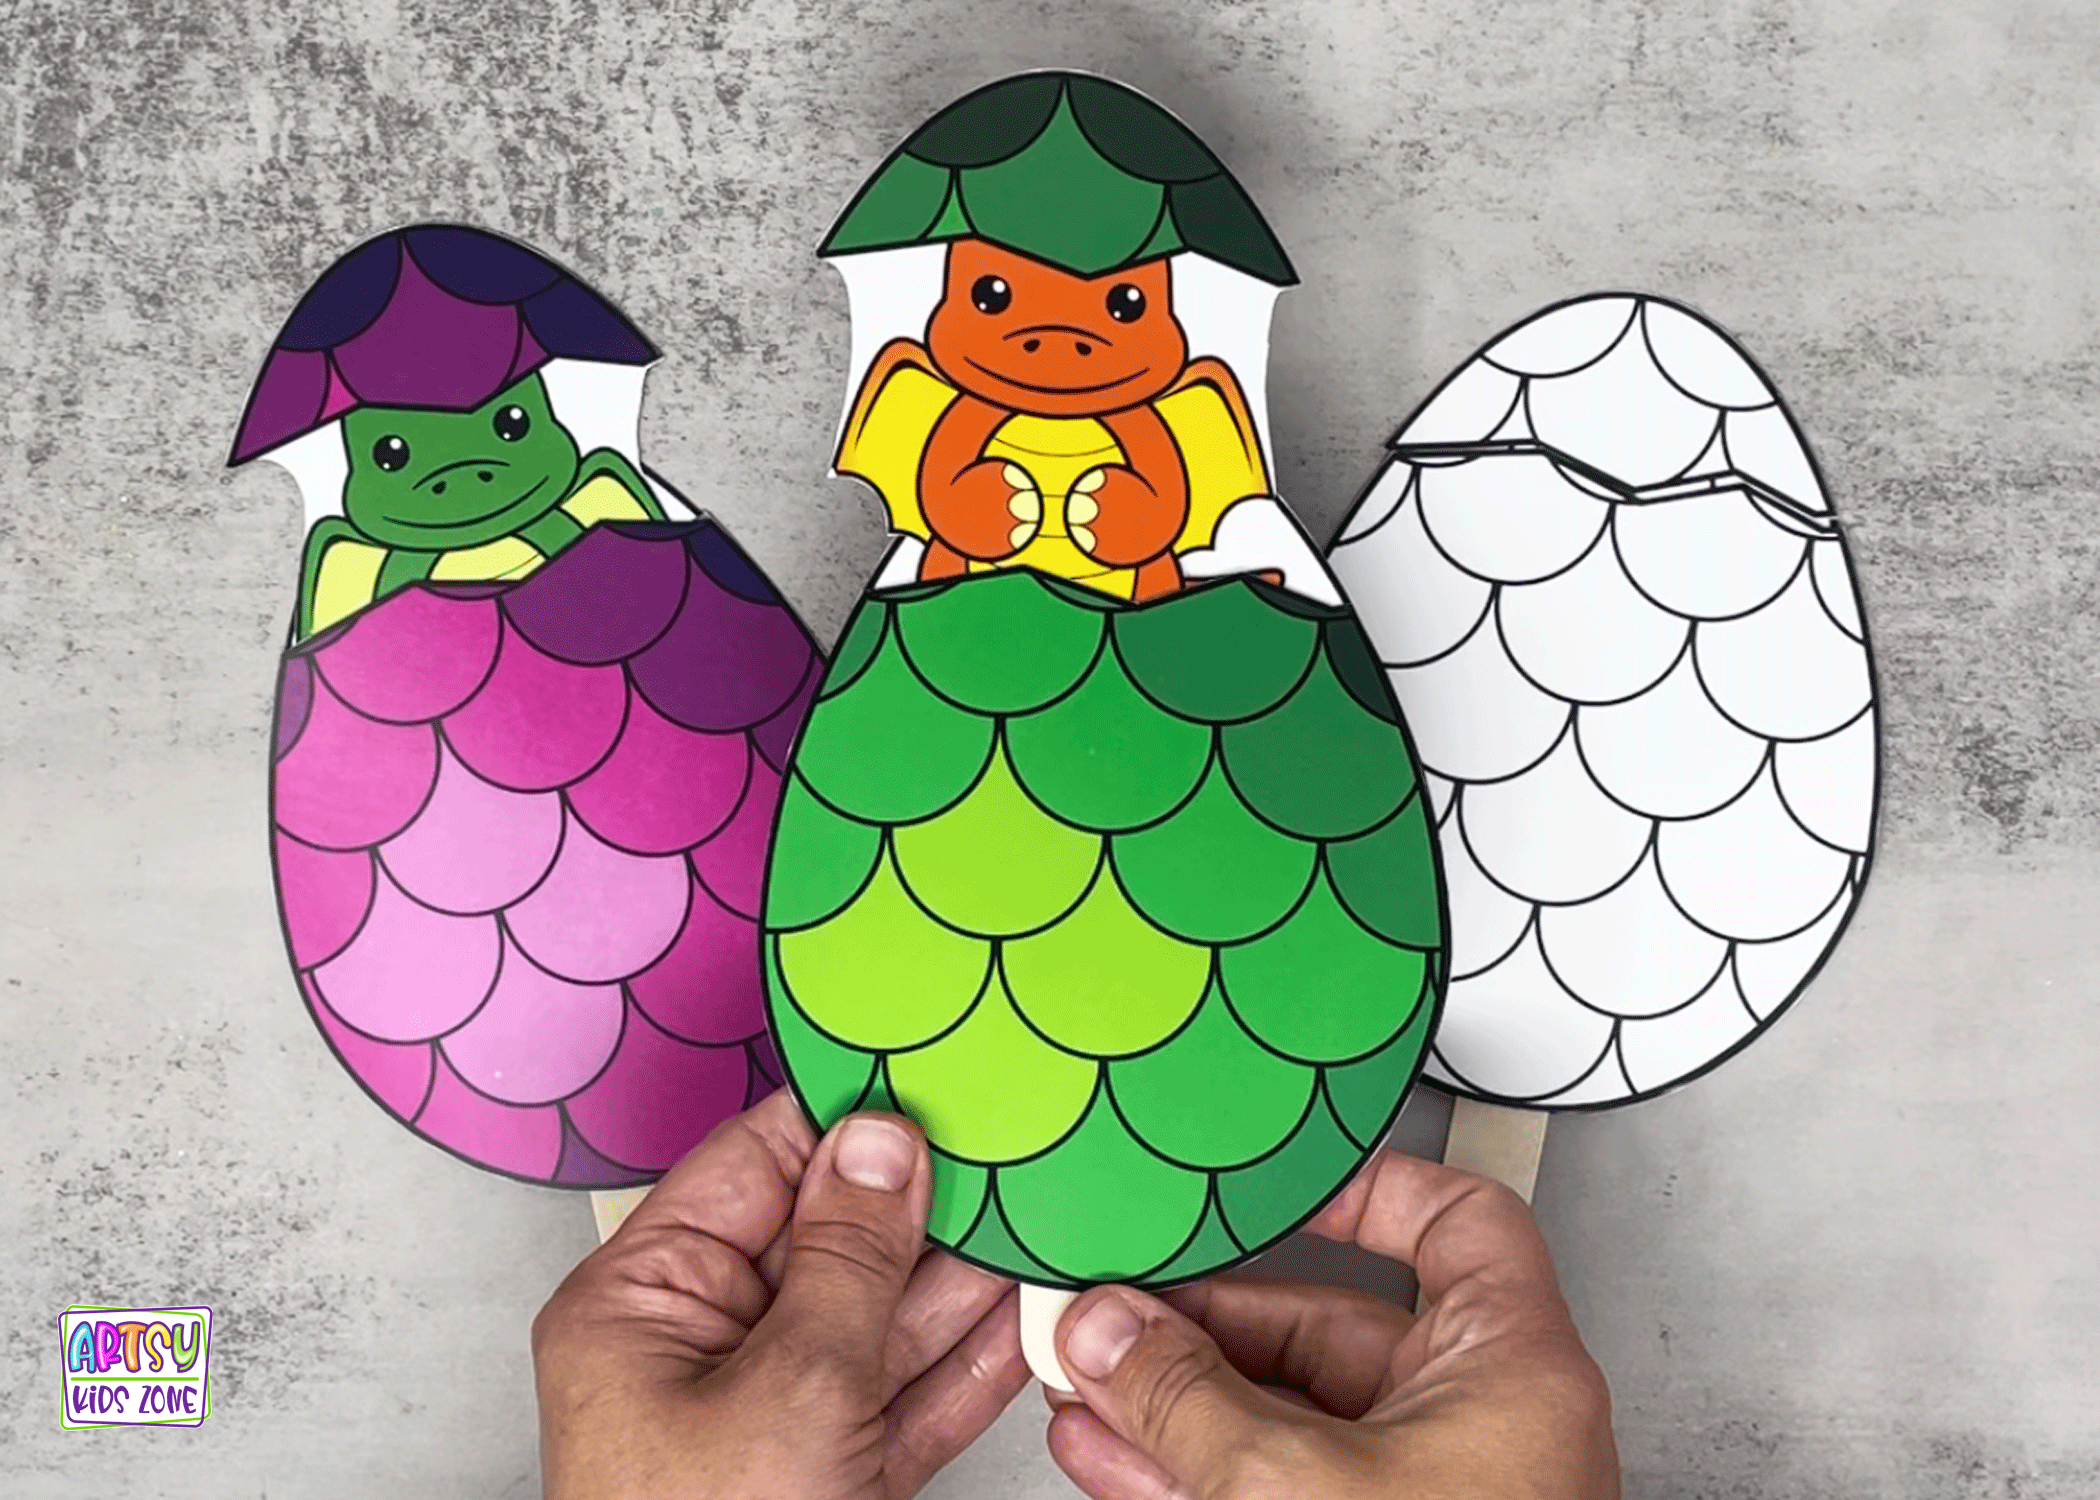
If your kids love crafting (and let’s be honest, most do!), be sure to check out some of our other Easter favorites too! Try our Hatching Dragon Egg Craft for Kids for a mythical Easter twist, or get giggling with the Bunny Cootie Catcher, which is full of silly questions and surprises. Our Easter Egg Crayon Resist Art Project is a sensory win with beautiful results, and the Easter Bunny Mask Craft is perfect for pretend play and dress-up fun.
The best part about the agamograph project is that it’s super simple to assemble. All you need is a printed template, some crayons or markers, scissors, and a little folding. Kids will be amazed as their art shifts and changes right before their eyes—just like the Easter story shifts from sorrow to joy. It’s also a great way to sneak in some fine motor practice and visual learning while focusing on faith.
So whether you're a parent, a Sunday school teacher, or just someone who loves to craft with kids, this Religious Easter Agamograph Template is a meaningful and creative way to celebrate the season. Combine it with our other Easter crafts for a whole week of joyful, faith-filled fun that kids will remember long after the eggs have been found and the candy's been eaten. He is risen—let’s create and celebrate!
What is a Agamograph?
An agamograph is a special kind of artwork that changes depending on the angle you view it from. When you look at it from one side, you’ll see one picture—shift to the other side, and a completely different image appears! It’s like two pictures in one, and the effect is always a fun surprise. The name comes from artist Yaacov Agam, who created this style of art to explore movement and transformation in a still image.
To make an agamograph, you color two different pictures, cut them into strips, and then glue the strips in an alternating pattern onto a folded piece of paper, kind of like an accordion. When it’s finished, the folded artwork looks like a zigzag. The folds hide parts of each picture depending on where you're standing, revealing one scene or the other. It’s an exciting craft for kids because it’s part coloring, part puzzle, and part optical illusion—all in one fun and creative project!
What makes this Religious Easter Agamograph Template even better is that all the tricky work has already been done for you! The images are pre-arranged and laid out in the exact order they need to be—so there’s no need to cut and glue individual strips. All you have to do is print the page, color the pictures, and follow the simple folding lines. It’s a hassle-free way to enjoy the magic of an agamograph without any complicated setup—making it perfect for classrooms, church groups, or crafting at home.
Materials You'll Need:
Agamograph Template
Markers or colored pencils
Scissors
Toothpick
Ruler
A piece of cardstock or heavy paper

Step 1: Download and Print the Easter Agamograph Template
To begin your Agamograph art project you need to download and print our Agamograph template. Directions to download your FREE copy is found at the bottom of the post.
I recommend printing the Agamograph Template on 8.5x11 white cardstock paper. Although cardstock paper is superior, you can use regular paper if you are unable to find cardstock.

Step 2: Color Your Template:
Once you've printed the template, it's time to unleash your creativity! Use markers or colored pencils to bring the religious agamograph to life. You're the artist, so let your imagination run wild!
The two images are broken up into segments and are laid out every other one from the two images. To help you keep it straight, on the template I have labeled them Picture A and Picture B. This way you can know which picture you are coloring.
Struggling with coloring these two images? We understand that the disconnected lines can make it challenging. If you're finding it tough, scroll down to the bottom of the post to discover a helpful hack that simplifies the coloring process. While it might involve a few extra steps, especially beneficial for our younger artists, it's well worth the effort.

Step 3: Score Along the Dotted Lines
It is important that your lines are precise. Younger kids may need help from an adult with this step. To achieve precise folds you need to score the lines on the agamograph before begin to fold. I used a toothpick and a ruler.
How To Score Lines
Place Your Ruler: Lay your ruler along the line where you want to create the score. Make sure it's positioned precisely where you want the fold to be.
Line up the Toothpick: Take your toothpick and place it along the ruler's edge, exactly on the line you want to score. It should be parallel to the ruler.
Apply Light Pressure: Press down gently with the toothpick while keeping it aligned with the ruler. The goal here is to make a shallow indentation or crease along the line, rather than cutting through the paper.
Repeat if Necessary: Depending on the thickness of your paper or cardstock, you may need to go over the same line a few times with the toothpick to ensure a clean score. Apply a bit more pressure if needed, but be careful not to tear the paper.
Once you've scored the line, remove the ruler and toothpick. You should see a faint crease where you scored.

Step 4: Cut Out The Template:
Carefully cut out Agamograph along the solid lines provided on the template. Be sure to follow the outlines precisely to ensure your Agamograph works its magic when we fold it.

Step 5: Fold Along the Dotted Lines
This is where the real enchantment begins. Fold your Agamograph along the dotted lines, creating an accordion-style pleat. The folds should be parallel to each other and about an inch apart. Take your time with this step, as precision is key for the Agamograph effect.

Step 6: Showcase Your Creation
With your Agamograph assembled, it's time to unveil the magic. Hold your artwork at one end and gently begin to bend it back and forth along the folds. Watch as the images transforms from Jesus carrying his cross to Jesus after he is resurrected, and the resurrection back into Jesus carrying the cross with each twist! It's an Easter illusion that will leave everyone enchanted.
Struggling with coloring these two images? As mentioned earlier, here's a special trick to simplify things, especially for younger kids. Before you start coloring, carefully cut along the dotted lines and assemble the two images separately. Color them in, and then glue them to another sheet of paper in the same order as they came. Afterward, proceed with the folding step. This method allows you to view the completed coloring page as a whole.
From the whimsical Printable Bunny Masks that whisk kids into make-believe adventures to the adorable Easter Bunny Emotions Spinner that adds an interactive twist to crafting, there's something for every young artist. These crafts are not just projects; they're invitations to create lasting memories and infuse the Easter season with laughter, joy, and artistic flair. Join us on this crafting journey as we celebrate Easter with creativity, color, and a whole lot of fun!

How To Download Template:
Before you can begin your craft you need to download the Agamograph Template. This download is available to all members for FREE! You heard me correctly, memberships are free to join for everyone who is 18 years an older! Click on the link to signup and to find the Template. You choose which one you want to download and print.
***These printables are intended for personal and school use exclusively. Unauthorized copying, uploading, republishing, distributing or alteration of these files in any manner is strictly prohibited. If you plan to showcase these printables, please ensure to include a link back to artsykidszone.com.


Comments