


How to Preserve Fall Leaves for Crafts

All art projects & crafts require adult supervision. Artsy Kids Zone is a participant in the Amazon Associates Program, and I may earn a small commission from qualifying purchases at no additional cost to you. Read our full disclosure policy.

One of the most magical parts of fall is watching the trees transform into brilliant shades of red, orange, yellow, and gold. Those colorful leaves are far too beautiful to leave on the ground—especially when they can be turned into adorable fall crafts! In How to Preserve Fall Leaves for Crafts – Easy Methods That Keep Leaves Beautiful, you’ll learn how to save your favorite leaves before they become dry, brown, and brittle.
Begin by taking the kids on a leaf-collecting adventure around your backyard, neighborhood, or favorite park. Look for freshly fallen leaves in a variety of colors, shapes, and sizes. Choose leaves that are still flexible, and avoid any that are wet, torn, moldy, or covered in large brown spots.
This guide includes three easy ways to preserve fall leaves: pressing them inside a heavy book, ironing them between sheets of wax paper, and laminating them. Each method creates a slightly different finish, so you can choose the one that works best for your craft project and the supplies you already have at home.
Once your leaves are preserved, turn them into a whimsical Fall Leaf Fairy with beautiful real-leaf wings. Kids can experiment with different leaf colors, sizes, and shapes to give each fairy her own unique look. Since no two leaves are exactly alike, every finished fairy will be a one-of-a-kind creation!
You can also use your preserved leaves to make a festive Fall Leaf Turkey, a roaring Fall Leaf Lion, or an adorable Fall Leaf Hedgehog. The natural texture and rich autumn colors bring these animals to life while giving children a fun way to explore nature through art.
For a little Halloween magic, use colorful leaves to create the wild autumn hair on our Fall Leaf Witch. Whether you make a fairy, turkey, lion, hedgehog, witch, or your own imaginative creation, these simple preservation methods will help keep your leaves beautiful and ready for plenty of fall crafting fun!
How To Preserve Fall Leaves By Laminating
Laminating fall leaves is a quick way to make them sturdy, easy to handle, and ready for kids’ crafts. The clear plastic protects the leaves from tearing or crumbling and helps preserve their beautiful shapes and colors. The downside is that this method requires a thermal laminator and laminating pouches, and the leaves will have a shiny plastic finish instead of a natural texture. Before laminating, make sure the leaves are clean, flat, and completely dry. Sealing damp or freshly picked leaves can trap moisture inside and cause them to discolor or decay.
Materials Needed:
Fall Leaves

Step 1: Arrange the Leaves
Open a thermal laminating pouch and carefully arrange the leaves inside. Leave at least one inch of space around each leaf so there is enough room to cut them apart later without breaking the seal.

Step 2: Close the Laminating Pouch
Carefully lower the top half of the laminating pouch over the leaves. Make sure the leaves remain flat and do not overlap. Smooth the pouch gently to help keep everything in place.

Step 3: Laminate the Leaves
Preheat the laminator according to the manufacturer’s directions. Carefully pick up the pouch while holding it level so the leaves do not shift. Feed the sealed edge of the pouch into the laminator first, then allow the machine to pull it through. The laminator becomes hot, so an adult should complete or closely supervise this step.

Step 4: Cut Out the Leaves
Allow the laminating sheet to cool completely. Carefully cut around each leaf, leaving a sealed plastic border around the outside. Do not cut directly against the edge of the leaf. Cutting too close can open the seal, allowing air and moisture to reach the leaf. Leaving approximately a quarter-inch border will help keep each leaf completely sealed and protected.

How To Preserve Fall Leaves With Wax Paper
Preserving fall leaves with wax paper is a quick and inexpensive method that helps the leaves retain their color while adding a light protective coating. The finished leaves remain thin and flexible, making them perfect for garlands, collages, and other fall crafts. However, the results may not last as long as laminated leaves, and some wax papers have a lighter coating than others. The heat from the iron can also scorch or discolor the leaves if it is too hot, so an adult should complete this method.
Materials Needed:
Fall Leaves

Step 1: Prepare the Paper
Place a large sheet of parchment paper on a flat, heat-safe surface. Cut a piece of wax paper that is large enough to hold the leaves, then fold it in half. Place the folded wax paper on top of the parchment paper.

Step 2: Arrange the Leaves
Open the wax paper and arrange the leaves on one half. Make sure the leaves are clean and completely dry. Lay them flat without overlapping, leaving a little space between each one.

Step 3: Cover the Leaves
Fold the top half of the wax paper over the leaves. Place another sheet of parchment paper on top. The parchment paper creates a protective barrier between the wax paper and the iron, preventing melted wax from sticking to the iron or ironing surface.

Step 4: Iron the Leaves
Turn off the steam setting and set the iron to a medium heat. Press the parchment-covered leaves for a few seconds at a time, keeping the iron moving to prevent scorching. The heat will soften the wax and transfer a light coating onto the leaves. Carefully flip the entire stack over and iron the other side. An adult should always handle the hot iron.

Step 5: Remove the Leaves
Allow the papers to cool slightly, then carefully open the wax paper and peel away each leaf. The leaves should have a light wax coating that helps them look fresh and protects them from becoming brittle. If the wax has not transferred evenly, cover the leaves again and iron them for a few more seconds.
How To Preserve Fall Leaves By Pressing
Pressing fall leaves inside a heavy book is one of the easiest and most affordable ways to preserve them. This method requires no special equipment, keeps the leaves flat, and works especially well for collages, cards, framed art, and other flat crafts. The downside is that it takes one to two weeks, and some leaves may lose a little of their bright color or become brittle over time. For the best results, begin with freshly fallen leaves that are clean and completely dry.
Materials Needed:
Heavy Books
Fall Leaves

Step 1: Prepare the Parchment Paper
Fold a sheet of parchment paper in half and place it between the pages of a large, heavy book. The parchment paper will protect the book’s pages and prevent the leaves from sticking to them.

Step 2: Arrange the Leaves
Open the folded parchment paper and arrange the leaves inside. Lay each leaf flat, leaving a little space between them so they do not overlap. Carefully close the parchment paper over the leaves.

Step 3: Press the Leaves
Close the book gently, making sure the leaves do not move or wrinkle. Place several more heavy books on top to add plenty of pressure. Leave the leaves pressed for one to two weeks. Thicker leaves may need a little longer. Once the leaves are completely flat and dry, carefully remove them and use them in your favorite fall crafts.

Preserving fall leaves is a simple way to hold on to the beautiful colors of the season and prepare them for all kinds of creative projects. Whether you press them inside a heavy book, seal them with wax paper, or protect them in laminating sheets, each method gives your leaves a little more time to shine. Once they are ready, use them to make fall animals, fairies, garlands, collages, and other nature-inspired creations. So gather your favorite leaves, choose the method that works best for you, and enjoy turning a colorful piece of autumn into something special!

Fall Fairy 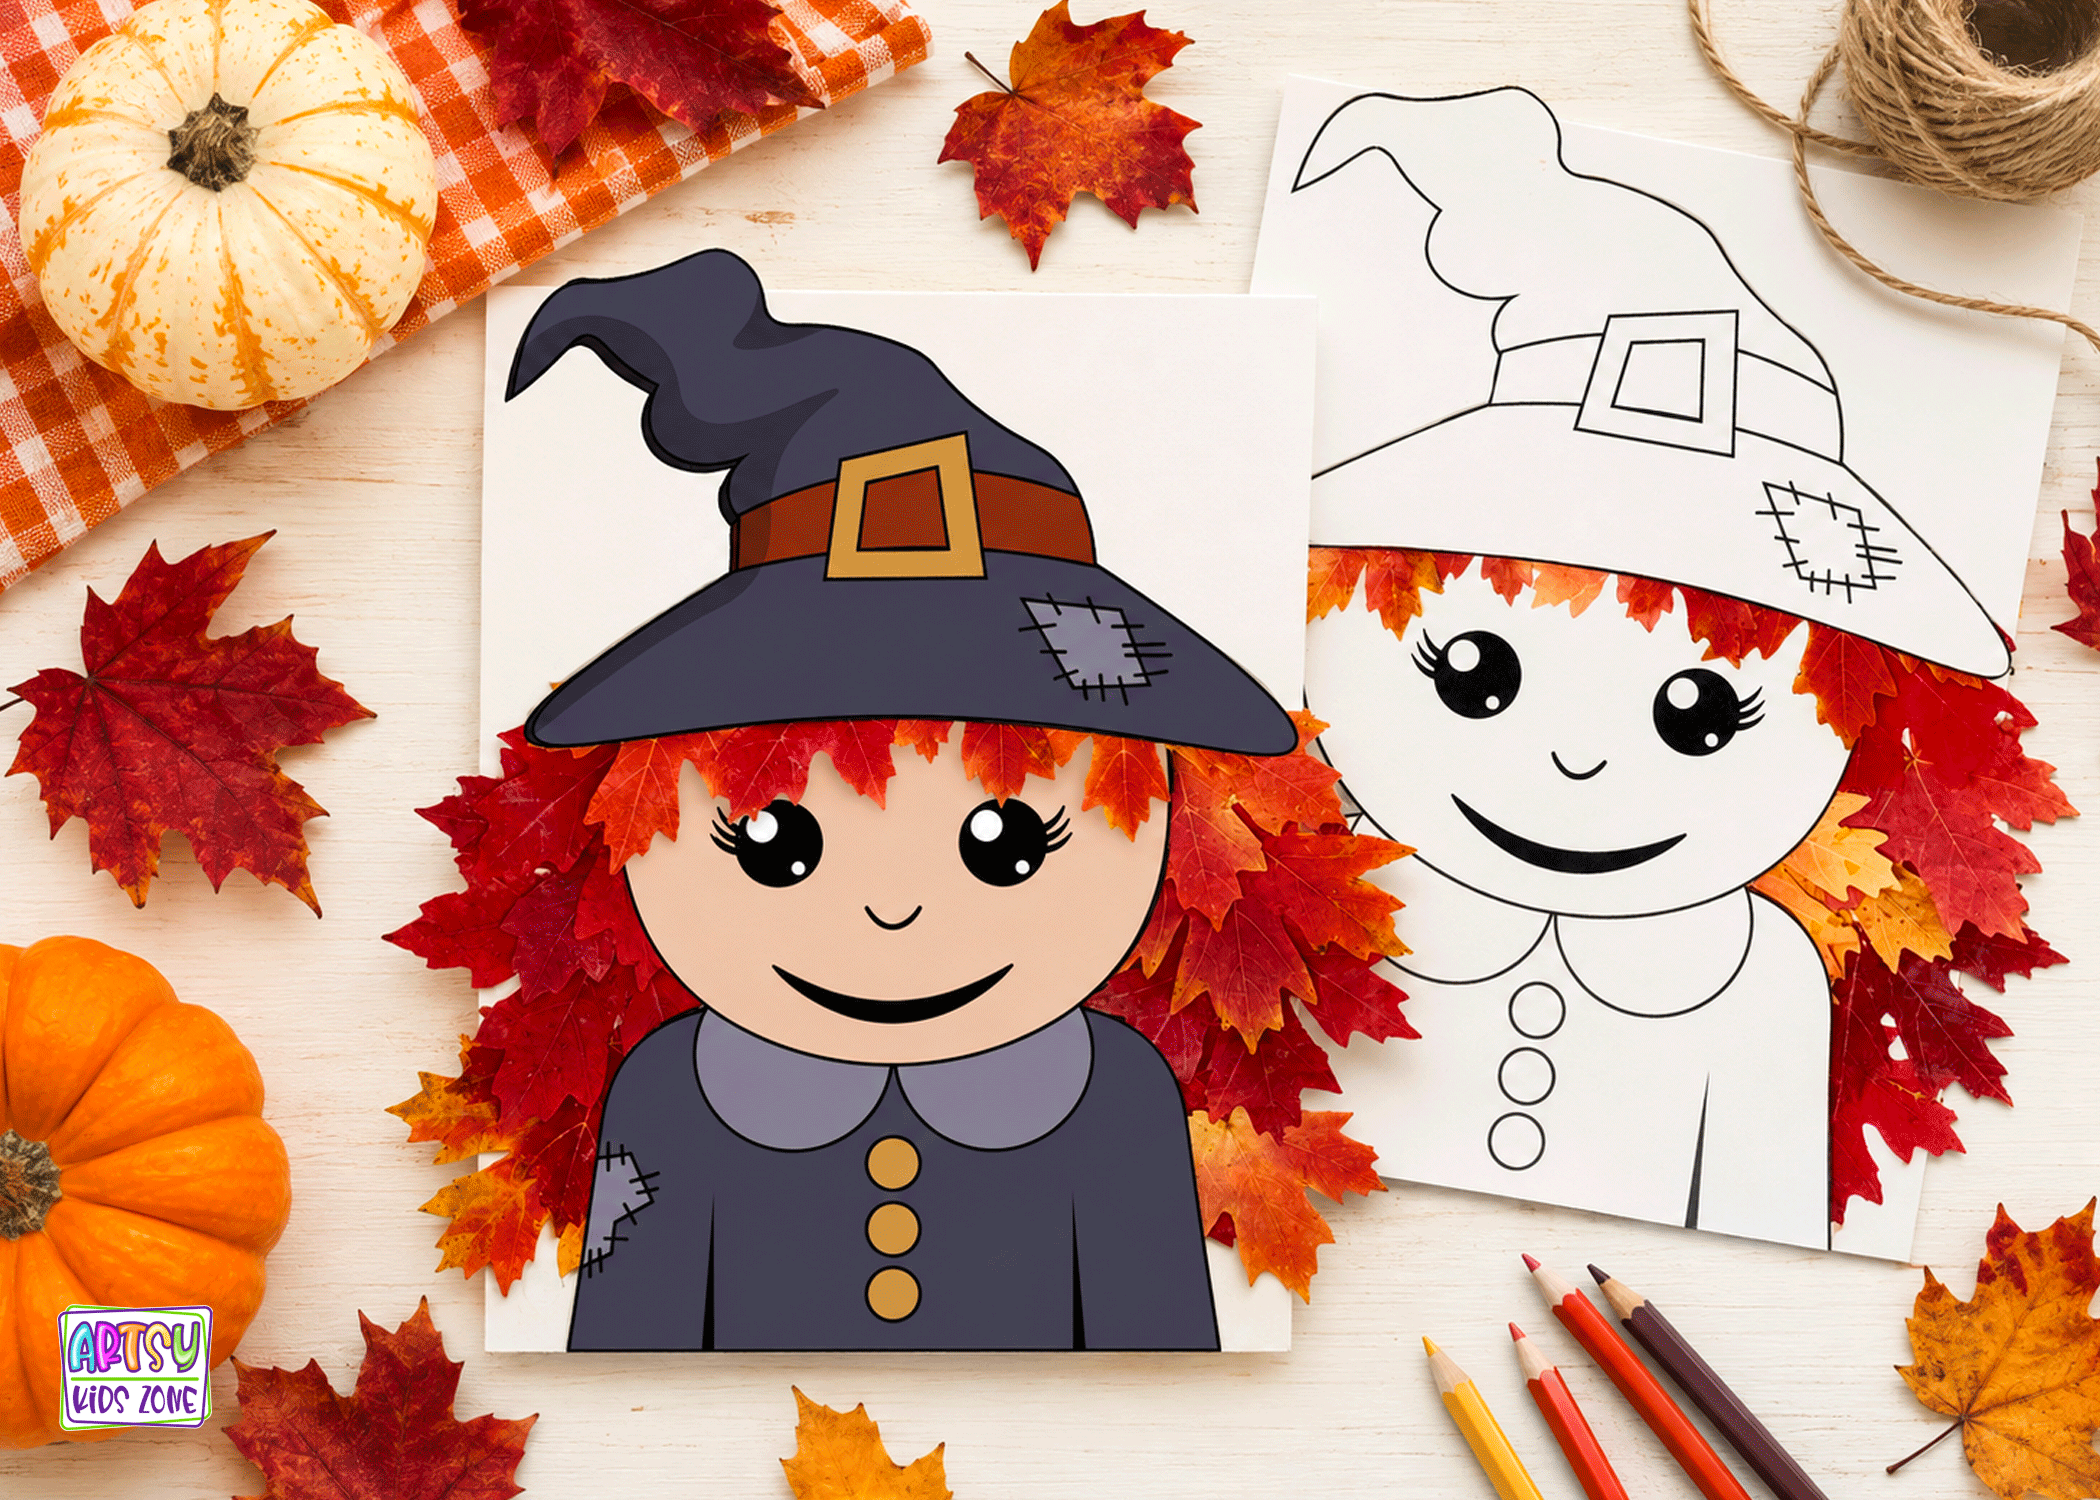
Fall Witch 
Fall Hedgehog 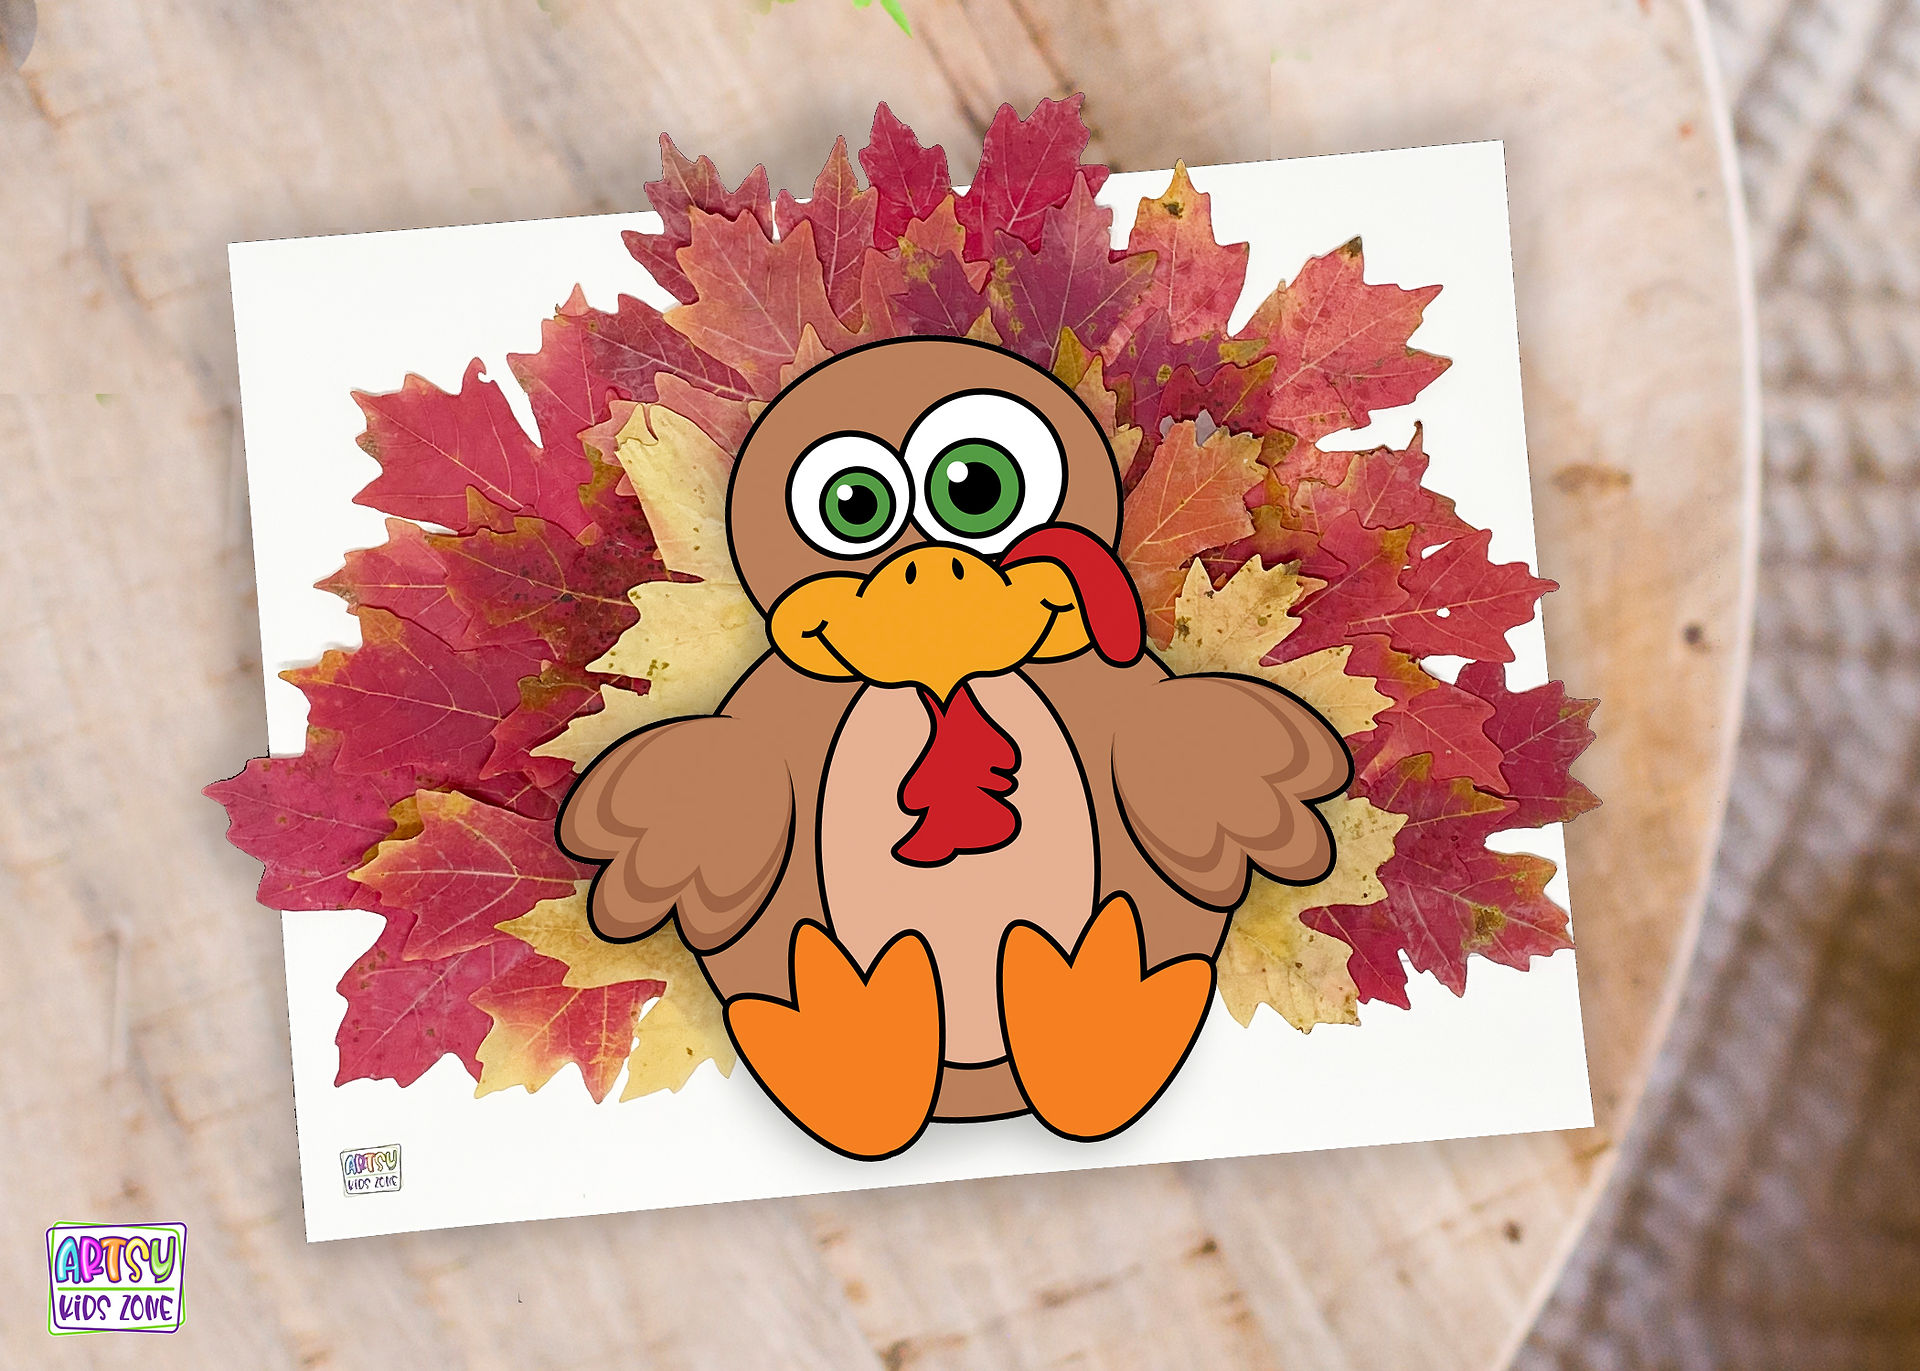
Fall Turkey 
Fall Lion
Now that your leaves are preserved, it’s time to turn them into something creative! Check out these fun fall leaf crafts for kids, including our whimsical Fall Leaf Fairy, colorful Fall Leaf Turkey, roaring Fall Leaf Lion, adorable Fall Leaf Hedgehog, and magical Fall Leaf Witch. Each project uses real autumn leaves in a unique way, giving kids a chance to explore nature, experiment with colors and textures, and create a one-of-a-kind fall masterpiece.


Comments